
This manual is for the instruction of new pilots in flying a starfighter in Frontiers Reach. It will be updated as time permits.
Table of Contents
Introduction
Note: Credit goes to Soliloquis
Hello and welcome to the universe of Frontiers Reach.
As the developer of the game, I would like to think that I have no illusions about what it is I have created. That said it is not lost on me just how different this game is from so many other space games. Many of which are great games, but that have a tendency to all play the same with different aesthetics.
Frontiers Reach is my attempt to create something new and interesting in the world of space games. To achieve this I’ve gone back to the space game roots of playing with combat and physics. However in this modern era I feel that this has resulted in something that is just vastly different from manyof the other space games that exist today. And so the intention behind this guide is to ease the transition for both new players and space game veterans alike.
I’m not going to lie, there is a LOT going when you’re sitting in the cockpit of one of these starfighters. That is intentional. The game is heavily inspired by Cold War Era fighter jets which required an immense amount of training and knowledge to fly.
Consider this guide Day 1 of starfighter flight school.
What’s in a Starfighter?
In the Frontiers Reach Universe, a starfighter is a class of flying vehicle that is capable of taking off from a planet, flying up and out of the atmosphere, and then cruising to another planet where it can land refuel and start another journey. Spacefighters also exist in lore but they are not capable of atmospheric flight and in the year 2230 they are considered older tech.
A key feature of starfighter technology, and one that you’ll want to get familiar with is the RCS system. Or Rotation Control System. This should not be confused with a Translation Control System which will control lateral movement. But there are also other systems that you’ll need to learn about like countermeasures, weapons control, thermals, and fuel.
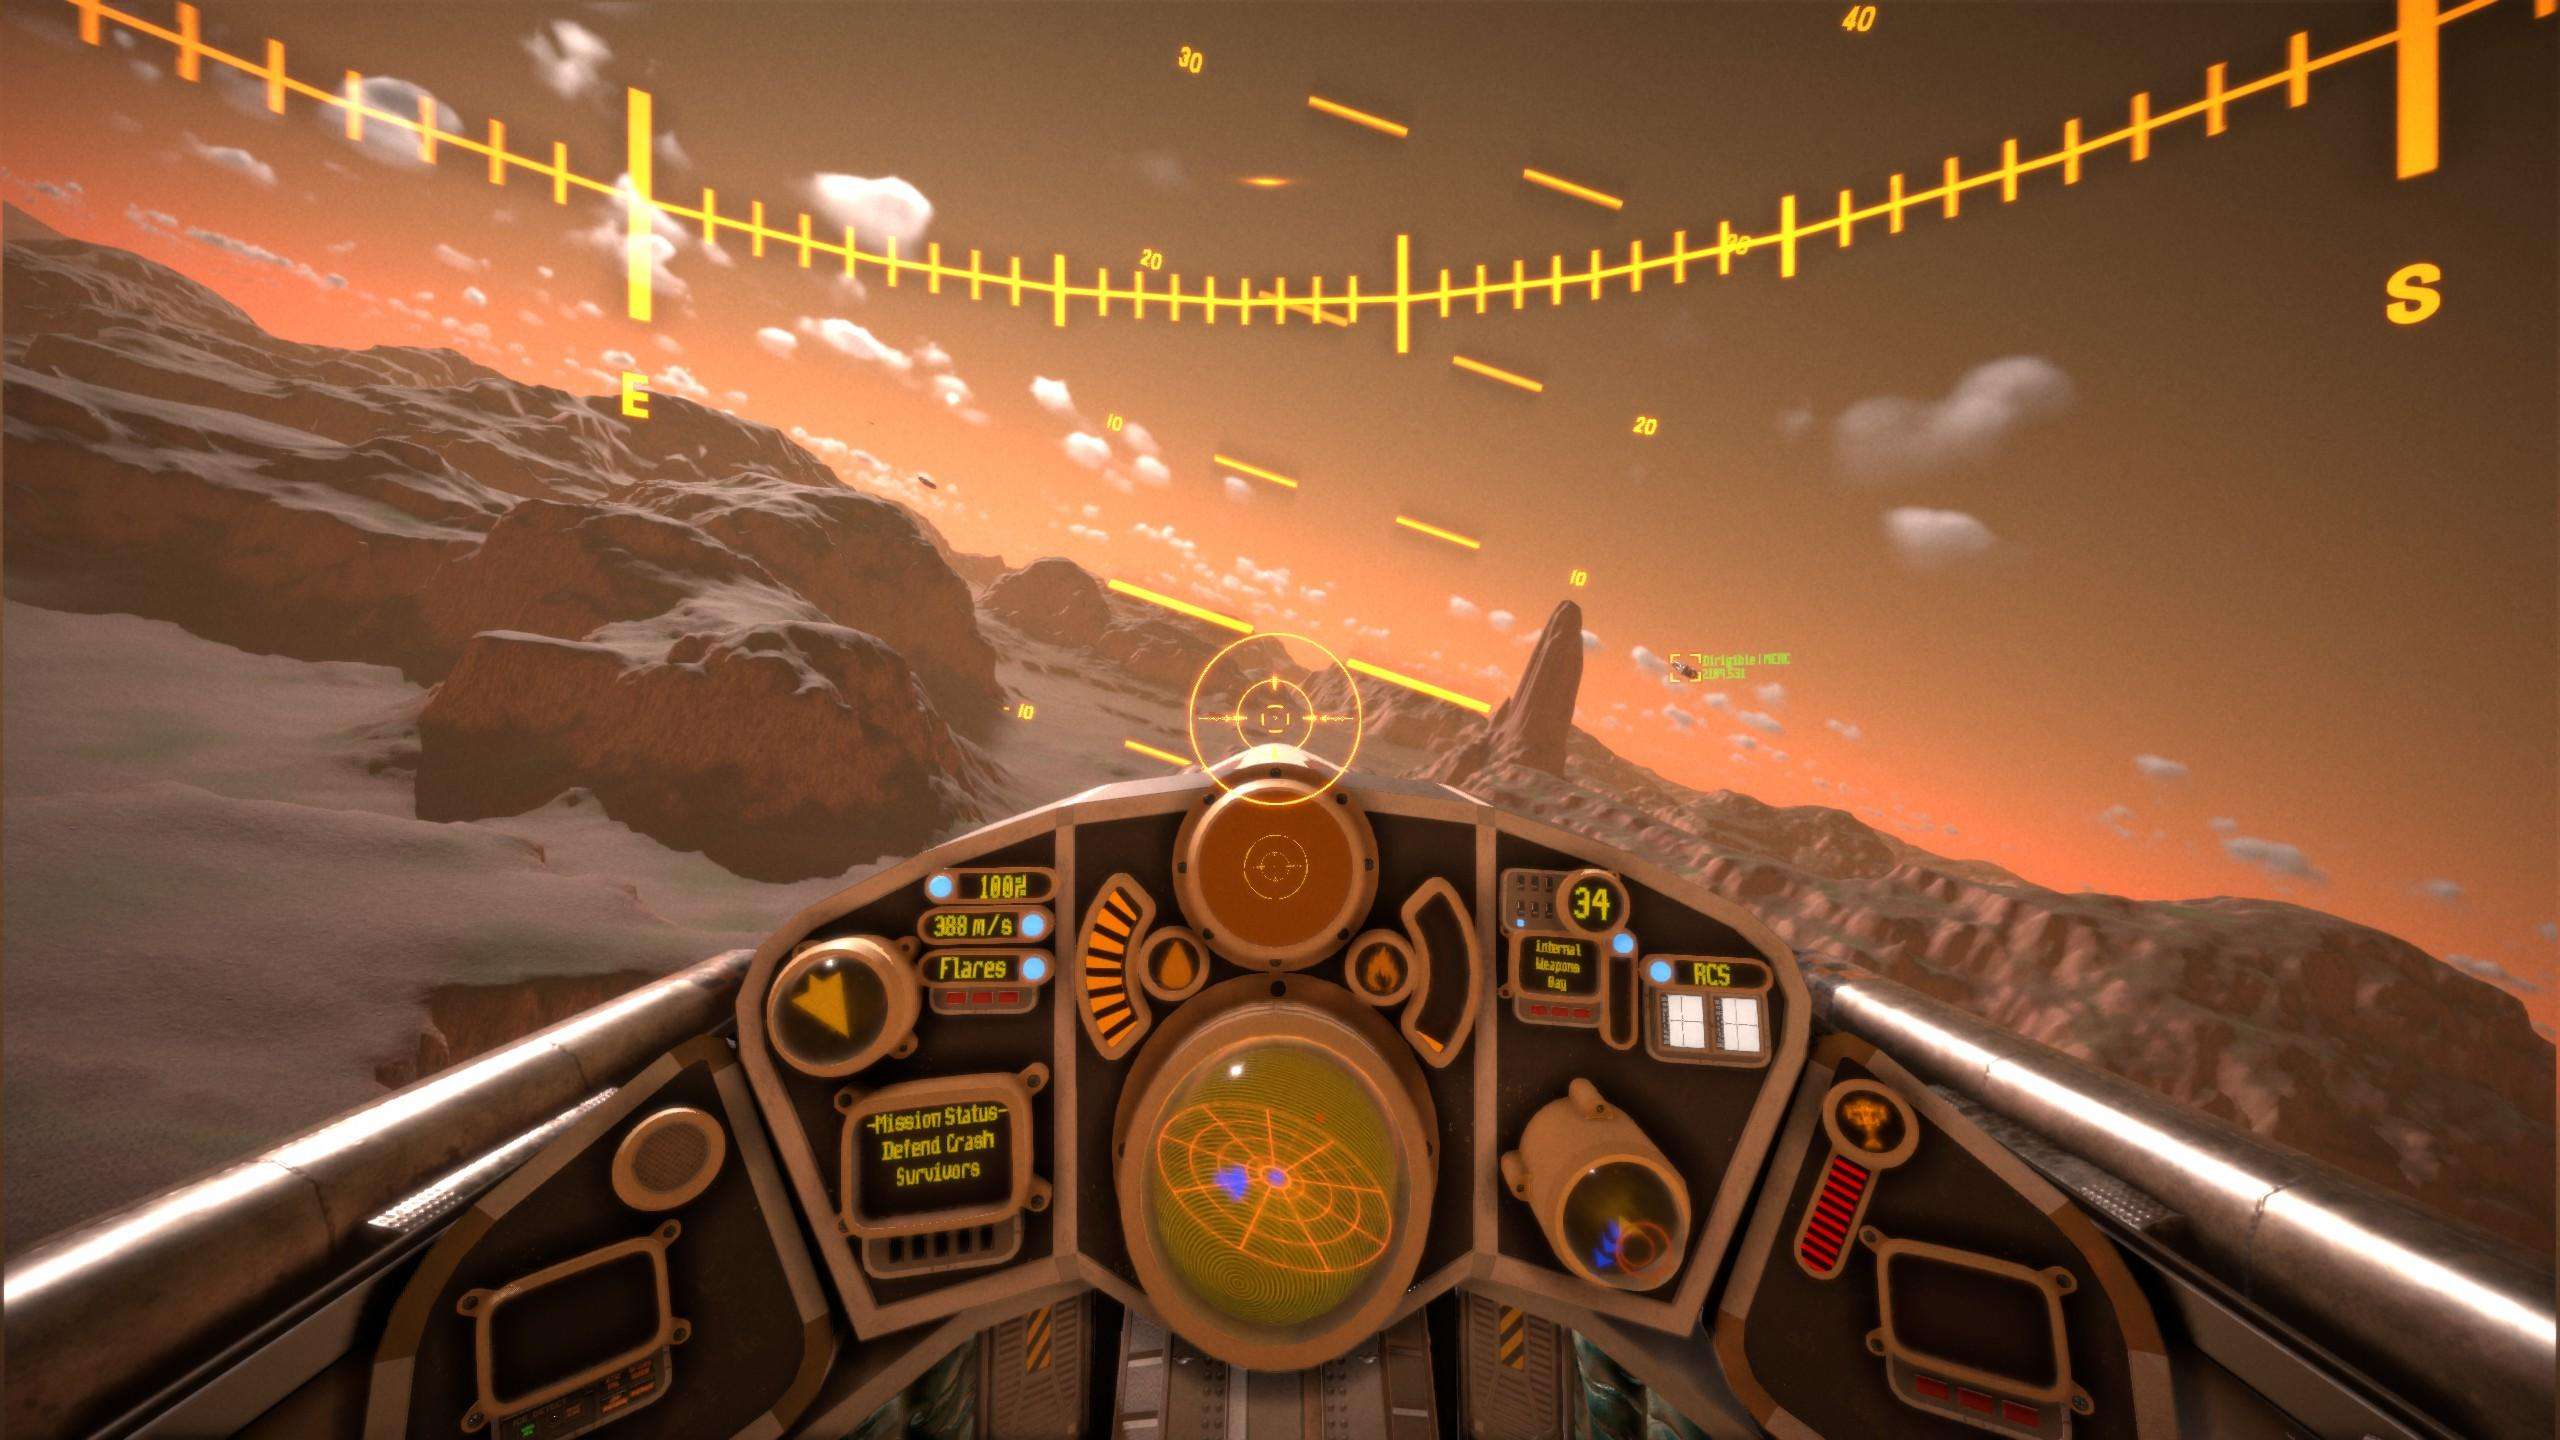
Familiarizing Yourself with the Cockpit
Like I said, there is a LOT going on in this cockpit and each of the instruments has information that you’ll need to reference at some point during a flight. So lets get down to business.

- 1) Aim Ring and Gravitational Drop Indicator – This is actually a cluster of instruments that work in unison. The largest element is the Aim Ring and is accompanied by a smaller ring that called the Target Lead Indicator. There is another smaller indicator that shows the drop of your cannon rounds relative to the local gravitational field over a 2km distance.
- 2) Multi-Function Displays – These displays are currently only used to show a visual warning for incoming missiles.
- 3) Fuel Gauge – Rather than a hard time limit, fuel is tracked instead. (refueling and rearming will be available in some missions).
- 4) Thermals Gauge – This gauge is for keeping track of thermal conditions for the entire fighter. If you overheat your fighter the computer will let you know with an audible warning and blinking icon. Overheating your fighter will cause a small amount of damage over time to your fighter if it stays in an overheated state.
- 5) The Pod – Each fighter comes with a pod. Which is essentially camera that tracks the current target. In this case the pod will also track predicted bomb location for easier use of bombs from the cockpit.
- 6) Angle of Attack Indicator – The Angle of Attack Indicator, or AoA gauge, shows the vehicles current direction of movement relative to the direction that the vehicle is facing in.
- 7) Hull Integrity Indicator – This indicator shows hull integrity for the entire vehicle. The icon will blink if integrity is too low.
- 8) Mission Info Panel – This Multi-Function Display is for mission objective information only. (Something more readable for lower resolution screens will be implemented eventually).
- 9) Countermeasures – There are three types of countermeasures. Flares, Chaff, and EM Field. Flares dot the sky with missile disruption spheres of influence behind your fighter. Chaff creates a cloud of missile disruption behind your fighter. And the EM Field creates a bubble around your craft.
- 10) Wayfinder – This arrow instrument will point you in the general direction of your mission objectives. If you lock on to a target the wayfinder will turn from orange to red and track your target instead.
- 11) RCS, True Speed, and Throttle – These instruments are sometimes clustered together, and sometimes separated. The RCS indicator is pretty simple being not much more than an indicator light. The True speed readout gives you your current speed in Meters Per Second. The Throttle indicator shows at what percent your throttle is currently sitting at.
- 12) Radar – The radar sends out a ping updating the view inside the globe to display the Identity Tags of each entity around you assuming it has an Identity Tag the radar can actually read. This has a refresh rate of every 3 seconds, so keep that in mind while flying.
- 13) Weapons Information Panel – This cluster of gauges show the currently selected weapon from your internal, light, and heavy weapons as well as the current state of the selected weapon.
- 14) Attitude Indicator – These lines with numbers trailing up and down the screen are the attitude indicator. This is a pretty decent indicator your attitude relative to the surface of a planet, or if you’re in space, it is relative to the carrier you launched from.
- 15) Heading Indicator – This indicate your current heading in North, South, East, West directions.
Understanding the Indicators – Countermeasures
While each indicator is ultimately different in its purpose, they all use a similar method for indicating the gauges current state to the pilot.
The first indicator we’ll cover is the Countermeasures Indicator. This indicator is simple to understand and shows all three states in the most easy to understand fashion
Countermeasures Indicator

In this state, when the indicator light is blue, the countermeasures are ready to be used whenever the pilot requires their usage.

When the indicator light turns yellow, this means that the countermeasures are currently in operation and cannot be used.

Once finished operating, the countermeasures will go into cooldown and the light will turn orange. In this state the countermeasures are not active and cannot be used as they are currently being reloaded.
Be the first to comment