
Chapter 4 – The Tide Turns
Note: There are 7 Collectibles in Act 1: Chapter 4
After the opening cutscene concludes, head down the stairs and onto the street. Hang right once you reach the fire and bust through the door to proceed.
Head through the doorway, then turn right and you’ll find a Stim module for Jack.

Head back out and activate Stim, then roadie run through the fire. Continue through the street, exploring side alleys and corners to find extra ammo, then Stim your way through the fire just outside the tunnel at the end of the road.

Swarm Drones control the area, and snipers are ensconced on the other side, so take cover, use Jack to flush them out, then take them down. Use Stim to move through the flames, or when you need to move from cover to cover while under fire.
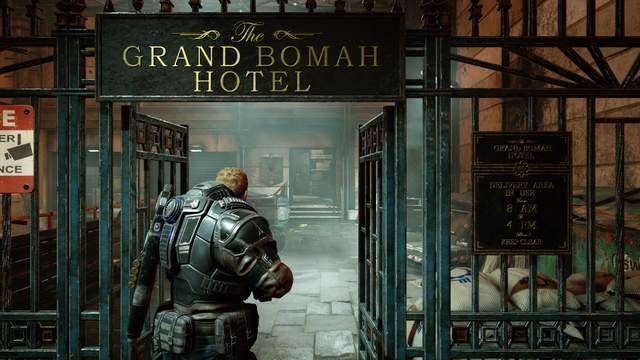
Once the area has been cleared, head across to the far side, then saw your way through the gate to proceed to The Grand Bomah Hotel.
Head through the front door, then help Del push the door open to continue. Follow the hall around to the left and you’ll soon find the kitchen, where you’ll encounter Flock-controlled DeeBee units. Kill them, then proceed around the corner to find one with its back turned.
At this point, you will be able to stealthily take out controlled DeeBee units, so destroy as many as you can before you are seen, then take cover and clear the rest out.

Once you’ve taken care of the last of the DeeBees, head to the end of the lower floor and open the double doors. Head through the lobby, up the spiral stairs, then take the pathway to the left and duck under the wreckage to enter the next area.
In this room you’ll be swarmed by Rejects, so take their legs out with the Gnasher or other weapons with good stopping-power to ensure you aren’t overrun.
Note: There is a Tri-Shot near the center of the room, leaning up against a table, so grab it if you need extra firepower during the fight.

Once the Rejects are dispatched, break through the double doors on the right and continue into the next area, where you’ll have to fight the Flock, directly.
Take out the charging Leeches, then head down the spiral stairs to take on the Flock. Use Jack to stun it, then open up with the Tri-Shot. There is a Boomshot towards the center of the lower level, if you run out of ammo or need something stronger.

Once you get rid of the Flock, Marcus will radio, so gather any extra ammo you need, then head through the double doors and into the next area.
You’ll arrive on the street to find the COG engaged in battle with the Swarm, so help secure the area before proceeding.
Note: There is a crate with a Lancer GL up against the planter just ahead of you, so grab it if you need a solid weapon for the battle to come.

Clear out the Swarm as you move up the street and soon another Flock will appear. Grab the Mulcher next to the largest DB in the street and open fire to take it out before it can infect other machines.
If any DB units get turned into Rejects, take them out, then head to the end of the street and left into the theater.

Head up the stairs, then take a left and proceed through the dressing room. Circle around and head through the stage door, then walk to the far side and hit the switch to move the curtain.
The curtain will part to reveal a giant corrupted machine, so rush to cover and open fire. Other Rejects will begin approaching you, so use Stim and move between cover, and use Flare to stun them and take them out before they detonate at point-blank range.

Note: Although it can be difficult to get to without using Stim as a defense, there is a Tri-Shot towards centerstage.
Fight off the waves of DBs, and use the Lancer GL’s alternate fire and the Tri-Shot to make short work of the boss, then exit stage right.
Take out the single DB, then head up the stairs and into the Concession area to enter a cutscene and initiate the battle with the Swarmak.

Take cover and fire at the Swarmak’s blisters to deal damage, using Jack’s Flare to stun it and get a clear shot. Much of the defensive structures in the area are destructible, so don’t stay in one place for too long.
Use Jack’s Stim to keep yourself alive and continue taking out the blisters until Cole leaves and returns, then shoot the Frag Grenade attached to the back end of the motorcycle to complete the encounter and initiate the cutscene which marks the end of Act 1.
You May Also Like
- Act I / Chapter 1 Walkthrough (Shot In The Dark).
- Act I / Chapter 2 Walkthrough (Diplomacy).
- Act I / Chapter 3 Walkthrough (This Is War).
- All Collectibles Guide.
- ALL GUIDES →


Be the first to comment