
Simulated Universe Guide
Note: Credit goes to SolCampione
Disclaimer before I begin, this is something I have thought up myself as well as taken the screenshots from the game myself so if there is any resemblance to others guides, it is merely coincidental. Further, this will contain Spoilers to some extent about the story so if you want to play the story first, I highly recommend that you complete at least the 2nd world of the story outside of the SU.
Now I will need to go over a lot of the basics of the game in order to properly provide strategies and tips so this can double as a guide for new players struggling from world 3 onwards.
Firstly, lets go over the Simulated Universe.
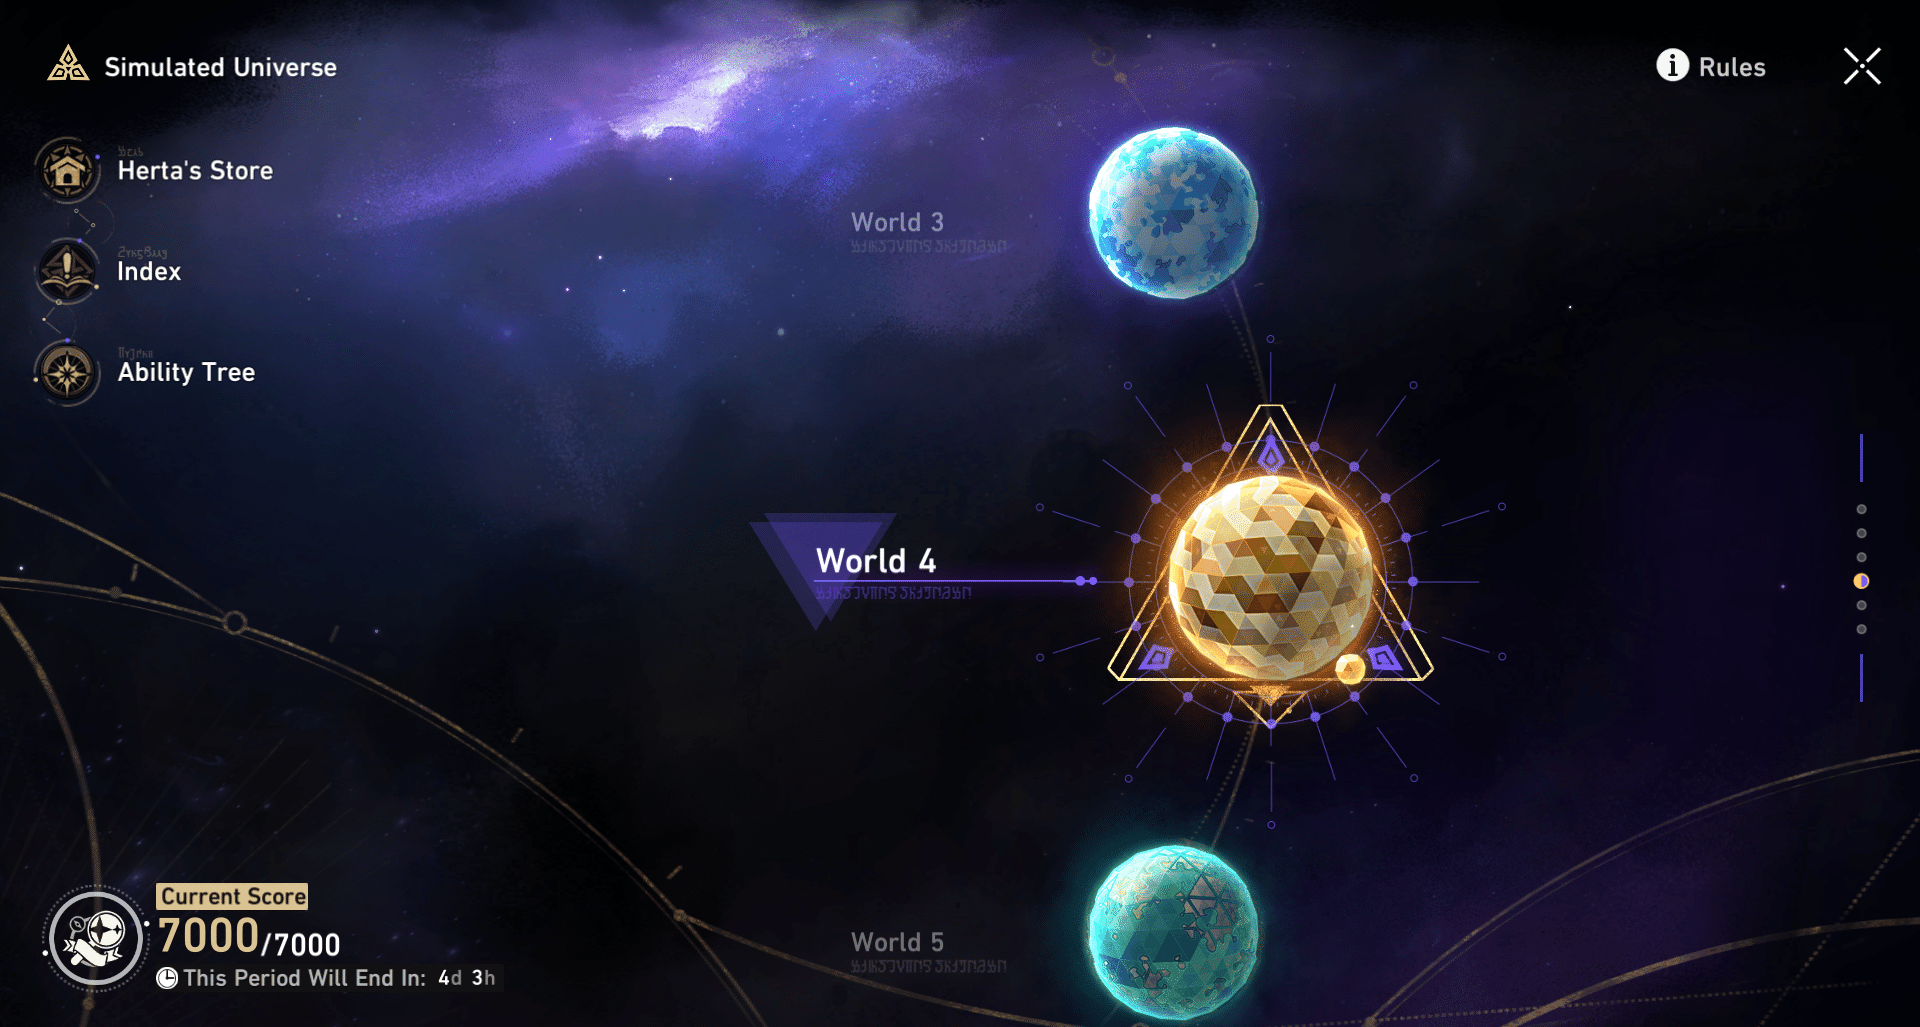
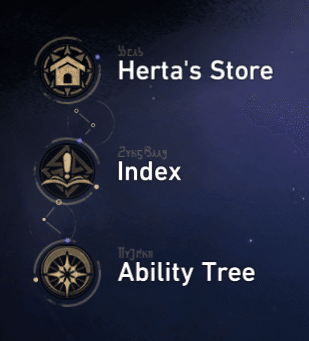
It currently ranges from World 1 to World 6, with World 1 and 2 being introductions to the SU. Each world is unlocked after clearing the previous world and generally unlocks another Aeons and Path Blessings upon entering a new world, which we will go over soon. Each world generally has 5 different area which are Combat, Occurrence, Elite, Respite, and Boss which you will learn in the tutorials from World 1 and World 2. First lets go over the general stuff such as the Index and Ability Tree. As for Herta’s Store and the score at the bottom left, they are rewards after participating in the SU and won’t affect the general gameplay which we are going over.
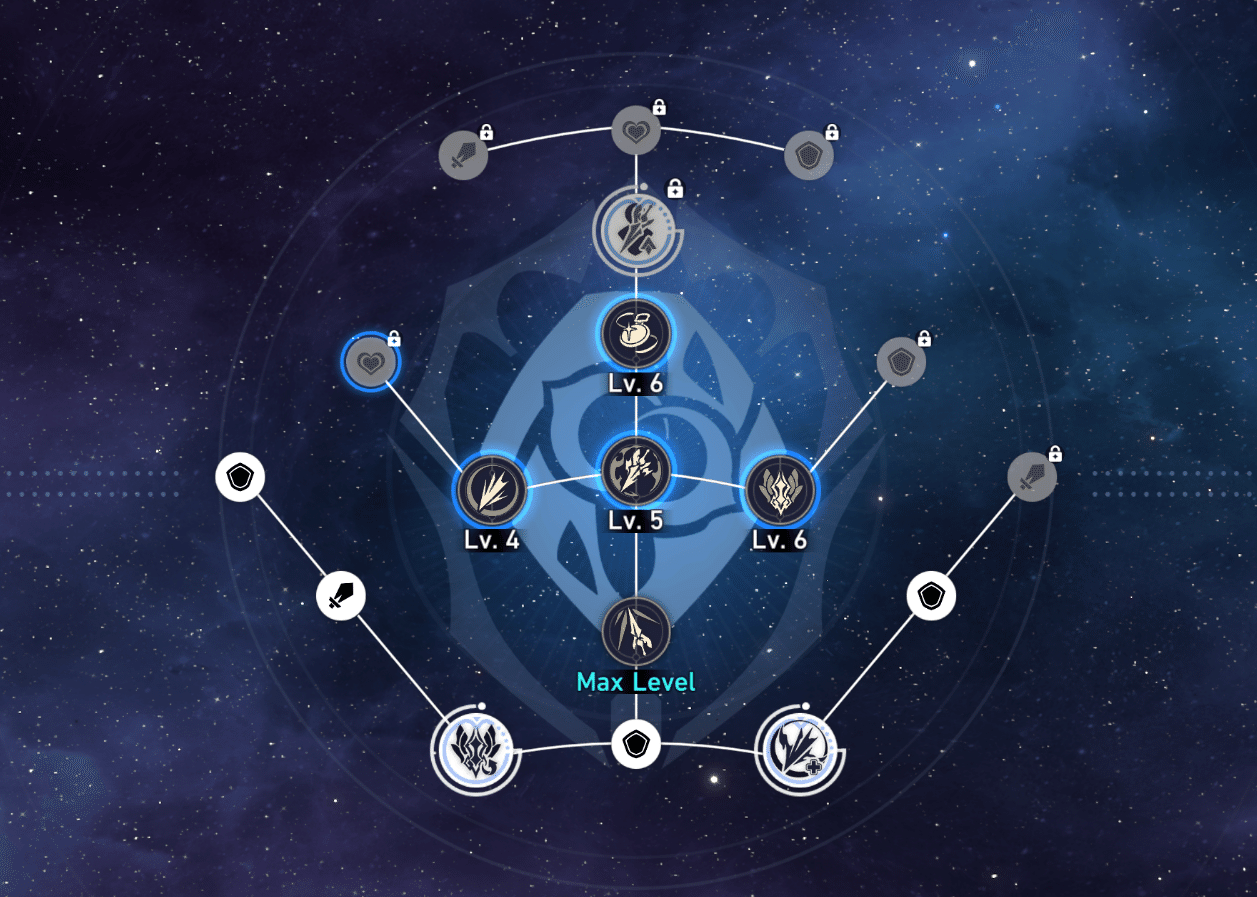
Lets go over the Ability Tree first. It is highly recommended to unlock the abilities when you can as you will earn ability points when doing the SU.

The Path of Resonance is especially good with the more abilities unlocked for it in particular as it is a ability that can be used in combat and can give several buffs or perks. However there are currently 7 Paths in total, each having their own unique perks and abilities which will correlate with their main focuses.

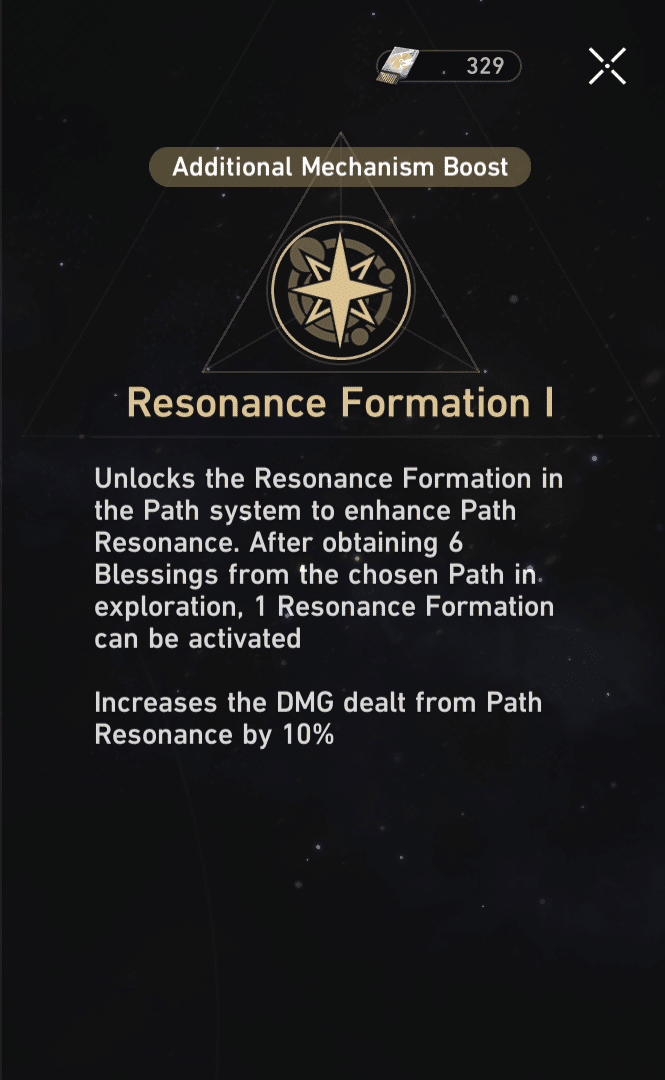
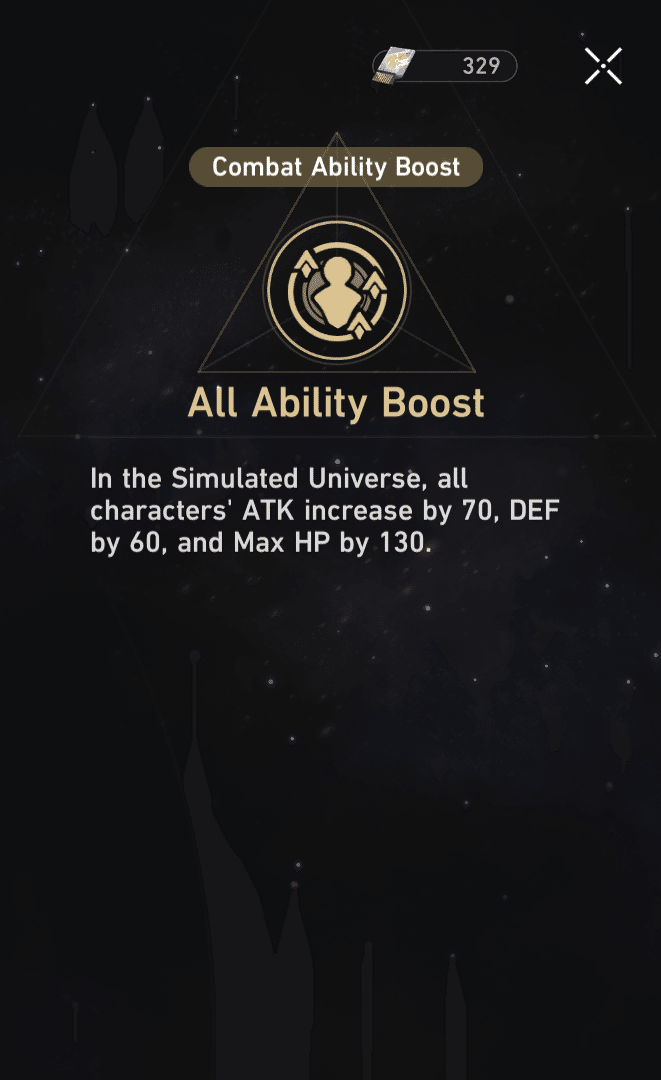
Additionally, there are ability unlocks to increase stats and some unique unlocks which can be quite helpful such as the Reviver which can bring back a downed character on your team. Here are a few examples:

Now that we have gone over the Ability Tree, lets go over the Index. Now before anyone says otherwise, the Index shows several things that you can receive per attempt at the world so going over the broad view and uses of the Index and what you will be receiving can really help in preparation.

I’d first like to go over the Blessings but each Path has it’s own set of them so here is a brief overview on Paths.


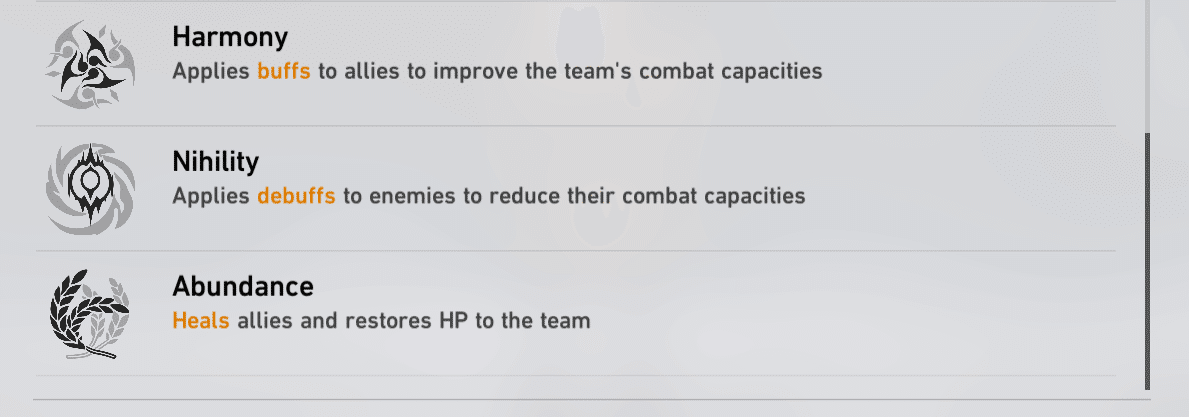
Now each Path has it’s own unique set of Blessings which can range from simple stat boosts, to unique affects that can keep you going in a fight or even healing you after certain conditions are met. They also range from 1 to 3 star rarity. Generally you can get the 1 and 2 stars from the standard Combat and Occurrence areas and the 3 stars from Elite areas but there are several exceptions such as Curios which we will go into after Blessings. Here are some examples of the Blessings:
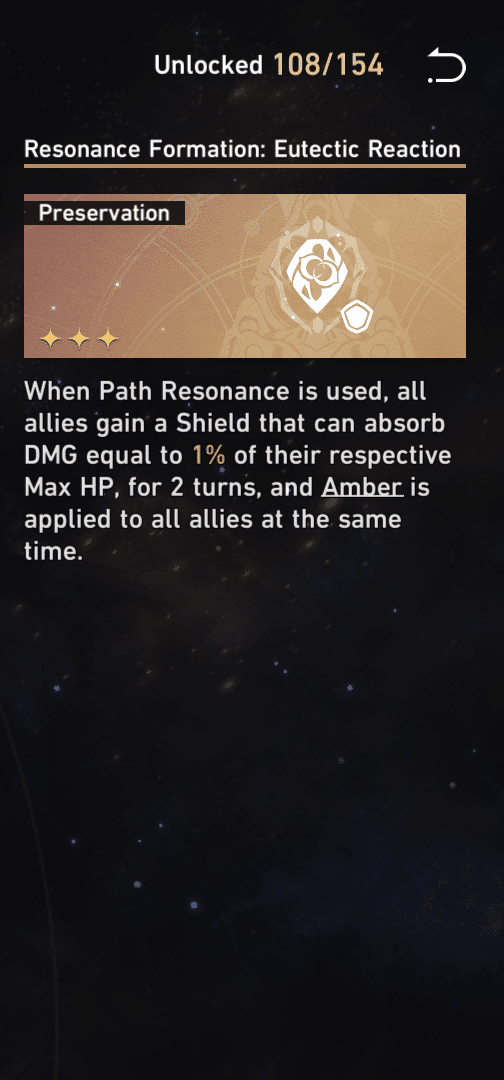

Generally the best type to pick would be which Path of Resonance you chose which should be on how your general playstyle is but there are several different blessings which can help in the broad view such as simple stat boosts and healing. They can also be enhanced with Stellar Shards which you will gain in every world which can buff the blessings further or give additional effects. Now to compliment the Blessings are these items call Curios.
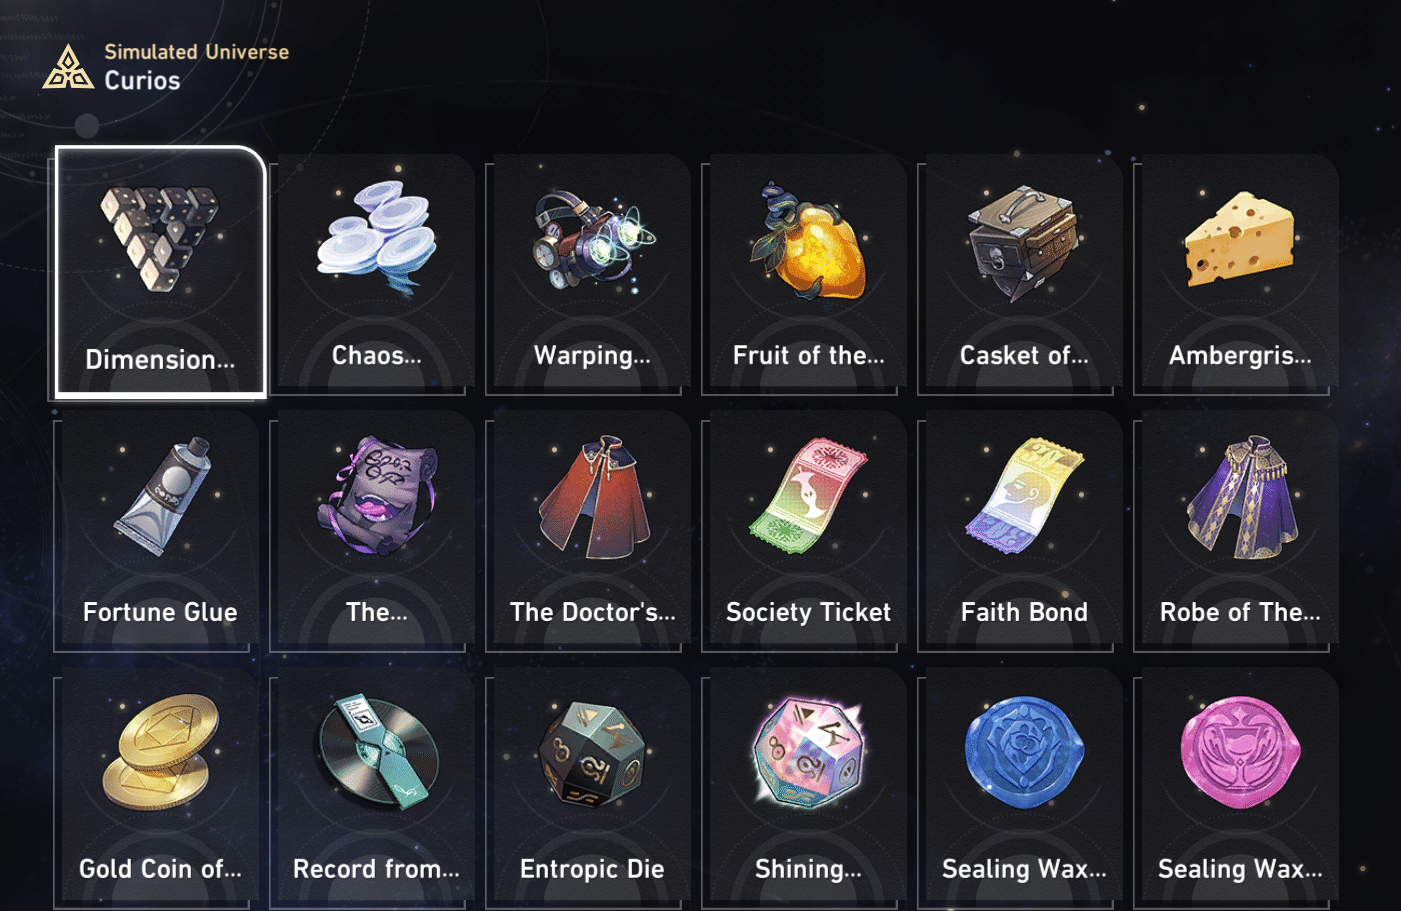
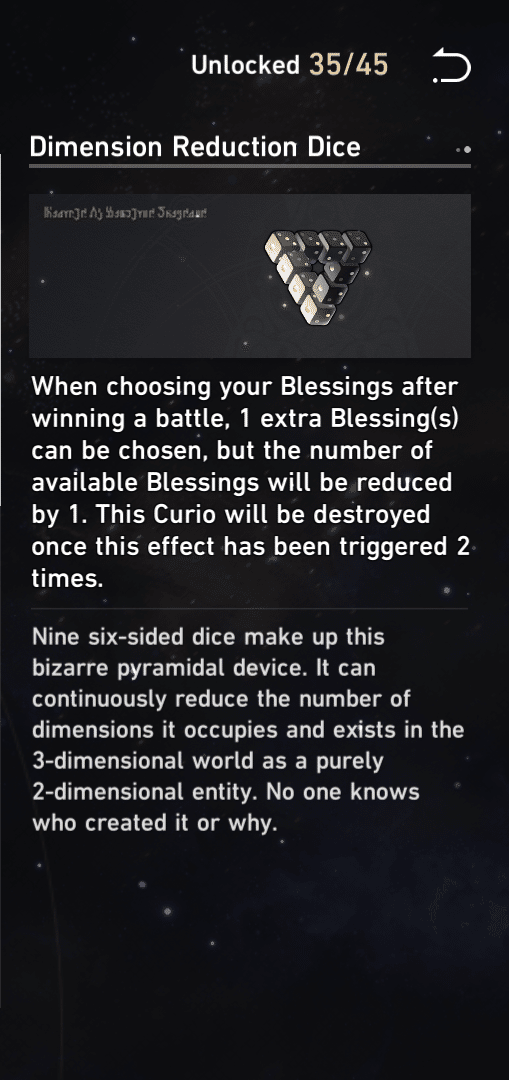
As mentioned earlier, they can help provide blessings but that is only the tip of the iceberg. Some can refill energy to you team, heal them, damage the enemies, enhance blessings, and much more. However there are Curios that can harm you as well or can completely derail your play style if you are not careful. Sometimes there are even Corrupted Curios which can appear randomly at times when exiting the Respite area. These Corrupted Curios can be fixed after 3 battles but will debuff you or buff your enemies for those battles. After they are fixed, they can have great effects for your team. It is best to collect the Curios based on your preferences and playstyle.
Now that we got the general stuff out of the way for the SU, lets go over how best to optimize your characters and prepare for it.
Firstly as with any game, it is best to max your teams level or at least to the recommended level of the world you are attempting which the best would be level 50 for World 3 to World 5. You will have trials to increase the level cap and will need materials to Ascend your characters but those will be explain through the story. We are here to prepare for the SU so I will only be going over how best to strengthen your characters for it. Now with every character, they have a set Path and Element with the exception being your main character as after you complete Belobog, you can swap between 2 of them. Since we already went over the Paths, here is a quick overview of the Elements:
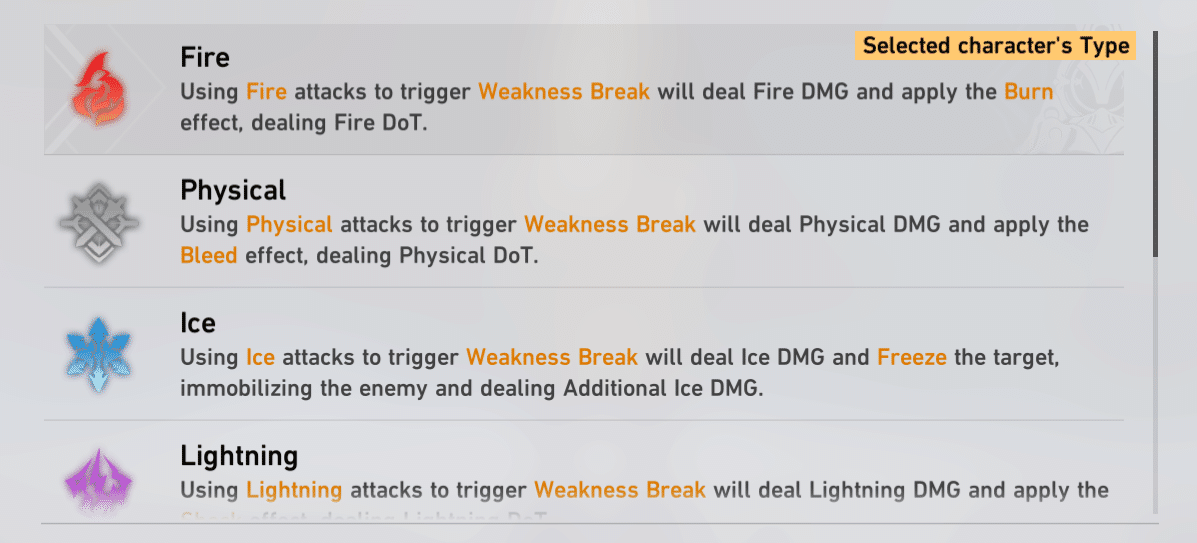
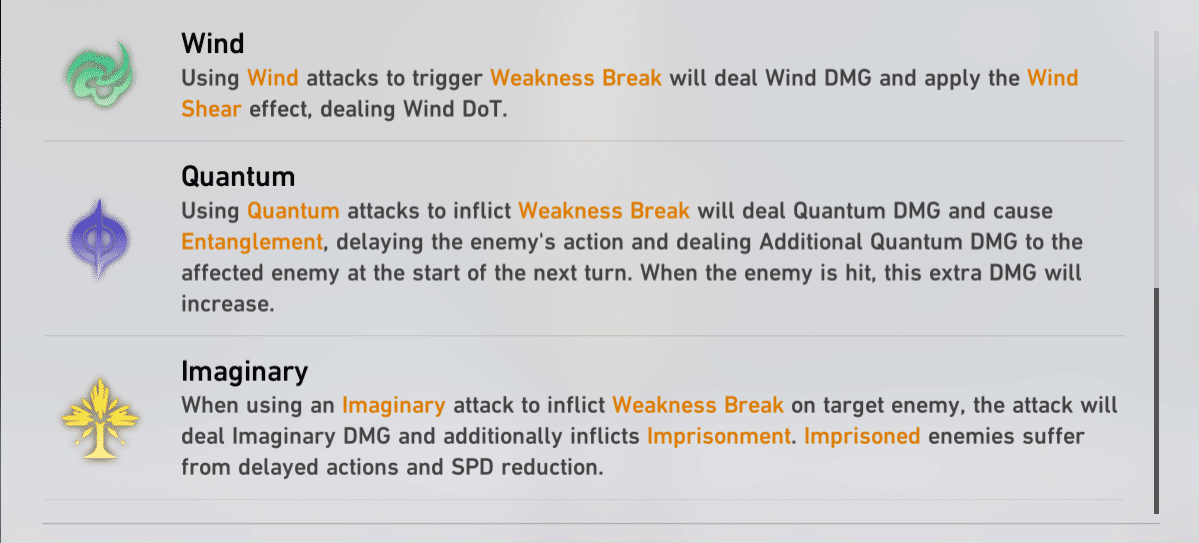
Now with each Element, there is a Weakness Break which is absolutely crucial to use not just for the SU but for the entire game. Luckily for the SU, you get a preview on what you can expect with the Elite enemies and the Boss. However regular enemies won’t be shown and will generally be based on what the type of area your in which which will be comparable to the areas from the actual story. Here is a example when preparing for the worlds.
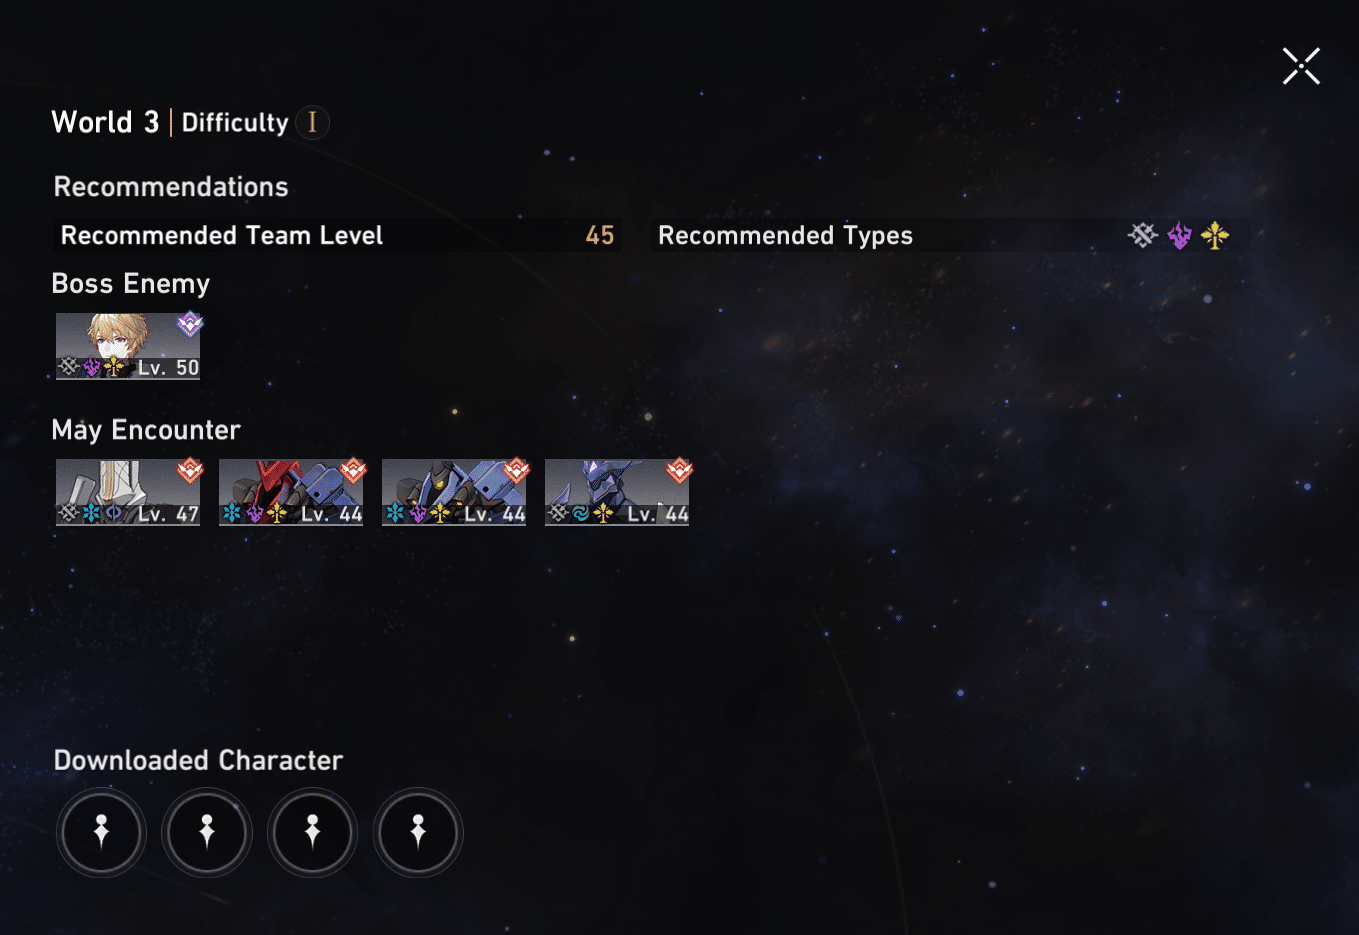
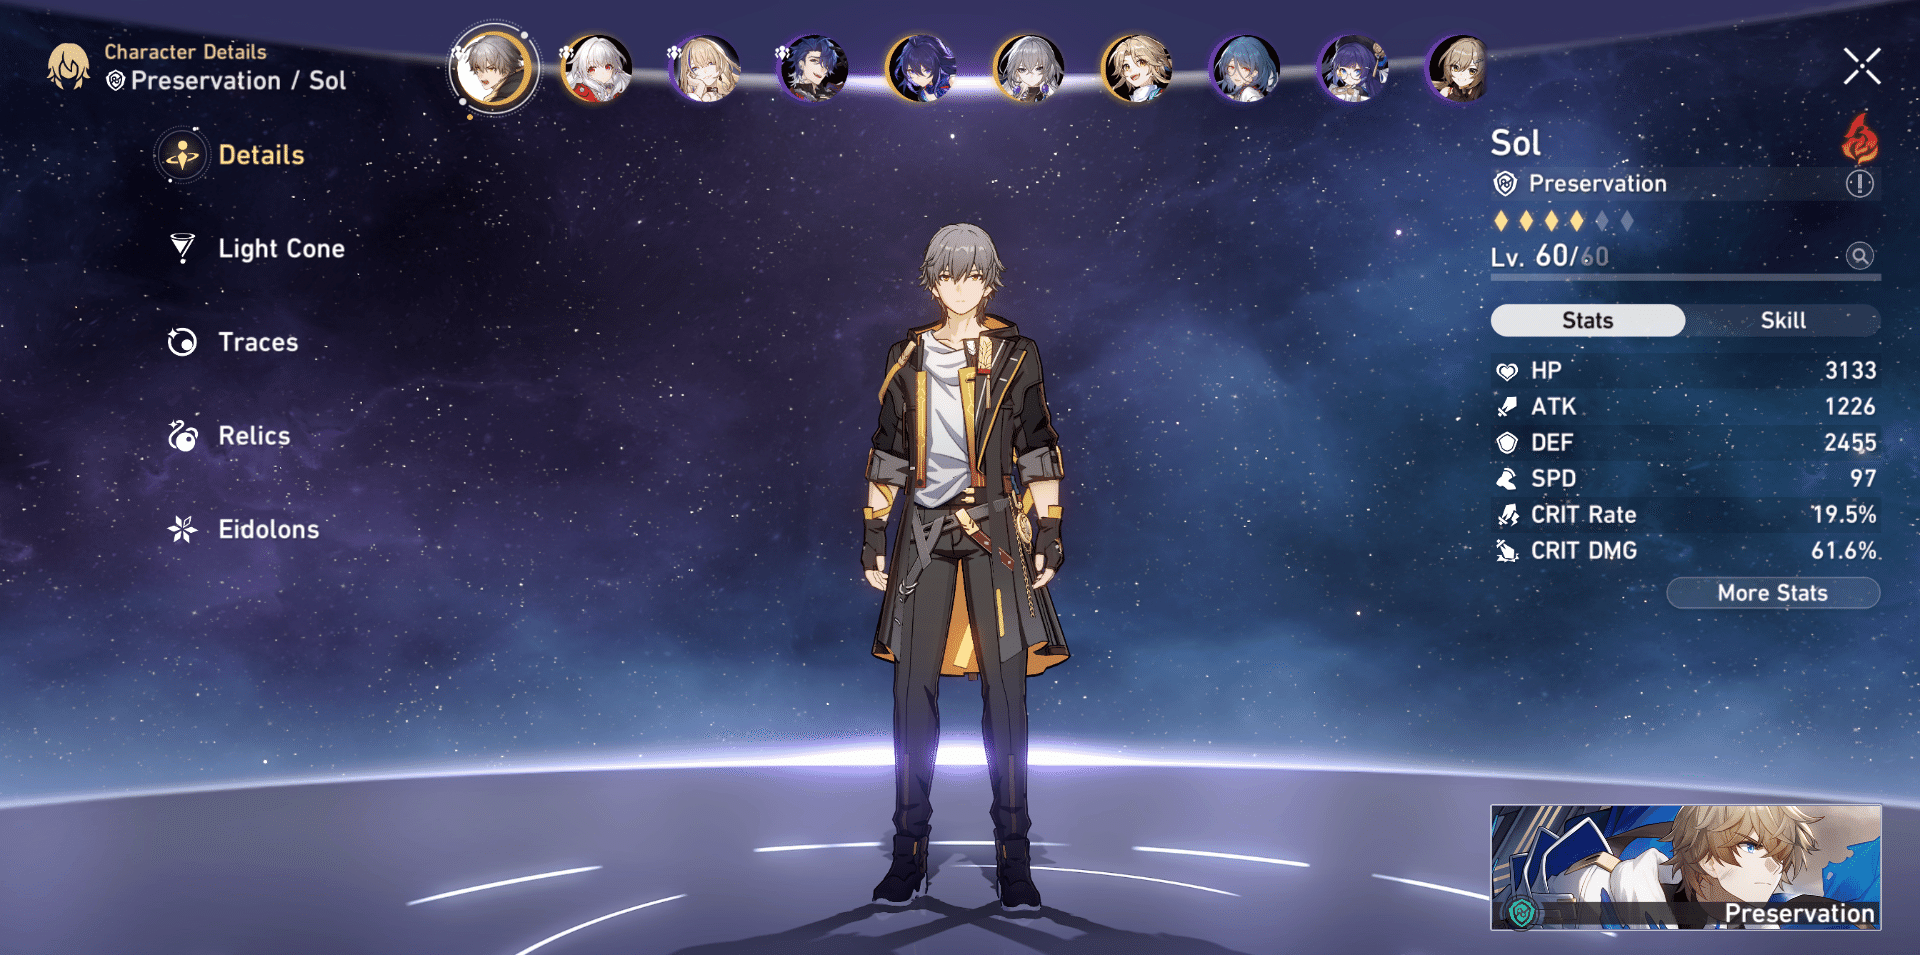
Now it is best to prepare with the recommended types as you can only start off with 4 characters on your team with no one to swap in unlike the story but when you enter a Respite area, you will be able to download another character and be able to mix and match the characters based on the enemies. Now for the characters themselves, each have a general overview of basic stats and can view an even broader view of all their stats but for right now, I am just gonna go over the basic ones which will be Health, Attack, Defense, and Speed. I’m sure everyone here who plays games already know what they mean but depending on the Path and Traces of a character, can have a big impact on which stat should be increased. Additionally, Paths can also have a big impact on what type of Light Cone you should use. Here is an example of a Light Cone.
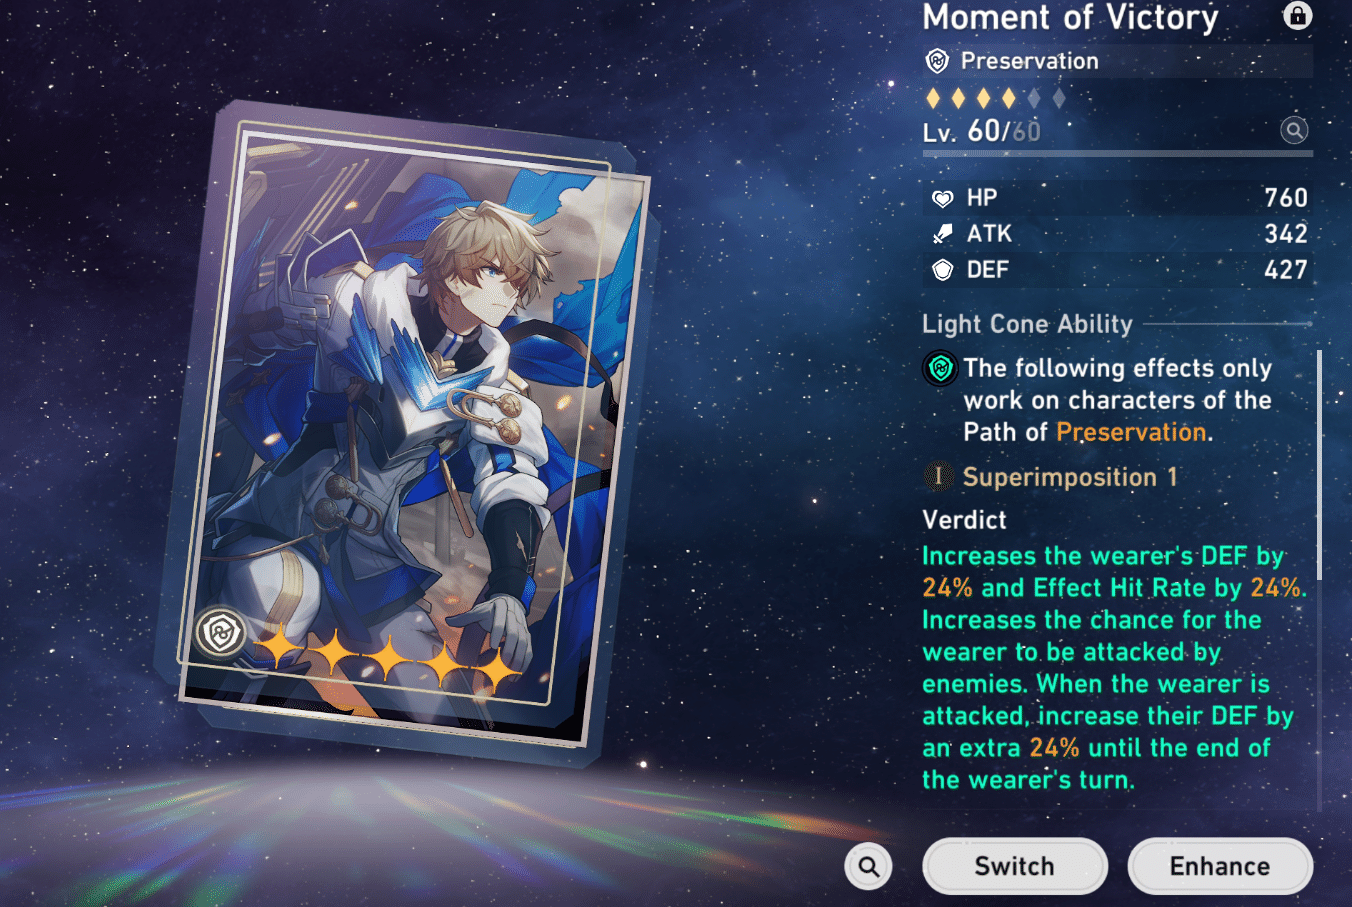
Now Light Cones can be leveled up to the same max level as your characters and will give a boost to their health, attack, and defense as shown above but in order to use their abilities, they must be the same Path as the characters you are equipping it to as some of the effects, especially the 5 stars, can be quite good. Superimposition can increase their unique abilities further but to do that, requires the same exact Light Cone to do so.
Another way to increase your stats are Relics, which are probably the biggest stat boosters in the game.

Now in regard to Relics, rarity makes a big difference for them unlike Light Cones. It is highly recommended to have at least 4 star Relics as they give much better buffs then 3 stars and can be enhanced further. With these, they can give set effects which can increase stats and effects. They can be enhanced using other Relics as materials which will enhance their primary stat buff and can either add another buff or enhance a secondary stat buff. Now they can give unique stat buffs but the major thing is that unlike Light Cones, Relics, can give buffs by percentage instead of standard numbers along side their set effects. So instead of around a 400 attack increase, you can get a 50% increase of your attack which would be around a 600 attack increase. The 4 on the outer ring you can get from places throughout the story but the 2 in the second ring in the middle you can only get from the SU. Now for the type of Relic and what stat you want to increase should be based on your playstyle and characters Traces and Path as a heavy increase in attack on a Preservation character isn’t exactly the best choice but giving speed and attack to a The Hunt character or Erudition character can make battles a lot easier. Now lets move on to Traces:
Traces are generally the characters skills and talents. They can easily be forgotten pretty easily as they require materials that you would need to farm but it is necessary. Reason why is cause they can increase the amount of damage your basic attack does (Which will always be a % of your attack), the strength of your skill, enhance your Talents effects, and enhance your ultimate attack. Further as you ascend, more effects can be unlocked as well as stat increases which adds up. Now for the last piece of information on characters would be Eidolons.

Now these are generally forgotten about due to the fact that you have to pull the same character again in order to unlock them but these can have a major effect on the character, especially when completely unlocked. Now the exception to this is once again, our MC, which you can collect his Eidolons as you go through the story, unique shops of each planet, and missions so it is best to explore a bit to find them. Now lets get onto the conclusion.
To take on The Simulated Universe, there is no real defined path on which way you want to take them on. The Blessings and Curios you get during the challenge are in general random so knowing what can make things easier and preparing your characters in accordance with your Paths, Elements, and Relics can greatly increase your chances. Giving a set strategy to complete something easily is no fun in my opinion as I always like some challenge to the game and there is always the chance of not having the exact needs for a set strategy. Of course having a wide variety of characters to use and a bit of luck can really help out. Hopefully this guide is helpful to you and good luck.


Be the first to comment