
Welcome to this humble 100% achievement guide for Mercenaries Rebirth. I hope it helps you save some time when you decide to go for full completion. Excepted time to complete will be anywhere from 50-60 hours for first-timers to the series.
Table of Contents
Mode (Mutually Exclusive) and Routes
Note: Credit goes to Jedo
Beating the game in Maniac mode will not automatically unlock the lower difficulty completion achievements. A minimum of 3 completions are required to 100% the game because Hard and Maniac difficulty are not available on your first run.
What are the difference between modes?
| Difficulty | Easy | Normal | Hard | Maniac |
| Enemy Stats | Stats = 80% of Normal | Stats = 100% of Normal | Stats = 130% of Normal | Stats = 140% of Normal |
| Equipment Swapping (Battle) | Unlimited | Unlimited | Consumes Action | Not allowed |
| Turns before Retreat | 8 | 5 | 3 | 2 |
Keeping this in mind, Easy is the most efficient difficulty to farm in since it’s just faster overall. SP, Gold, and Magic Items all carry over in NG+. Regular items (colored white) and consumables do not.
Story Routes and Key Differences
Without spoiling much, the difference between routes (other than the bosses) are as follows:
Duel Route
For your 7th and 8th character slots, you get a support/mage hybrid character with Item Potency as one of her main selling points. You also get an assassin-type character.
Siege Route
You get a gladiator-type character with Swagger (escalating provoke) and Sasara Strike (BIG DAMAGE attack based on aggro-level). Additionally, you get a mage/knight hybrid character who excels more at being a mage (good element coverage).
Third (Talk) Route
You get an avenger-type character with Sasara Strike (see above) minus Swagger. Additionally, you get the best mage in the game with huge range and access to the strongest Dark Magic in the game. Talk route is not available until after you beat the game once.
My Personal Recommendation (1/2)
1st Run – Easy – Duel Route:
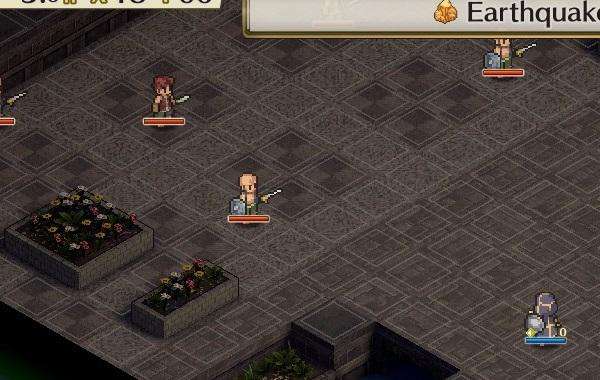
Grind to level 99 on this mode with Silas’ Earthquake. There’s a huge exp bonus for hitting/eliminating higher level enemies. There’s also a penalty for doing the reverse against lower level enemies. Despite this, the penalty doesn’t matter after a certain level gap because it can’t get any lower to a point.
Proof of Growth
Party member reached Lv.99
Along the way, farm Puzzle Pieces from the Stellar Steed Free Battle (FB) so you can buy all the class scrolls (6 characters * 2 class scrolls * 2 puzzle pieces each = 24 puzzle pieces needed) for you main 6 characters. I didn’t bother buying the scrolls for the 7th and 8th character because once you reach end-game in easy mode, you will breeze through the last chapter and you’ll never see the duel-exclusive characters again (if you are just going for the 100%).
Once you get enough SP to max all of the Main Character’s (Irvin) skills, you can ditch grinding with everyone and just pick the highest FB that Silas can solo 1-turn for the fastest exp and gold. That’s because the 7th/8th character from other routes get the same starting SP as Irvin.
After each battle, check the shop’s magic item category to look for the following stats:
- ALL-RES (up to +15)
- PHYS-RES (up to +25)
- FATAL-RES (to +100)
- PTRFY-RES (to +100)
- MOV (up to +2)
- ATK/MATK (up to +25)
- MPR+% (up to +10%)
- INT/STR/DEX (up to +25)
This list is sorted from most to least valuable. I place MOV+ above MPR+% because you will always have Anastasia who can refill MP by using MP-AoE consumables to greater effect due to Item Potency.

Note: Finding the highest version of these stats is up to RNG. If you are unlucky, you will have to synthesize (combine) the stats until they become the highest version. This will cost a lot more gold. At a minimum, your goal is to fully equip 6 characters with +100 ALL-RES and +100 PHYS-RES to create an invincible 6-man team for harder difficulties. The last 2 gear sets are optional, but they will require 1 Mithril Heavy set, and 1 Mithril Mage set. See the Resources category below for a link to an insane spreadsheet that has a shopping list (and a lot of other useful info) that will help immensely. I don’t recommend grinding this in Hard mode because it just takes longer. With the full resistance gear sets farmed in Easy, you can even start the hardest content, the Dungeon of Trials, at around level 45 without worrying about dying and overgrinding.
As you complete the story chapters for the first time, you will naturally unlock these 6 achievements (for completing chapters 1, 3, 6, 9, 12, and 15) prior to selecting a route:
My Personal Recommendation (2/2)
2nd Run – Hard – Siege or Third Route:
If you fully farmed that resistance gear (and the fatal+petrify res) per my recommendation, the next 2 runs are very straightforward. You’ll basically be invincible except for the last boss in Third Route (she can damage you past your full resistance using a move called Abyss Shock).
You can save a ton of time in these next few runs if you completely ignore items (yellow glowing things on the ground) and the treasure chests. Opening chests only gets you a bit more SP than usual — something you no longer need since you probably farmed enough SP during your first run. Don’t be afraid to kill things quickly in the story battles (red text) since EXP is easily acquired when you are underleveled attacking/finishing higher level enemies. It’s even easier combined with Silas’ Wisdom skill (+100% EXP gain). I use FB to even out my party levels by bringing Silas along and buffing the underleveled character and setting them up for big AoE kills under the +exp% effect. I only bring Silas and the underleveled characters for the sake of speed.
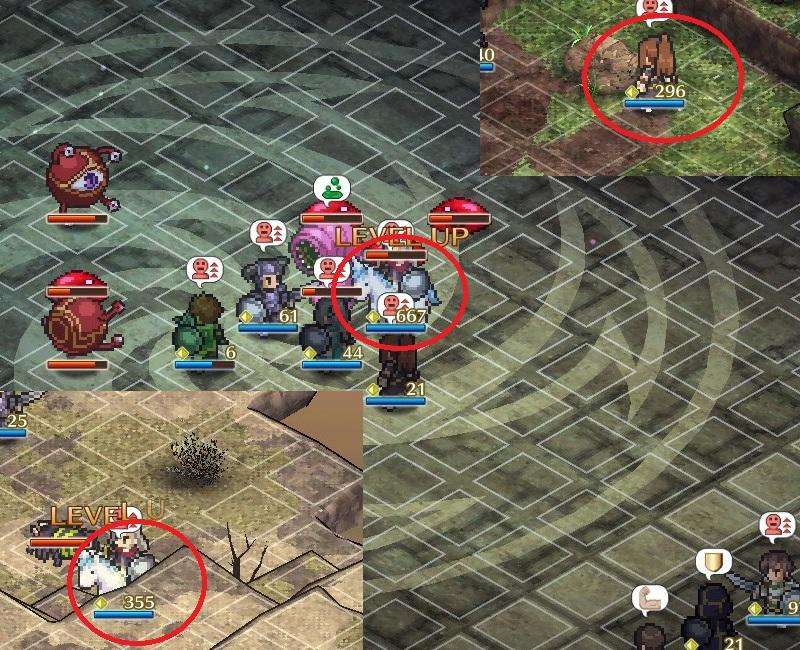
Note: The number below the character is the exp gained for that move (each 100 = 1 level)
Once you obtain your last 2 characters for that run, I suggest starting the EX battles. They’re not hard and you can bust through all the mechanics if you have your resistances up to par. See the EX Battle category for brief descriptions of each battle.
After beating all the EX Battles, it’s time to complete the Dungeon of Trials. See the Dungeon of Trials category for more information.
2nd Run – Maniac – Third or Siege Route:
Same as in Hard mode, the only difference is that enemies are beefier and hit harder (very noticeable/impactful on your mages that may be lacking PHYS-RES). Of course, none of this matters with full resistances. I completed Maniac in about 6 hours due to skipping the EX Battles and the latter half of Free Battles. Just remember to even out party levels if any of them get too underleveled for the recommended levels noted in each battle (there’s a Reference Level indicated on each one).
EX Battles
Forbidden Experiment
Cleared EX stage 01
Nothing special. Just 4 robots with different weaknesses/resistances. They can heal themselves and cast their appropriate elemental magic but that’s it.
Brawl in the Mines
Cleared EX stage 02
Same as above, different colored golems with varying levels of resistance to Fire and Physical attacks. Bring PHYS-RES and FIRE-RES to nullify all of their damage sources. This is also a great level to farm Puzzle Pieces in case you still need some because each golem can give you a puzzle piece (for a total of 9 pieces) if via Steal. If you want to speed up the stealing process, buy the Bandit’s Shoe item in the magic shop. It will drastically increase your steal success chance.
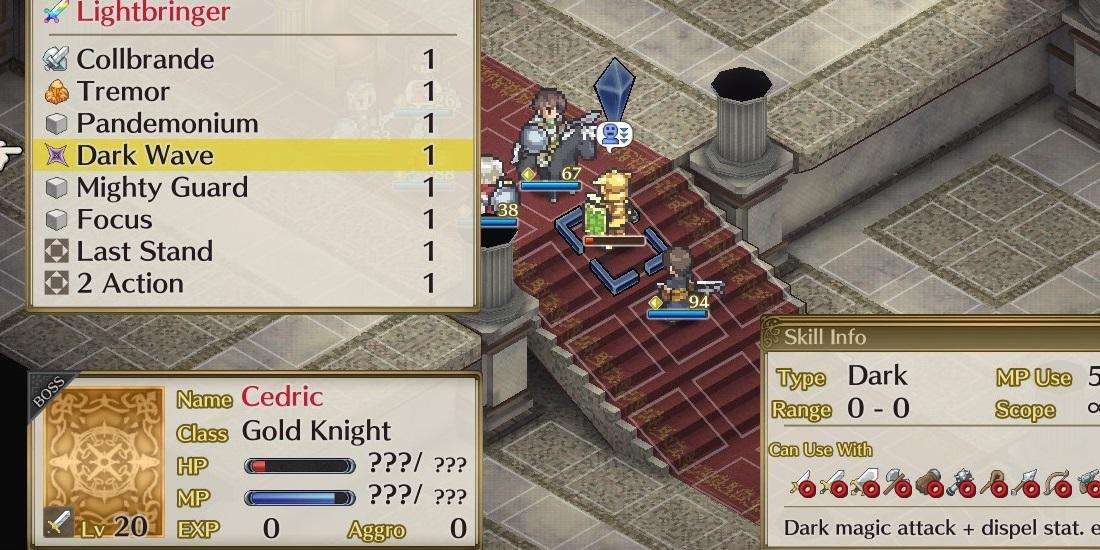
Golden Knight
Cleared EX stage 03
Kill the towers (weak to dark element) first since they summon more minions and can globally buff enemies with a Battle Flag effect (ATK, MATK, HIT +100). The bugs have an AoE poison attack. The Golden Knight has a holy basic attack, dark pbAoE attack, and an Earthquake attack.
Goddess Shield
Cleared EX stage 04
Once again, kill the towers first (weak to dark) for the same reasons as above. The unicorns are mobile and have a pbAoE physical attack, and an AoE holy attack. Eugenia has a Tonberry-like death move that ticks down each turn. bring HOLY-RES and PHYS-RES. To stop her annoying attacks, use Clifford/Douglas’ Rebirth Exceed, Mana Depletion, to keep her MPR at 0 for a few turns. I believe there are also Ice magic attacks that can also apply MPR 0 so keep stacking that on her until she dies.

Dungeon of Trials
Trial Master
Cleared Dungeon of Trials
I don’t recommend attempting this achievement without full resistance gear for 2 reasons.
- Getting wiped partway is a huge waste of time (hours and hours)
- You will need to spend extra hours grinding in Hard/Maniac to get a level advantage enough to mitigate the stat difference between you and the enemy. This is what I did in Mercenaries Blaze and I do not recommend it for the sake of the faster 100%.
Overall Strategy
Use Irvin’s Leader skill “Weakness Finder” (elemental attacks that enemies are weak to will hit 100% of the time) to ensure all your attacks hit. 7/10 floors are susceptible to holy attacks. This means:
- Douglas/Clifford/Leonard/Kiera will be effective due to Holy attacks in their arsenal.
- Rick can give your team holy attacks with Holy Weapon.
That’s 7/10 of the floors accounted for. What about the rest?
Floor 5 – weak to both FIRE and EARTH
Floor 9 – everything is weak to Dark
- Clifford/Douglas/Silas/Desmond are particularly effective here due to their dark attacks.
- Artifact Weapon (Defender and Supporter) both heal for quite a bit of HP so focus those first by employing MPR 0 tactics and focus fire tactics.
Floor 10 – everything is weak to FIRE and WIND except for the golem (only WIND)
Other Achievements
Unlocked Intermediate Class
Party member changed to Intermediate Class
Unlocked Advanced Class
Party member changed to Advanced Class
Unlocked Special Class
Party member changed to Special Class
Intermediate classes are unlocked at level 10. Advanced/Special classes are unlocked at level 20. However, Special classes require a class scroll before it can be unlocked. Each character has 2 Special classes and each scroll costs 2 puzzle pieces. All classes require SP to unlock.
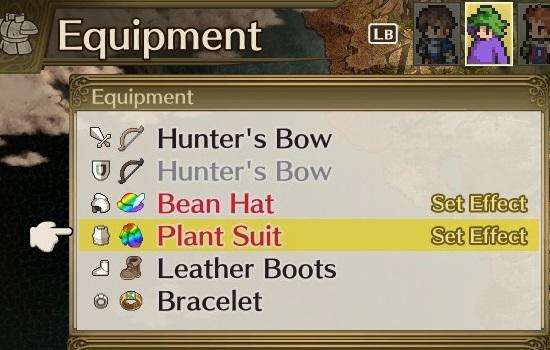
Mascot Costume
Dressed up party member to look like a mascot
The earliest you can get thist is after unlocking the Bean Hat and Plant Suit via Free Battles. Simply equip these to trigger the achievement.
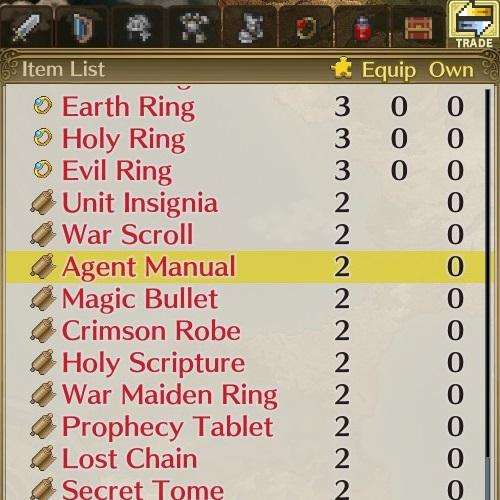
First Trade
Traded a puzzle piece for rare equipment
The rare equipment is the last tab on the regular shop menu. You can get puzzle pieces from completing story/free battles, stealing from certain enemies, etc.
First Synthesis
Used Synthesis to create a magic item
Synthesis is one of the options alongside the shop menu. It imparts magic item (blue items) stats into other weapon for a price. The first slot can either be a blank (white item) or a magic item, but the second slot has to be a magic item.
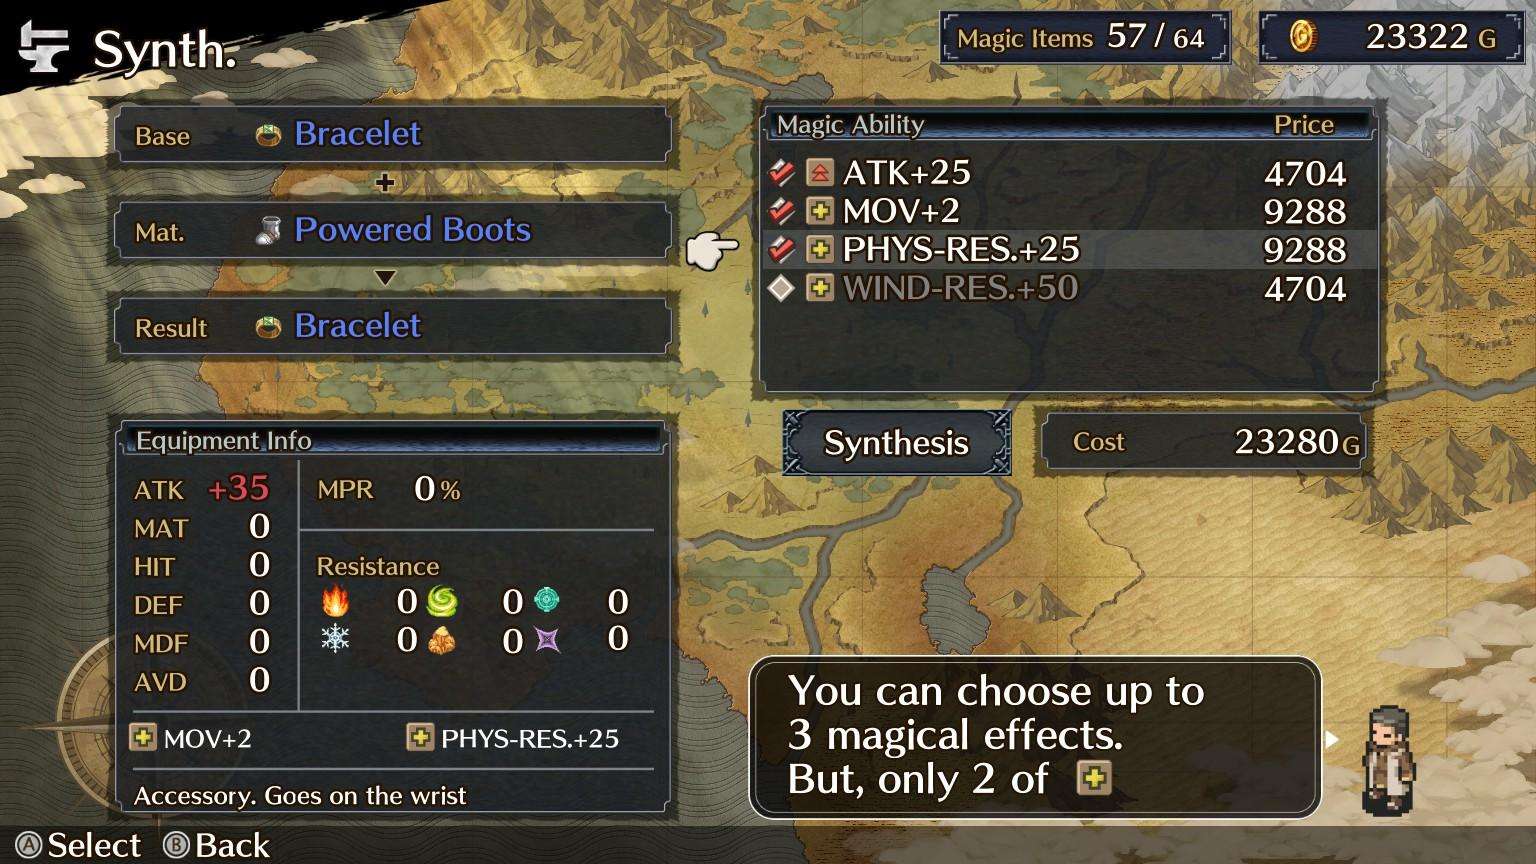
Synthesis Master
Used 20,000G on synthesis to create a magic item
Just like in the first game, certain combinations of advanced stats will cost 20,000+ gold to synthesize.
Rebirth Exceed
Used a Rebirth Exceed skill
Your exceed skill is at the very top of each character’s skill list. You can use it once the green bar on the top right of your screen fills up to at least 1 charge. It takes about 3 turns of everyone in a 6-man party using up their turn to charge the green bar to 1 full charge.
100%!
Wild Lynx
Unlock all achievements
Congrats on completing Mercenaries Rebirth! If you have any questions, feel free to shoot a comment on this guide. I’ll try to reply in a timely manner for as long as the info is fresh in my memory.
Be the first to comment