
This guide covers an introduction to what Phasmophobia is and how it works. It also covers the various items/gear you can bring on ghost hunting missions, as well as my strategy I use during missions that can apply to both the solo and multiplayer experience to identify the ghost and complete other side objectives. Lastly, it will discuss how to deal with the ghost when it enters hunt mode to try and kill you or your fellow ghost hunters.
Table of Contents
The Game and Gameplay Basics
Note: Credit goes to Ramz
Phasmophobia is a ghost hunting horror game where you and up to 3 friends can hunt down and identify ghosts. This game can also be played in VR, which seems like a blast. I hope to get a VR headset soon so I can try it for myself.
There are three difficulties for ghost hunting missions: amateur, intermediate (unlocked at level 10), and professional (unlocked at level 15). Amateur gives you a 5-minute grace period from when you open the door and enter the house until the ghost starts to become active. The ghost activity is based on how low your sanity is. Sanity starts at 100% and will decrease over time, but on the amateur and intermediate difficulties, the grace periods help keep your sanity high (and as a result, the ghost activity low). On intermediate that grace period drops to 2 minutes, and on professional it is a whopping 0 minutes…
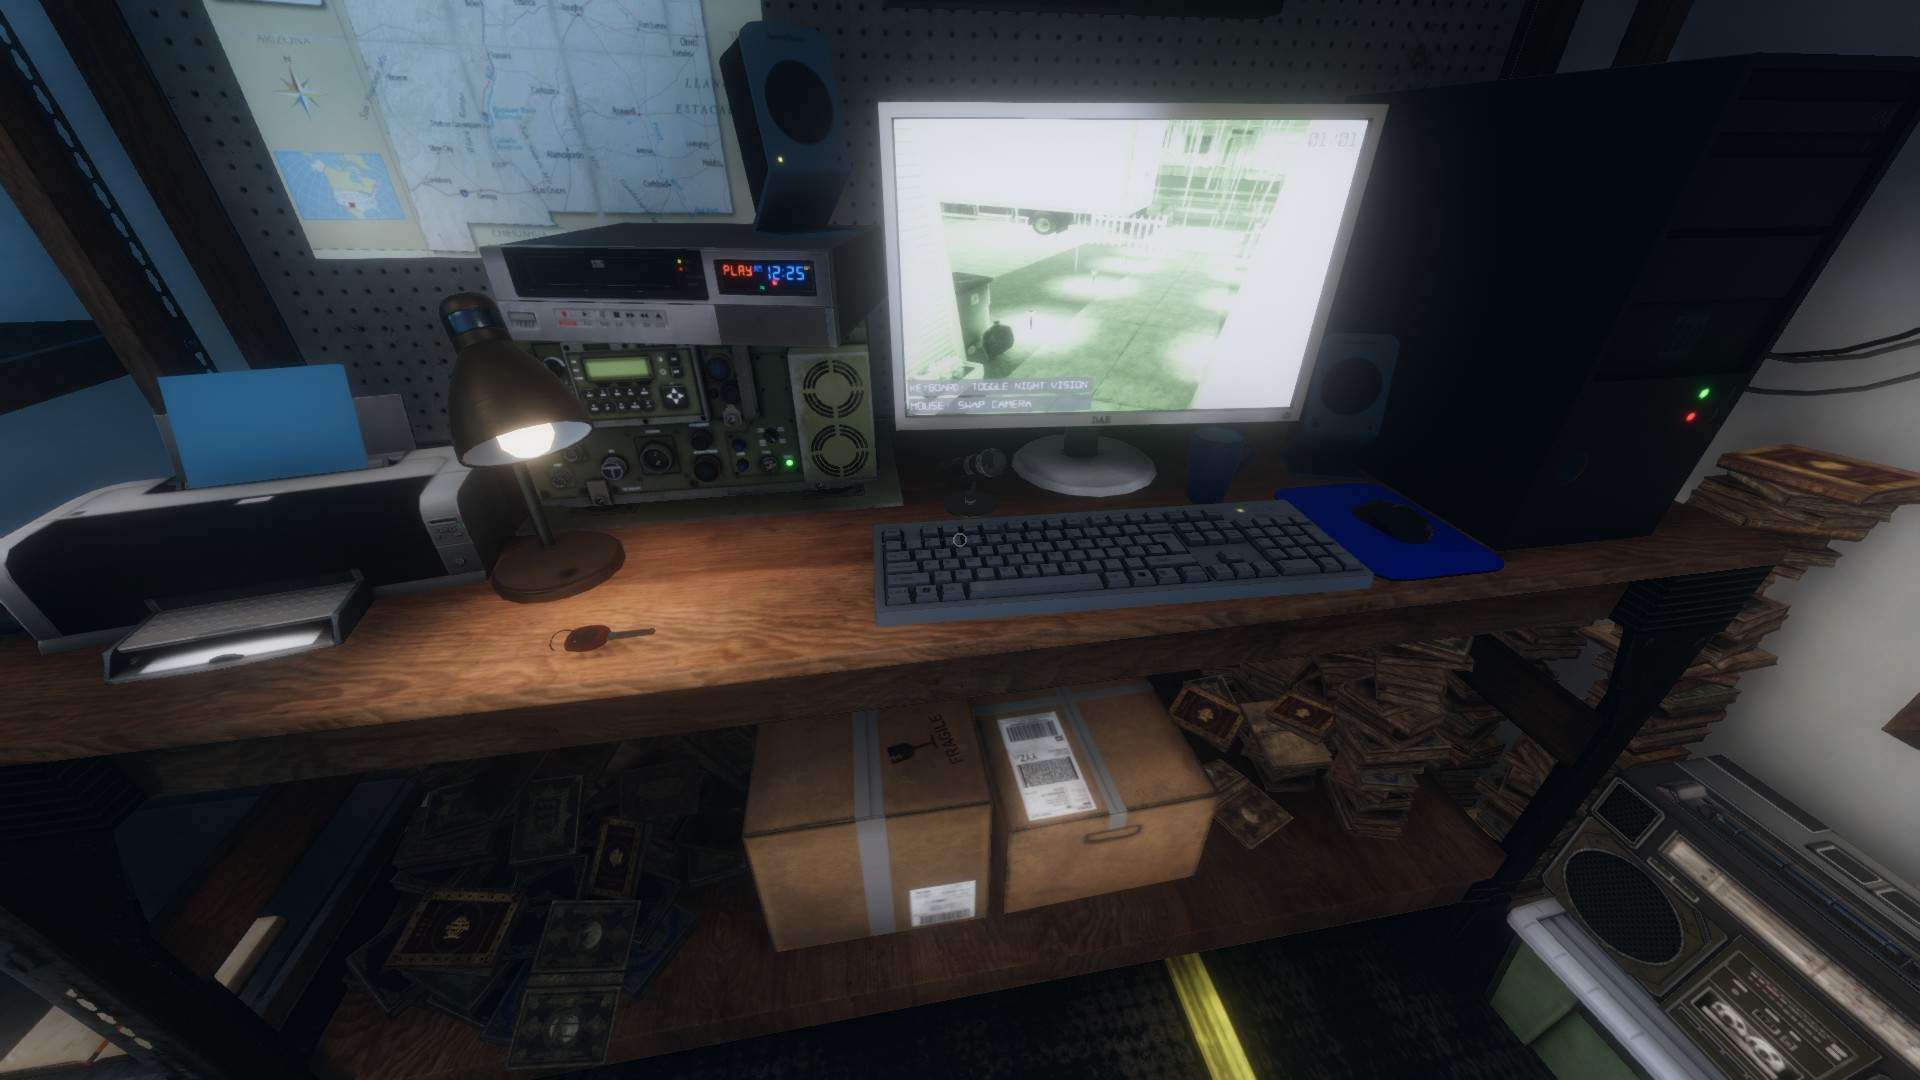
When you launch a mission, you start in the van where you can grab your items, view the objectives for the current mission, and develop a plan to track down and identify the ghost. The white board will highlight your four objectives (one of which is always to identify the type of ghost you are dealing with), as well as give you the name of the ghost and whether or not the ghost prefers to be with people alone or in groups. Be sure to remember this information, for the ghost’s name can anger it and make it more likely to show itself for pictures, etc., and knowing whether it likes solo ghost hunters or everyone will influence how you use items later on.
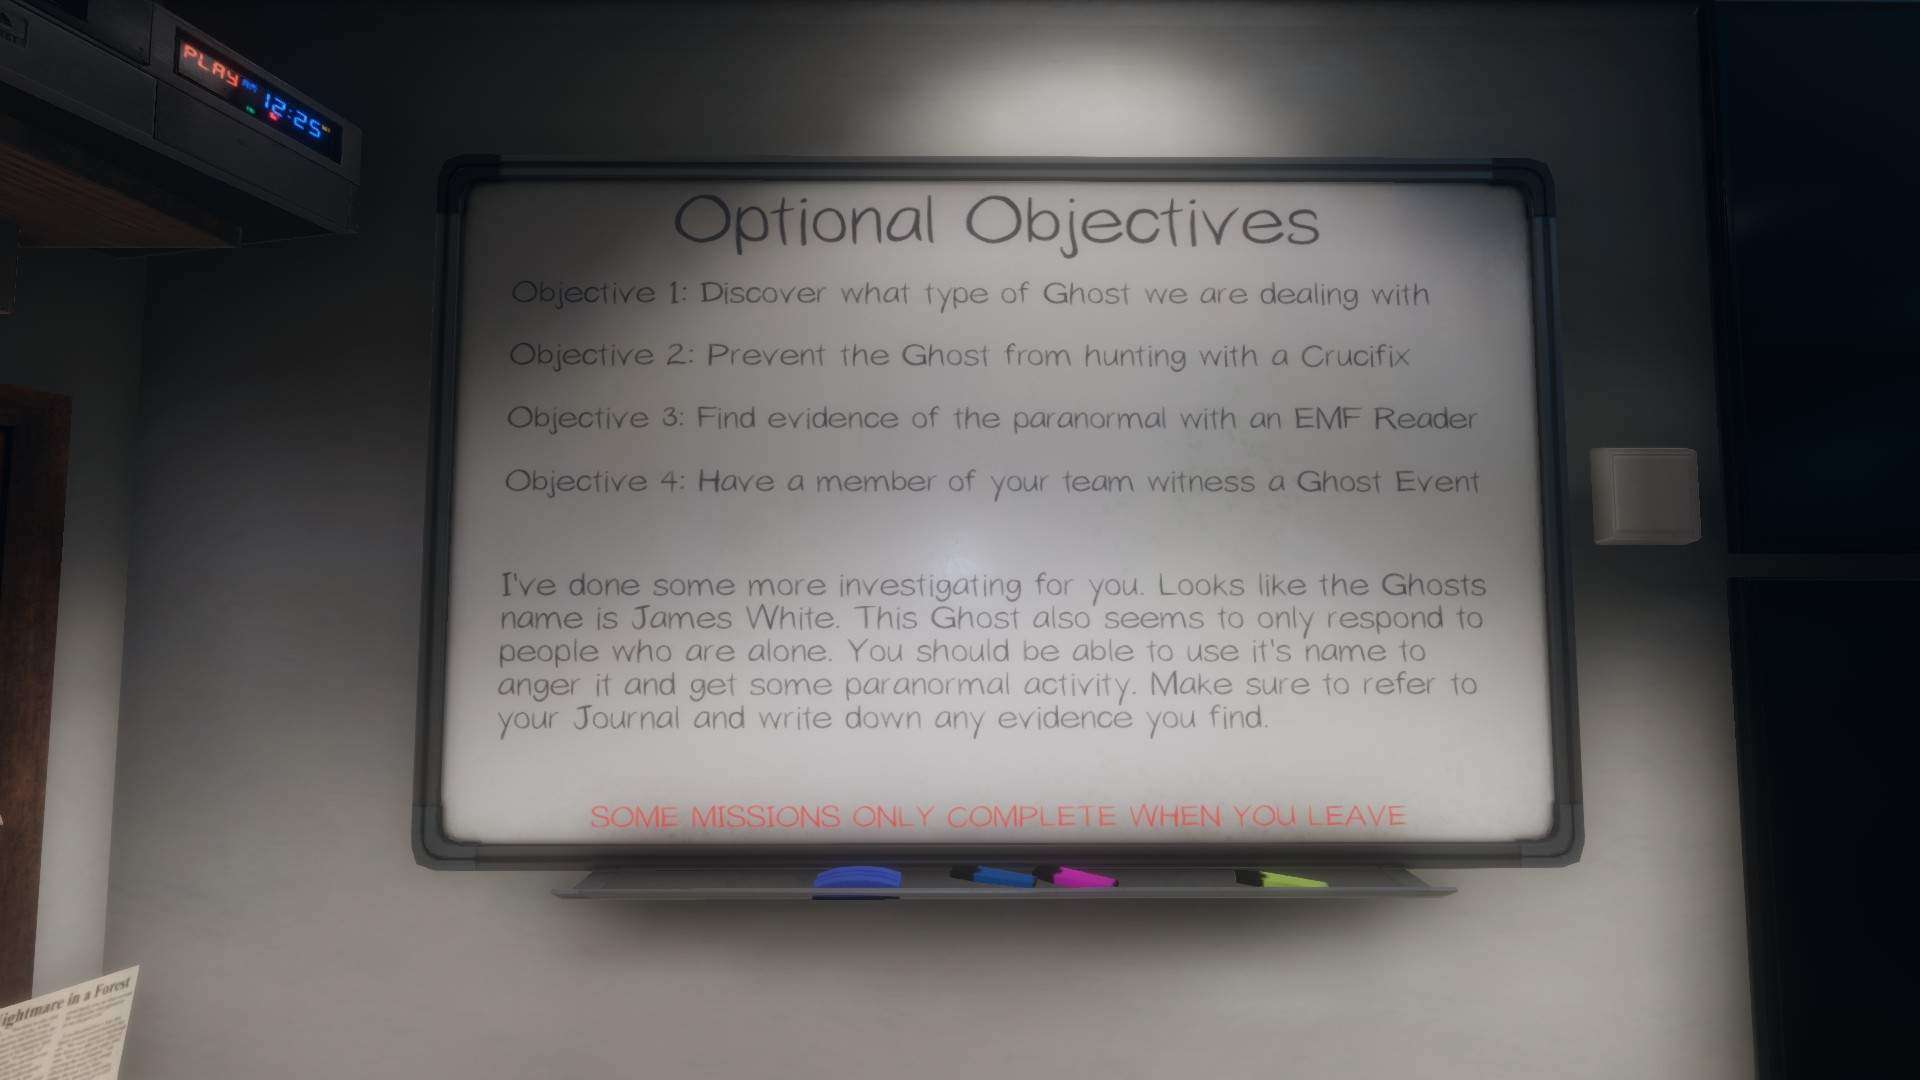
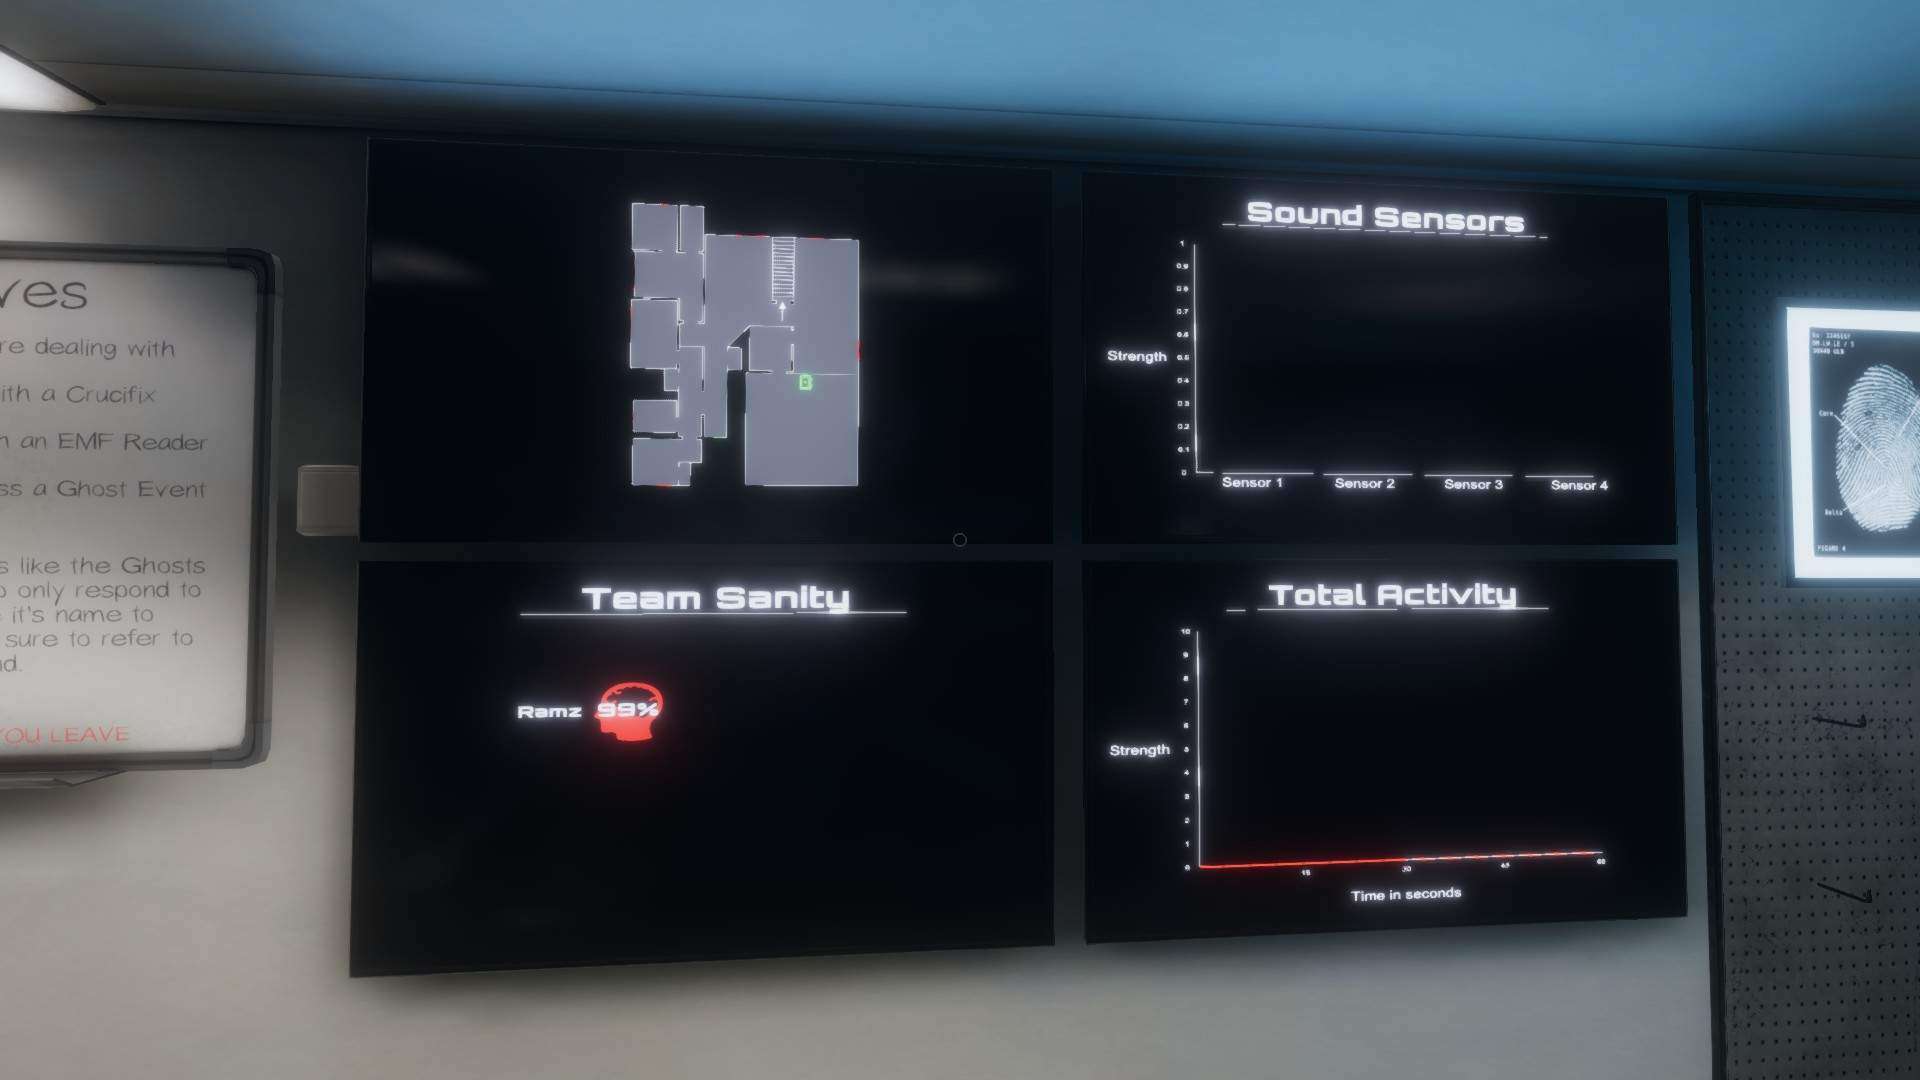
The van is your safe place: there is a computer to view cameras (top image on right), a white board to reference your objectives (middle image on right), and a panel that shows all players’ sanity (starts at 100% and drops as you are in the house over time), the map layout (and where any player in the building is on the map), the ghost activity level (which ranges from 0-10), and sound sensor activity (bottom image on right). Note that for sound sensor activity, sensors must first be placed down and then activated by a player or the ghost in order to show anything, however.
Before you begin: also be sure to grab the keys on the table to the left of the computer. Otherwise, you will not be able to open the door!
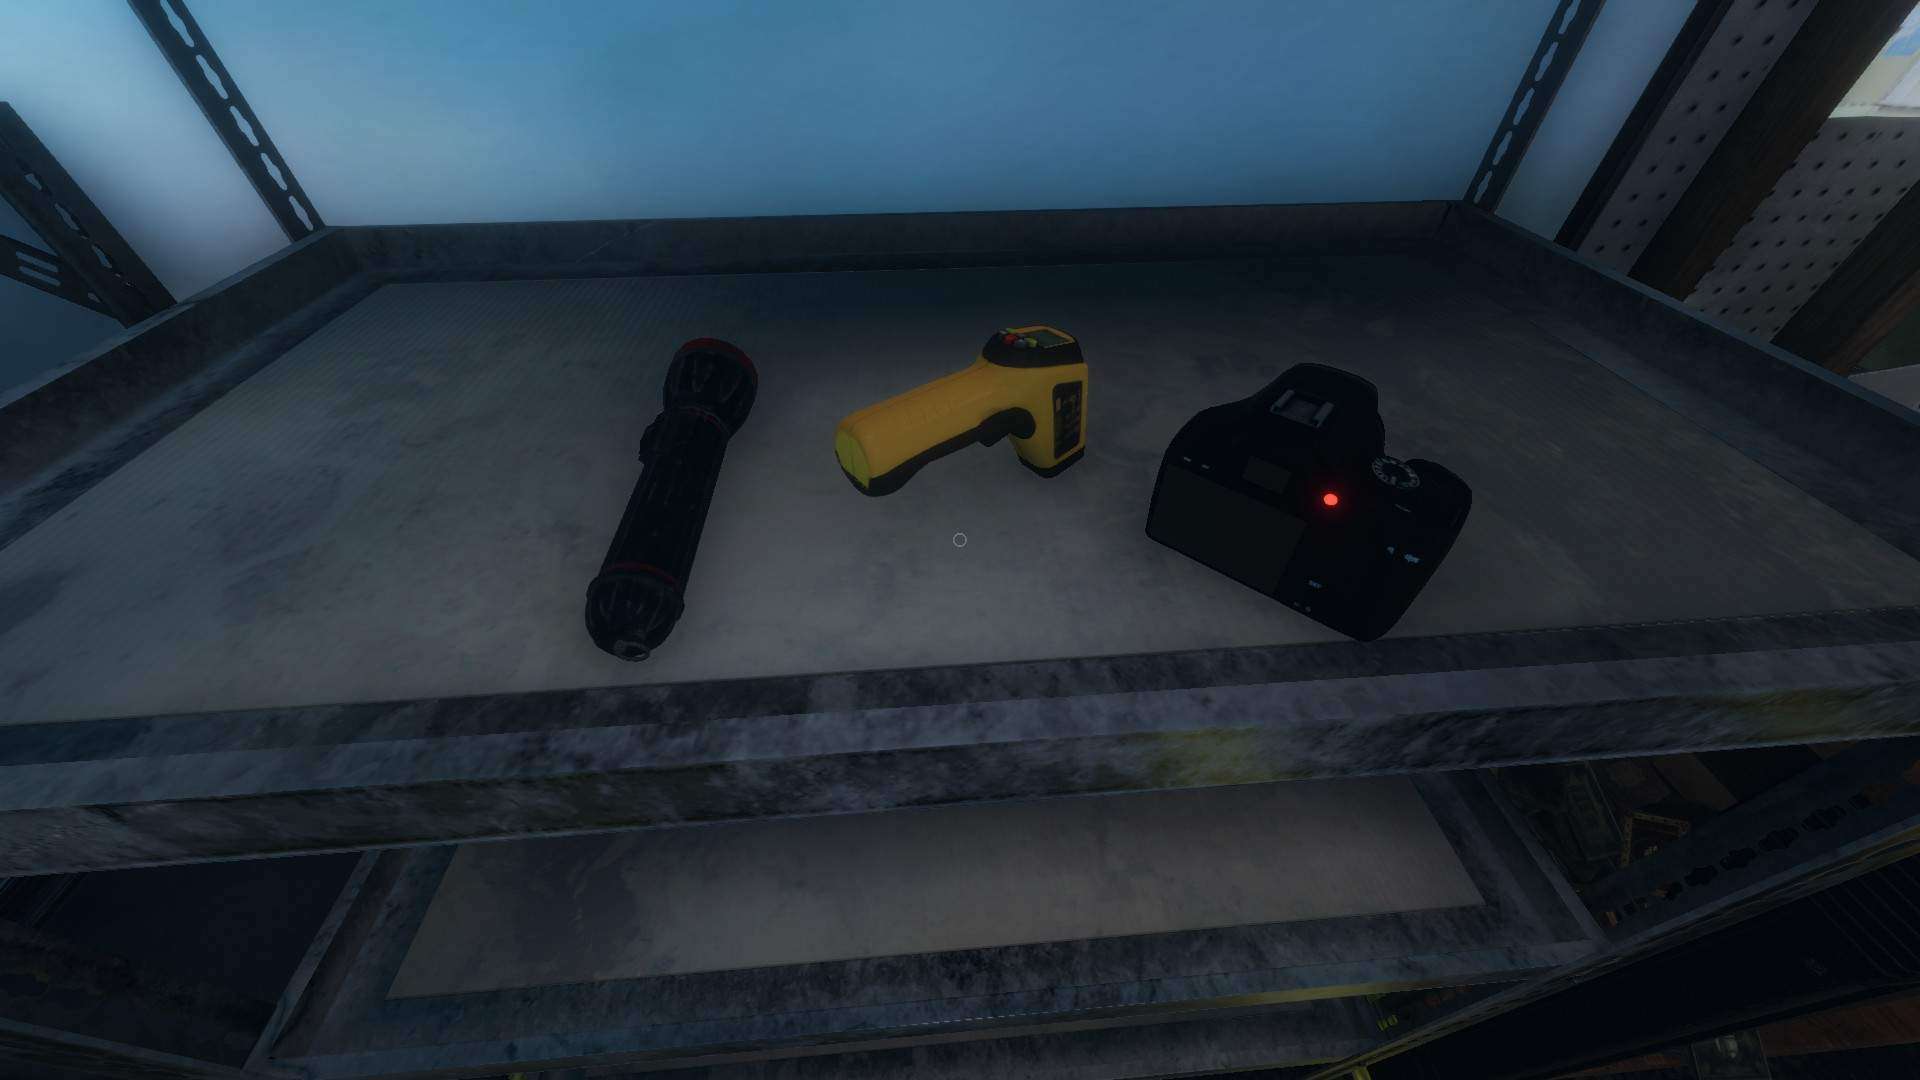
You have various items you can use in your missions, such as a UV light to look for ghost fingerprints, or a crucifix to help protect yourself from when the ghost tries to hunt for you. Some of these items will be crucial to identifying the type of ghost you are looking for in each mission, and you can only carry a maximum of 3 items at once.
Each ghost has three specific pieces of evidence that can be used to identify it and differentiate it from the other ghost types. These are where the items come in, since some of them are used to interact with the ghost to get evidence about the type of ghost that you are dealing with. You can log information about how the ghost interacts with these items in your journal, so you can then focus on other objectives or continue to try and identify the ghost.
Do note that as you stay inside the building with the ghost, you will begin to lose sanity. The ghost feeds off this, and the lower your sanity, the more likely the ghost is to start a hunt and try to kill you are your fellow ghost hunters.
So, to summarize it all: you take yourself, your friends, and gear to go in the building and search for the ghost in order to identify it before it hunts you down and kills you. Seems simple, right? Well, not all ghosts are the same… Some are aggressive at higher sanity like Demons, but others may be shyer like Shades. So, you never truly know what you are dealing with until you are in the ghost room getting evidence. Then you can decide what to do from there…
Item Guide
Currently, there are 22 different items in Phasmophobia that can be used to make your missions easier. I have separated these into a few categories: locating the ghost room (“L” for locating), safety/security (“S” for safety), utility to identify the ghost (“I” for identify), ghost tracking (“T” for tracking), and other (“O” for other).
- EMF reader (L, I): This item has 5 LED lights that will light up when there is ghost activity. Having 1 light on is normal, but anything between 2 and 5 should indicate the presence of the ghost. It can be held or turned on and dropped on the floor. If it hits 5 at any point, be sure to mark EMF level 5 in your journal. You can bring up to 2 EMF readers for a mission.
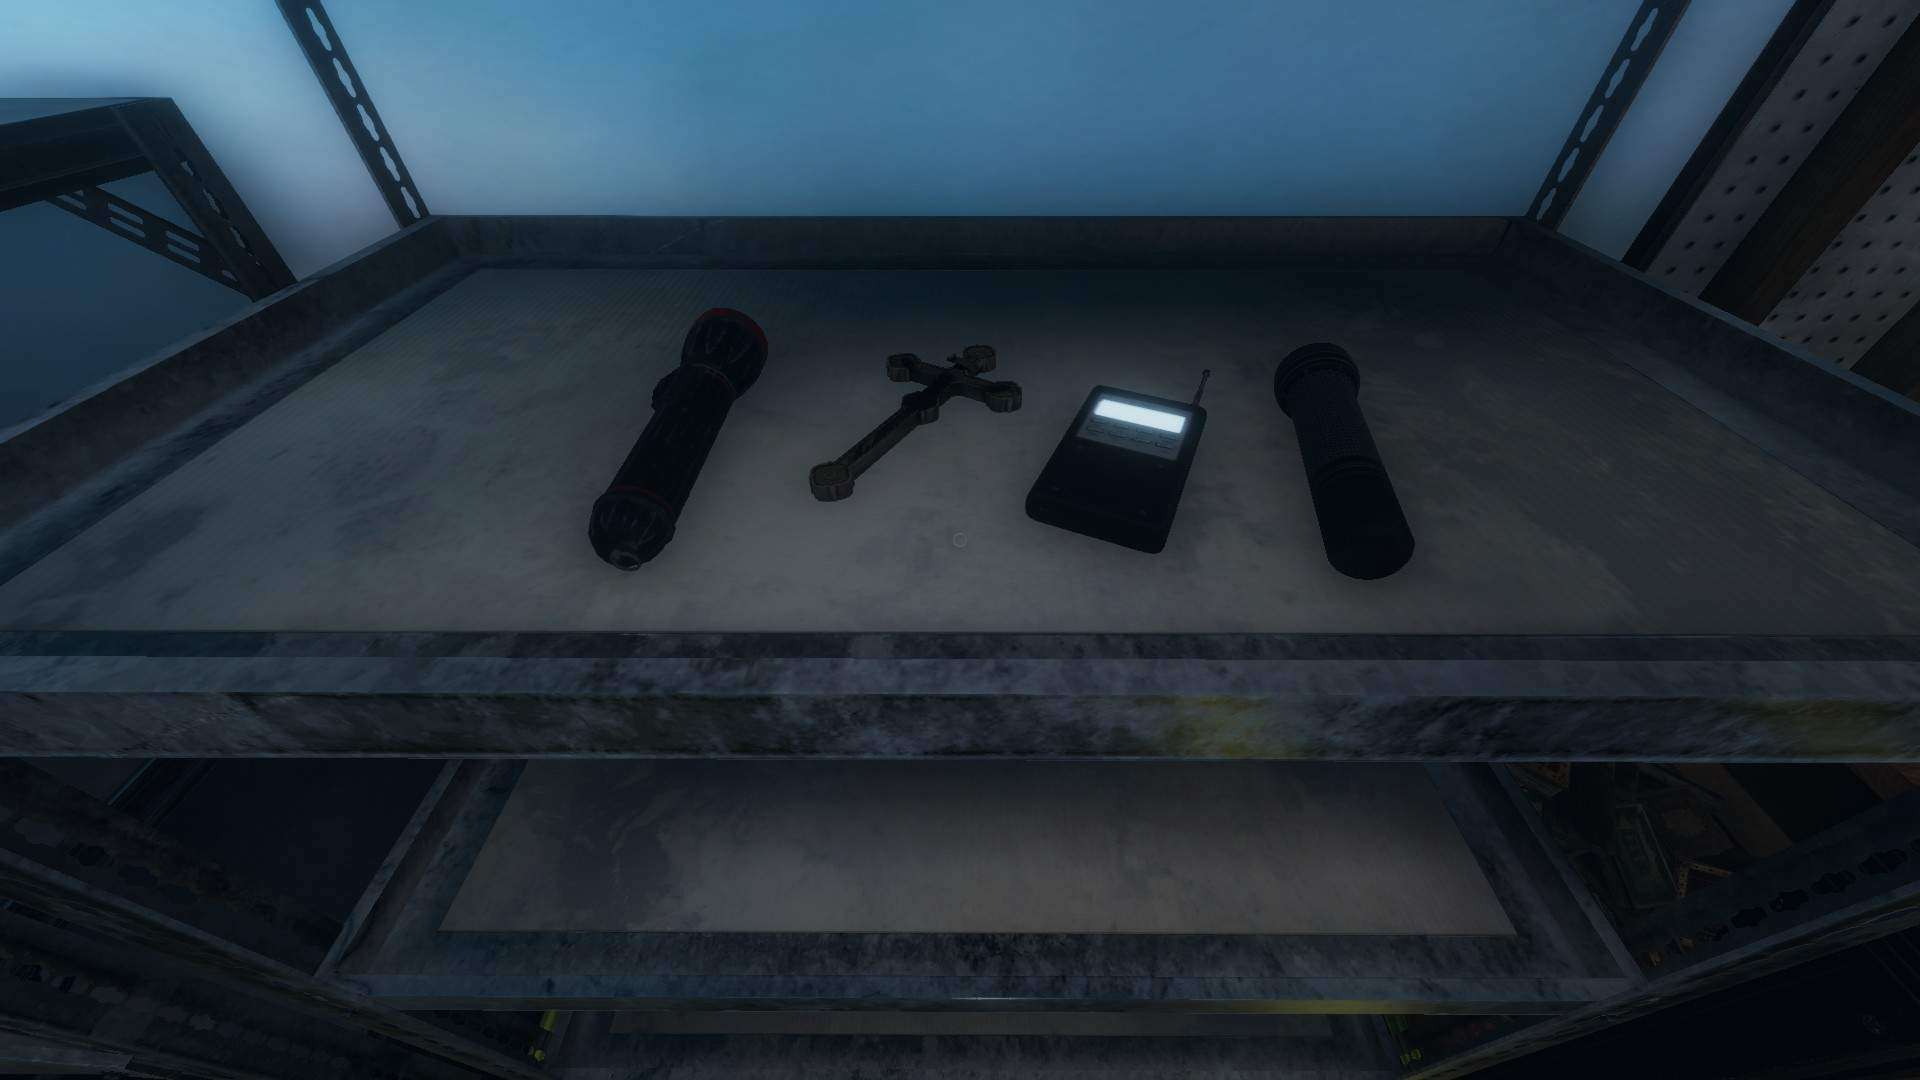
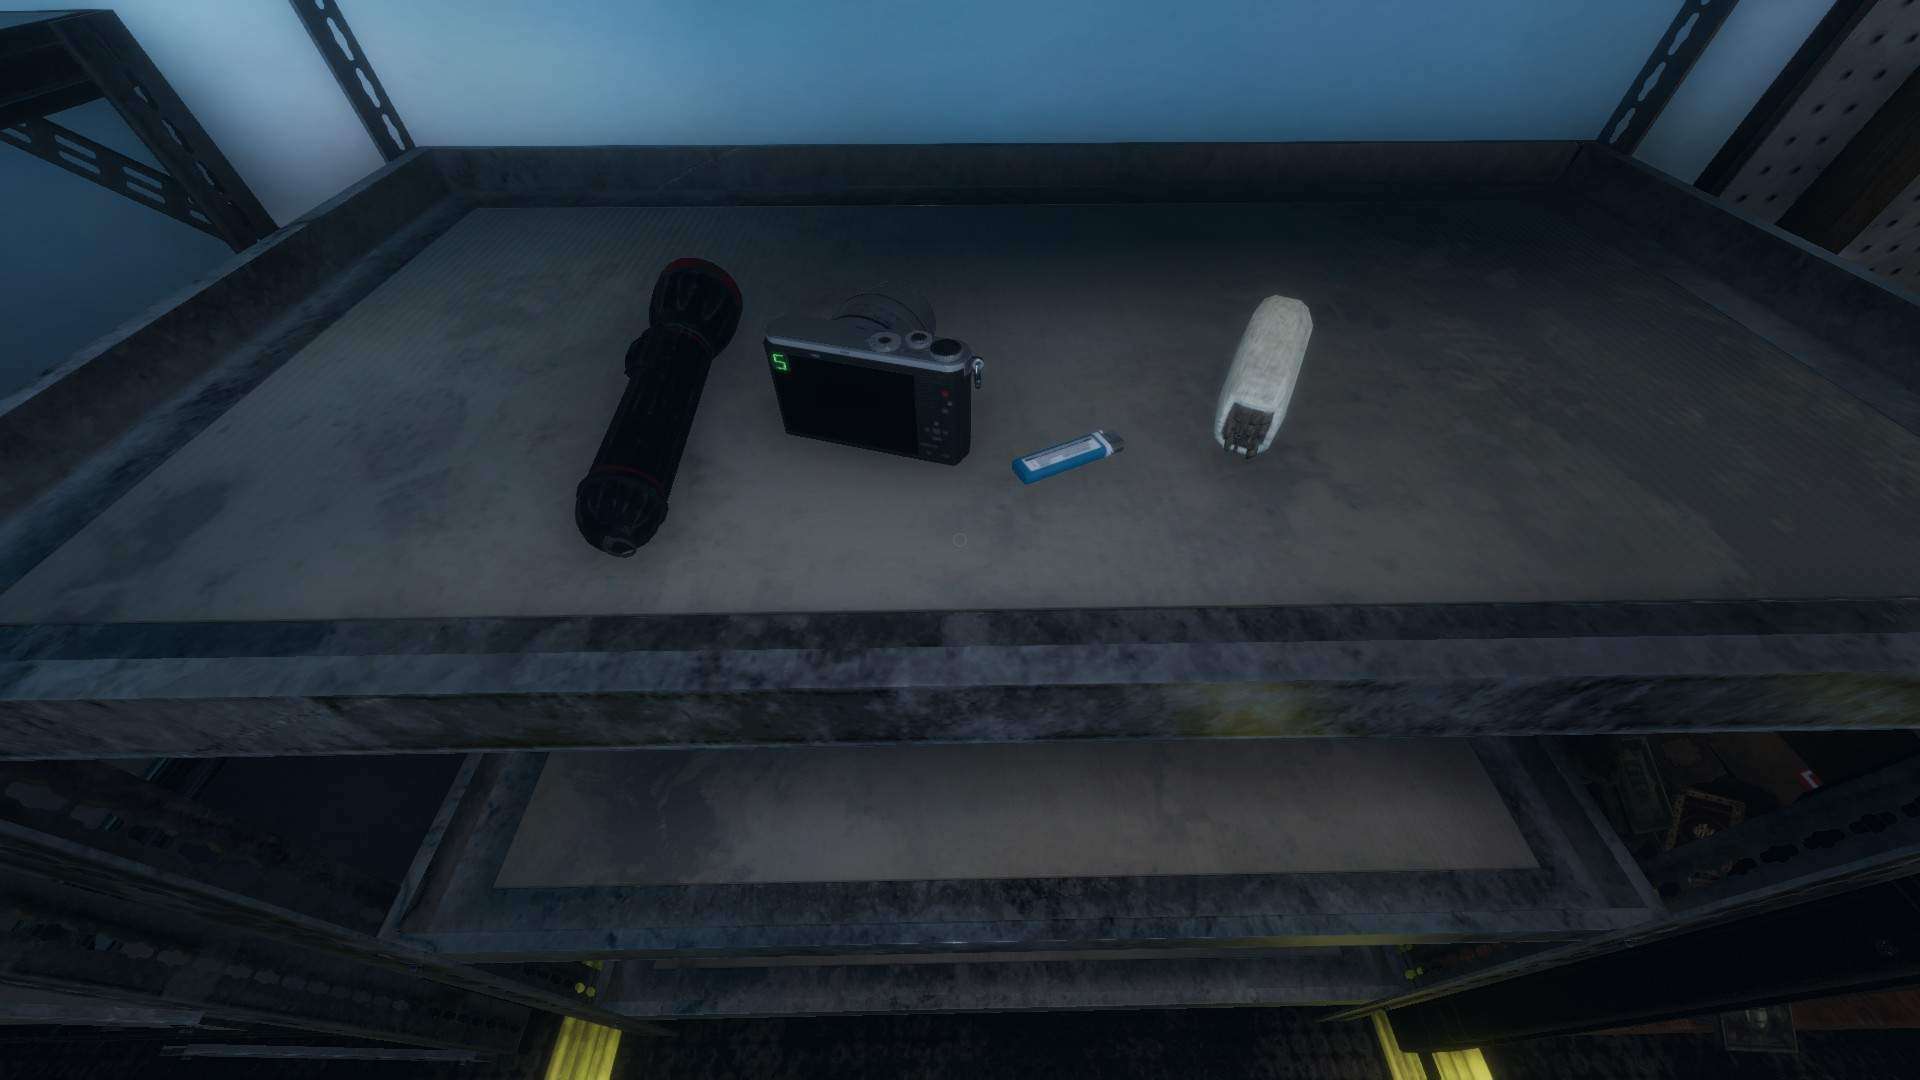
- Flashlight (S): So, you want to be able to see, huh? Well here is your solution. And once you start cashing in on missions, consider upgrading to its older brother, the strong flashlight. You can bring up to 4 flashlights for a mission.
- Photo camera (O): This is your money maker, so definitely make sure you have these. Each one takes 5 photos. If the ghost interacts with something, shows itself, if someone dies, etc., take a picture. You can bring up to 3 photo cameras for a mission.
- Lighter (S): This offers a little bit of light, but it is mainly used to light smudge sticks and candles. You can bring up to 2 lighters for a mission.
- Candle (S): These give a decent amount of light but are not as good as flashlights. If thrown down, it may extinguish (but it can be relit), but if you hold it in your hand, it will never extinguish. Solo players note: this item can help reduce sanity loss when you hold it and have it lit. You can bring up to 4 candles for a mission.
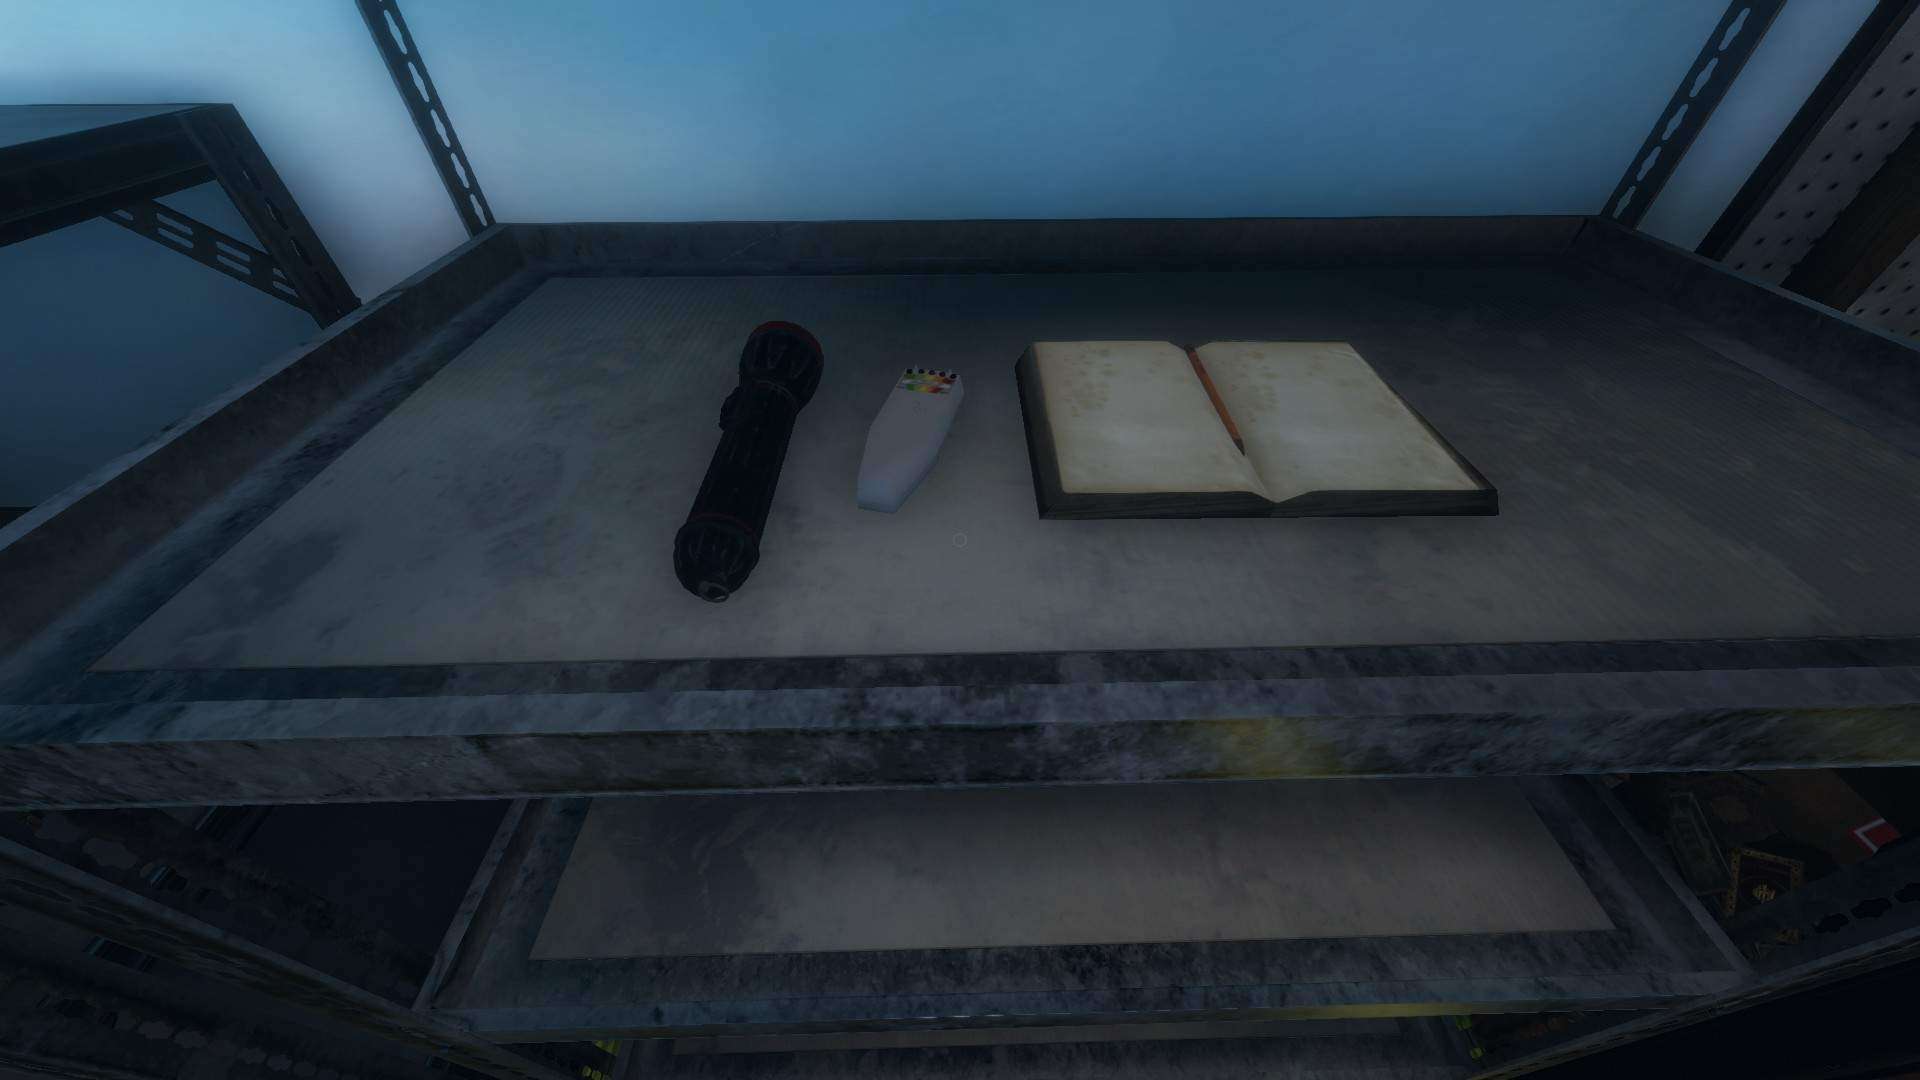
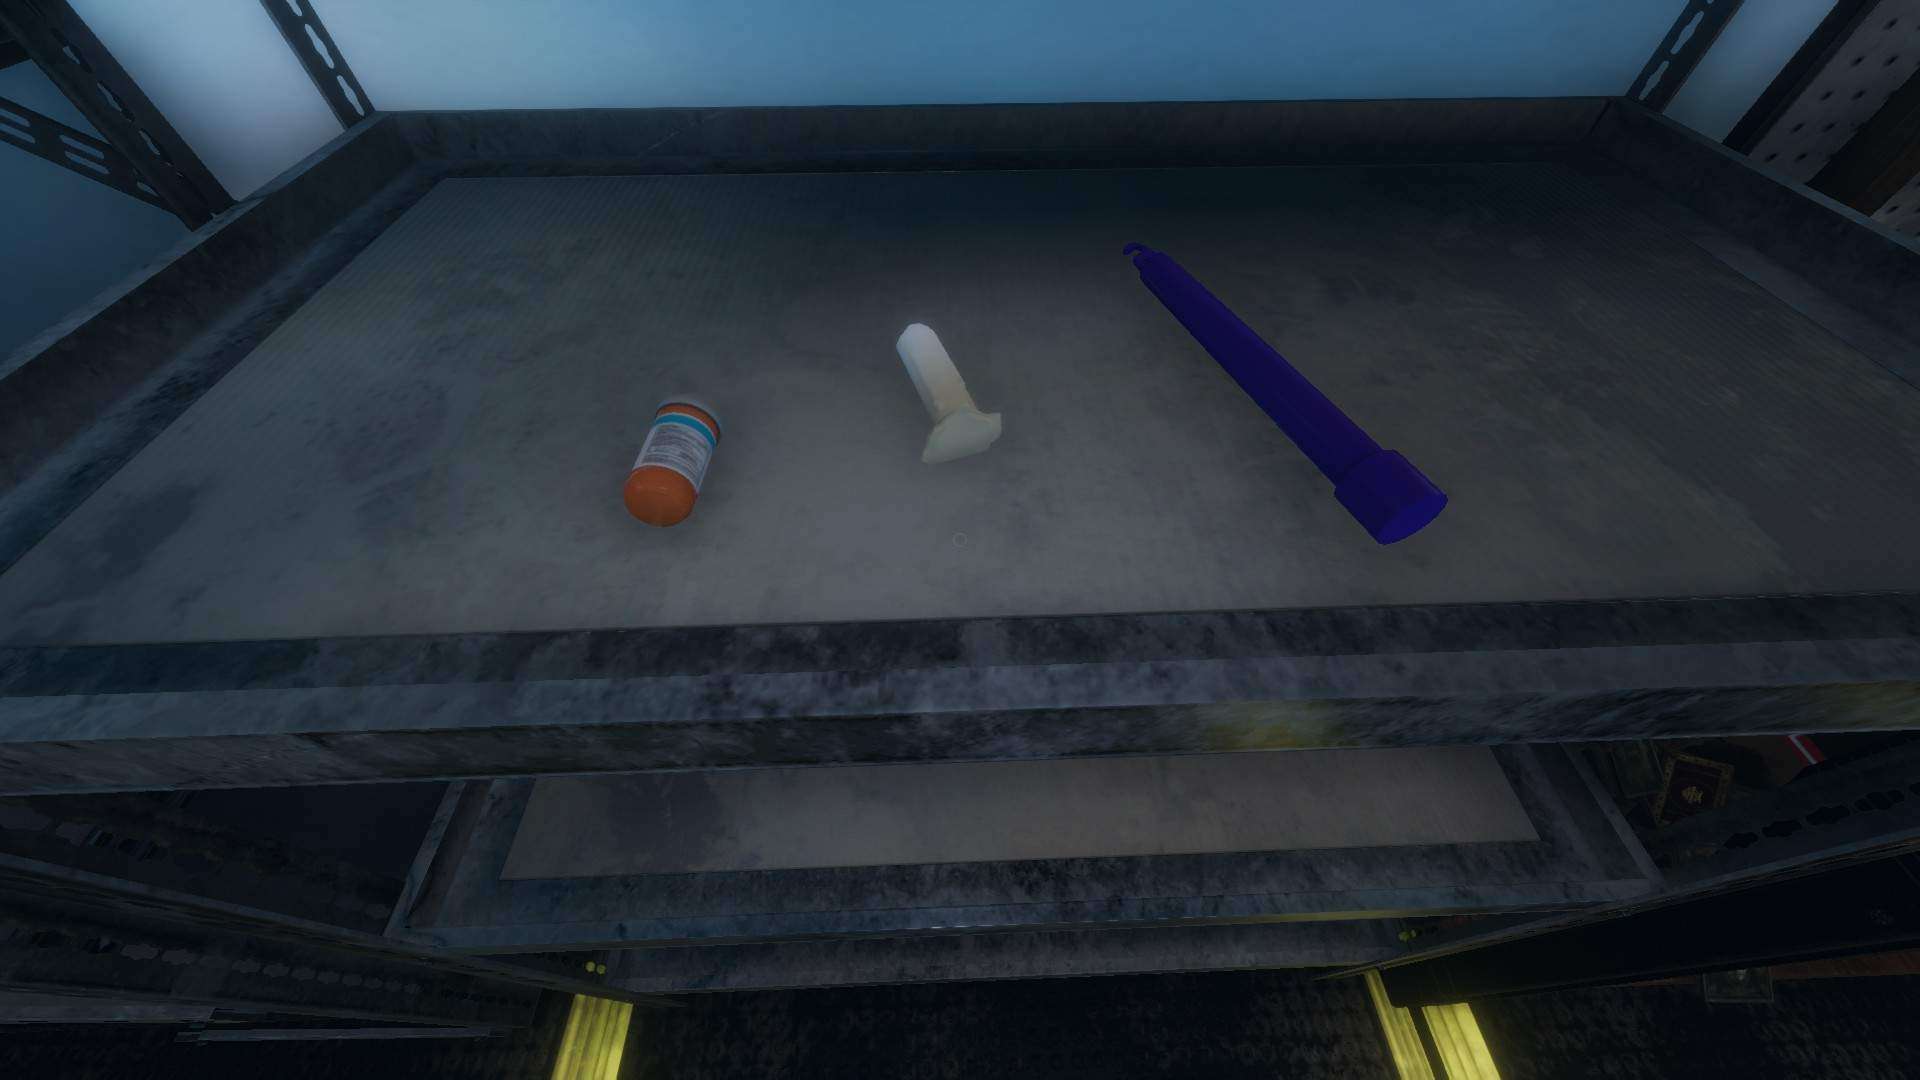
- UV light (I): These are like normal flashlights, but they emit a purple light and are used to check for fingerprints and footprints that the ghost leaves. Be sure to check the floor, light switches, doors (rooms and closets), and windows to see if the ghost left you a sign to find with this item. If you see them, be sure to mark fingerprints in your journal. You can bring up to 2 UV lights for a mission.
- Crucifix (S): This can help prevent the ghost from starting a hunt. A lot of discussion has occurred about the crucifix and how it works. Essentially, the ghost can start a hunt from anywhere, but it will most likely start one in the ghost room where it is most active/spends most of its time. Throwing down a crucifix will stop a ghost hunt if the ghost tries to hunt within the range of the crucifix, which is within its 3-meter radius (6-meter diameter) of where it is thrown on the ground. If the ghost starts a hunt outside of that, you should go hide, or you are in trouble. Because of how the crucifix works, I like to have one in the middle of the ghost’s main room and then another out in the hallway near it (just to make myself feel better). If the crucifix prevents 2 hunts, it will then disappear and can no longer prevent future hunts. You can bring up to 2 crucifixes for a mission.
- Video camera (L, I): These are cameras that can be carried and then placed down to look for signs of the ghost. These can switch to night vision also, which helps when viewing these from the van. Consider using tripods to get your cameras up higher in the air to give a better view of the area you are trying to watch. You can use these to look for ghost orbs (which are little green whisps that appear) with the night vision on. If you see them, be sure to mark ghost orbs in your journal. You can bring up to 6 video cameras for a mission.
- Spirit box (I): This item is similar to a radio and can be used to talk to the ghost, as long as the lights are off, and the game is picking up your audio. Sometimes you need to be alone to communicate to the ghost using the spirit box, so be sure to note if the ghosts will respond to everyone or only to those who are alone and plan accordingly. There are a variety of questions you can ask the ghost, but I prefer to go with a few similar ones. “Where are you?”, “How old are you?”, “Are you here?”, and others are my go-to questions. You will know if it responds to you, I can guarantee you of that. When it does, be sure to mark spirit box in your journal. You can bring up to 2 spirit boxes for a mission.
- Salt (L, T): Salt can be placed on the ground to track footprints of the ghost and see where the ghost has been. The only time you cannot see footprints from a ghost who typically leaves fingerprints is from a Wraith, since salt is toxic to them. 3 piles of salt can be placed per container of salt. You can bring up to 2 salt containers for a mission.
- Smudge sticks (S): These can be lit using a lighter and can help to give you extra time to hide after a hunt begins. This does not prevent hunts, but instead is a safety net to help you get to a more secure location before the ghost comes looking for you. You can also use these to cleanse the area where the ghost is active to make it a little less active for a bit, which is sometimes an objective in the truck. You can bring up to 4 smudge sticks for a mission.
- Tripod (L, I): These are used to help position your video cameras to get better angles to see the ghost room and look for ghost orbs to mark in your journal. You can bring up to 5 tripods for a mission.
- Strong flashlight (S): As mentioned above with the flashlight, this is a stronger version. You can bring up to 4 strong flashlights for a mission.
- Motion sensor (L, T): These can be placed on a wall and will sense any motion when players or the ghost passes by it. You can see and hear if one of these gets activated from the van by hearing a beep and checking the map to see which sensor went off. You can bring up to 4 motion sensors for a mission.
- Sound sensor (L, T): These work similar to the motion sensor, but instead it detects sound in a much larger area. Again, it detects players and the ghost and can be observed from the van with labels to show you which sensor is which. You can bring up to 4 motion sensors for a mission.
- Thermometer (L, I): These can be used to check the temperature in a room. When the temperature starts to get low, it is a sign the ghost is near. I prefer to use the measurements in Celsius and think of it this way: if a room hits about 11-12 degrees C, it is the ghost’s room. If it is colder, great, but if it is negative, it means there are freezing temperatures, which you should be sure to mark in your journal. You can also tell freezing temperatures by seeing your own breath. You can bring up to 3 thermometers for a mission.
- Sanity pills (S): These can be taken to regain 40% sanity as a one-time use. You can bring 4 sanity pill bottles for a mission.
- Ghost writing book (I): This book can get placed in the area where the ghost is active and it may write in it, if it is the type of ghost that does. If it does, be sure to mark ghost writing in your journal. You can bring up to 2 ghost writing books for a mission.
- Infrared light sensor (L, T): These work like motion sensors, but instead emits light when players or the ghost pass by it. Unlike the motion sensor, it does not provide any visual or audible cues in the van. You can bring up to 4 infrared light sensors for a mission.
- Parabolic microphone (L, T): This is essentially a portable sound sensor that can pick up noise from players or the ghost through walls. You can bring up to 2 parabolic microphones for a mission.
- Glowstick (I): These are like the UV light in that they can check for fingerprints. These have an infinite duration once lit. Again, if you see them, make sure to mark fingerprints in your journal. You can bring up to 2 glowsticks for a mission.
- Head mounted camera (L, I): This is essentially a video camera that is always on you. They can also be used to see ghost orbs (given that the wearer has their flashlight off) to mark in your journal. You can bring up to 4 head mounted cameras for a mission.
My Strategy
Here is my strategy:
To simplify things, let’s consider each trip into the building separately. Let’s also assume I am playing solo. Using this strategy, missions can be expedited with multiple people looking for the ghost’s location and carrying items to help identify it.
Important Tip: When you have other items out that are not your flashlight, but you are still carrying a flashlight, you can hit ‘T’ to turn on your flashlight while holding those items (this applies to both the normal and strong flashlight, but NOT the UV light). Seeing is important because this game can get very disorienting in the dark.
Trip 1 = Here I focus on identifying the ghost’s room, which is where it will be most active and where I can get the most information in the shortest time (to preserve that sweet, sweet sanity). I like to grab a flashlight, a thermometer, and a video camera (+/- a tripod, as needed). I do not get the EMF since the ghost is not always active when I am searching for the room, and even if the ghost has the evidence of EMF level 5, it typically does not hit EMF level 5 immediately. I also like having the video camera to set up so I can get an idea about how active the ghost is in the room (messing with doors, lights, throwing things, etc.) and to check for ghost orbs. The thermometer is good to check for where the ghost is and to also confirm freezing temperatures, even though seeing your own breath is indicative of this (reference thermometer discussed above). If I am on larger maps, I may replace the video camera with a sound sensor to check and try to home in on the ghost’s main location. It is also important to turn on lights as you traverse the house to keep your sanity as high as possible.
Trip 2 = Here I like to get some information about the ghost I am dealing with or get some safety if the ghost is aggressive or if the map is large and my sanity is starting to drop. If I am looking for information, I like to grab the EMF reader and the ghost writing book to check for EMF level 5 (and confirm the ghost is active there), as well as ghost writing. If the ghost is aggressive or if my sanity is dropping fast, I will opt to get some crucifixes in the area to help prevent hunts that may start in the range of them. In cases where my sanity is manageable and the ghost is not too aggressive, I will save the crucifixes for trip 3. The image for trip 3 will include the crucifixes, but again, remember that they can be included here, too.
Trip 3 = Here I focus on either safety with crucifixes (see trip 2 above) or getting more information to identify the ghost. If I need more information, I will likely grab the spirit box and UV light to check for communication with the spirit box and fingerprints. Assuming the ghost is cooperating, you could now leave with all the evidence you need to identify the ghost. If you are scared or your sanity is low and you are concerned about being hunted, consider closing the van and heading out when you are done marking everything in your journal. The next part is optional but is recommended if you want some extra money and XP.
Trip 4 = Here I grab photo cameras or my lighter and smudge sticks, depending on the ghost’s identity, the ghost’s activity, and my sanity level. I try to find the bone to take a picture of it and then pick it up as evidence, while also taking pictures of dirty water, fingerprints, EMF level 5, ghost writing, and the ghost itself. This can get you a nice cash bonus. This is also a good time to consider if any of the additional objectives are worth doing. Sometimes it can be as simple as throwing a motion sensor in the house to sense the ghost. But you may also get something like preventing the ghost from hunting using a crucifix, and you can go in to gamble your life at your own risk for that one…
A few other things to note: you can take sanity pills between trips as needed to protect your sanity levels (I would not use it until I hit under 60%, since it grants 40% sanity back). You can also utilize other items you brought that you might need to make your life easier (like lighting candles to put in the house, throwing a glowstick to mark a location in a dark spot, etc.). Try to find something that works for you. Just because this strategy works for me, does not mean it will be the same for you, and vice versa. The plan changes with map size, team size, and ghost type anyways, so be ready to adapt as needed.
Note: hunts are discussed next.
Hunts
Ahh yes, hunts. The one thing that will never fail to give me anxiety while playing this game…
Why is the ghost hunting?
Your sanity is likely starting to get lower. However, demons like to be aggressive and attack when people have slightly higher sanity than the usual “danger zone” that I consider of 50% and below. This just goes to show that the early trips in the building are crucial, so quickly get as much utility/safety set up as possible. The sanity level that the ghost detects is the average sanity of all players currently in the building with the ghost. For example, if you are in the building with a friend and you both have 10% sanity and your two other friends are in the van with 80% sanity each, do not be surprised when a hunt begins. If the roles are reversed, however, the chances of a hunt starting are much slimmer and you can continue to work safely to get some evidence about the type of ghost you are dealing with.
How do I know we are being hunted?
If your flashlight (including UV) and the lights in the building start flickering, if the radio is jammed when you go to talk (hearing only static), and if the activity level in the van hits 10 and the front door to the building slams shut and is locked, a hunt is starting and you should get ready to hide. The ghost commonly will manifest in the hallways for a hunt and will hunt for about 8 seconds before everything returns to normal and you can travel safely again. Also note that the ghost will only kill one person in a hunt. It cannot go on a killing spree and take out 2+ in one hunt. It can, however, hunt very quickly again after hunting a first time, so it can kill quickly if sanity levels are low for you and your team.
How should you go about avoiding the ghost when it hunts, then?
First off, since it will manifest in the hallways, you should go into a room and shut the door behind you. You should also be sure to stay silent and avoid item use. If you cannot get into a room, or if you suspect you are dealing with a Wraith, try to hide in a locker or closet. A locker or closet has given me my highest success rates regarding surviving ghost hunts. Smudge sticks can also get you some extra time to hide (see smudge sticks above) and avoid getting killed.
What if I cannot hide from the ghost in time?
Well, this depends on the ghost. Wraiths can phase through objects and Phantoms are fast when you are not hiding. Aside from these two, if you are getting chased, you can run away or loop around big objects (like a kitchen island, dining room table, etc.) to avoid being in range of getting killed. So, in general, when a hunt happens, do not be in the ghost’s main room or the hallways. Well, you can be there, but you will likely die…
What if I am in the van when a hunt occurs?
If you are in the van when a hunt starts, be sure to update all of those inside when the hunt is over (when the activity level drops back down from 10). You can check the ghost activity level and then communicate to your team that it is safe to leave and try to get out of the building before dying. Also, consider yourself lucky for not being stuck inside with the ghost during a hunt!
Good look out there fellow ghost hunters…


Be the first to comment