
How to Unlock Fast Travel
Ву Sword_n_Board19.
You can get access to fast travel fairly early in the game. It’s generally a good idea to complete the initial quests first.
How Fast Travel Works
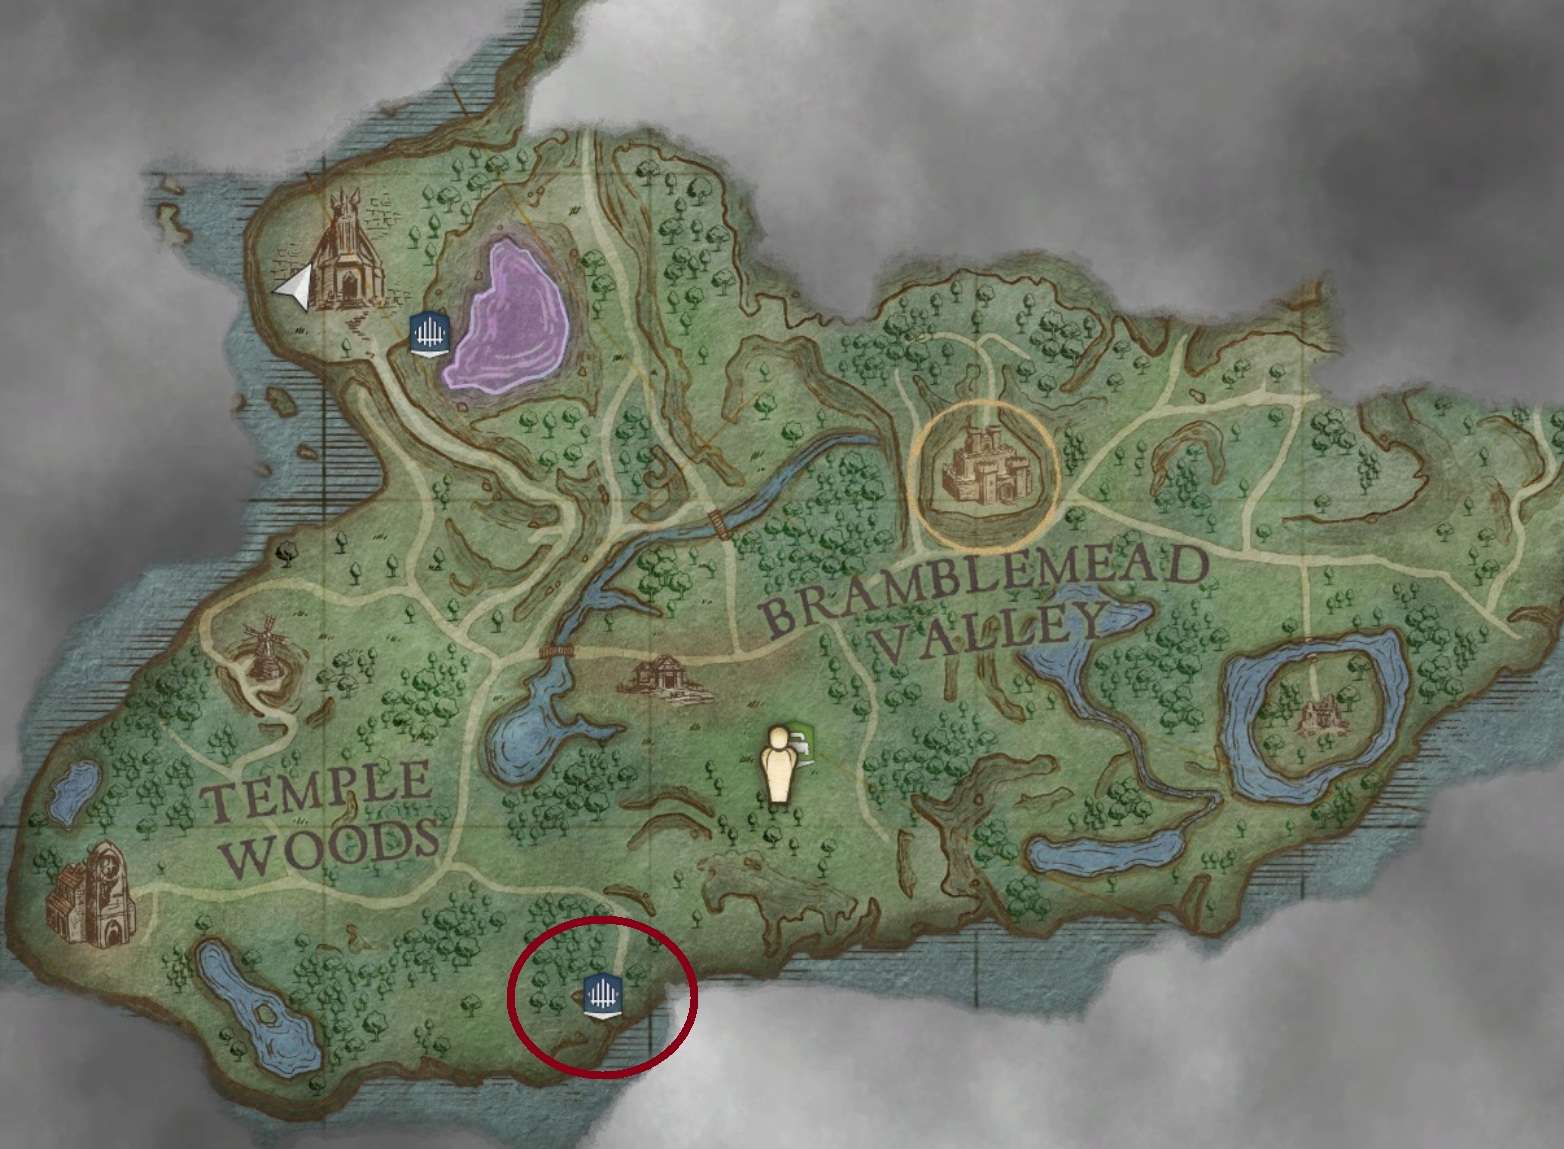
Fast travel involves entering special areas called vaults to find Vault Cores. You use these cores to build Lodestones. Lodestones act as fast travel stations, creating a network. The more Vault Cores you collect, the more stations you can build. This guide will explain how to get cores from the vault located in the southern part of the map.
The Southern Vault
Optional Step: Using a Bow
Bows are currently quite effective weapons in the game. Even without specific bow skills, arrows deal decent damage (around 25-30) and can be shot repeatedly from a safe distance. Fang arrows are easy to make from basic materials; you can gather enough supplies for 1000 arrows by farming rats and chickens for a few minutes.
To craft the Ash Shortbow:
- Gather flax (a blue plant found near the Wise Old Man’s village). This unlocks the Spinning Wheel.
- Build a Spinning Wheel (needs 12 ash logs, 4 flax, 2 stone). Use it to turn flax into Coarse Thread.
- Making Coarse Thread unlocks recipes for the Bone Dagger, Ash Battlestaff, and the Ash Short Bow.
- To make 33 fang arrows, you need 1 small fang (from giant rats), 1 wood, and 1 feather (from chickens). Make several hundred arrows if you plan to rely on the bow.
End Optional Step
Preparations
- Make sure your character’s thirst, hunger, and sleep meters are full.
- Empty your inventory of anything you don’t need. Vault Cores are heavy (50 weight each), and there are three in this vault.
- Bring at least 10 food items and 10 water items.
- Bring your weapon(s), making sure you have at least one melee weapon. If you’re using a bow, bring about 300 arrows.
- Travel to the location of the southern vault.
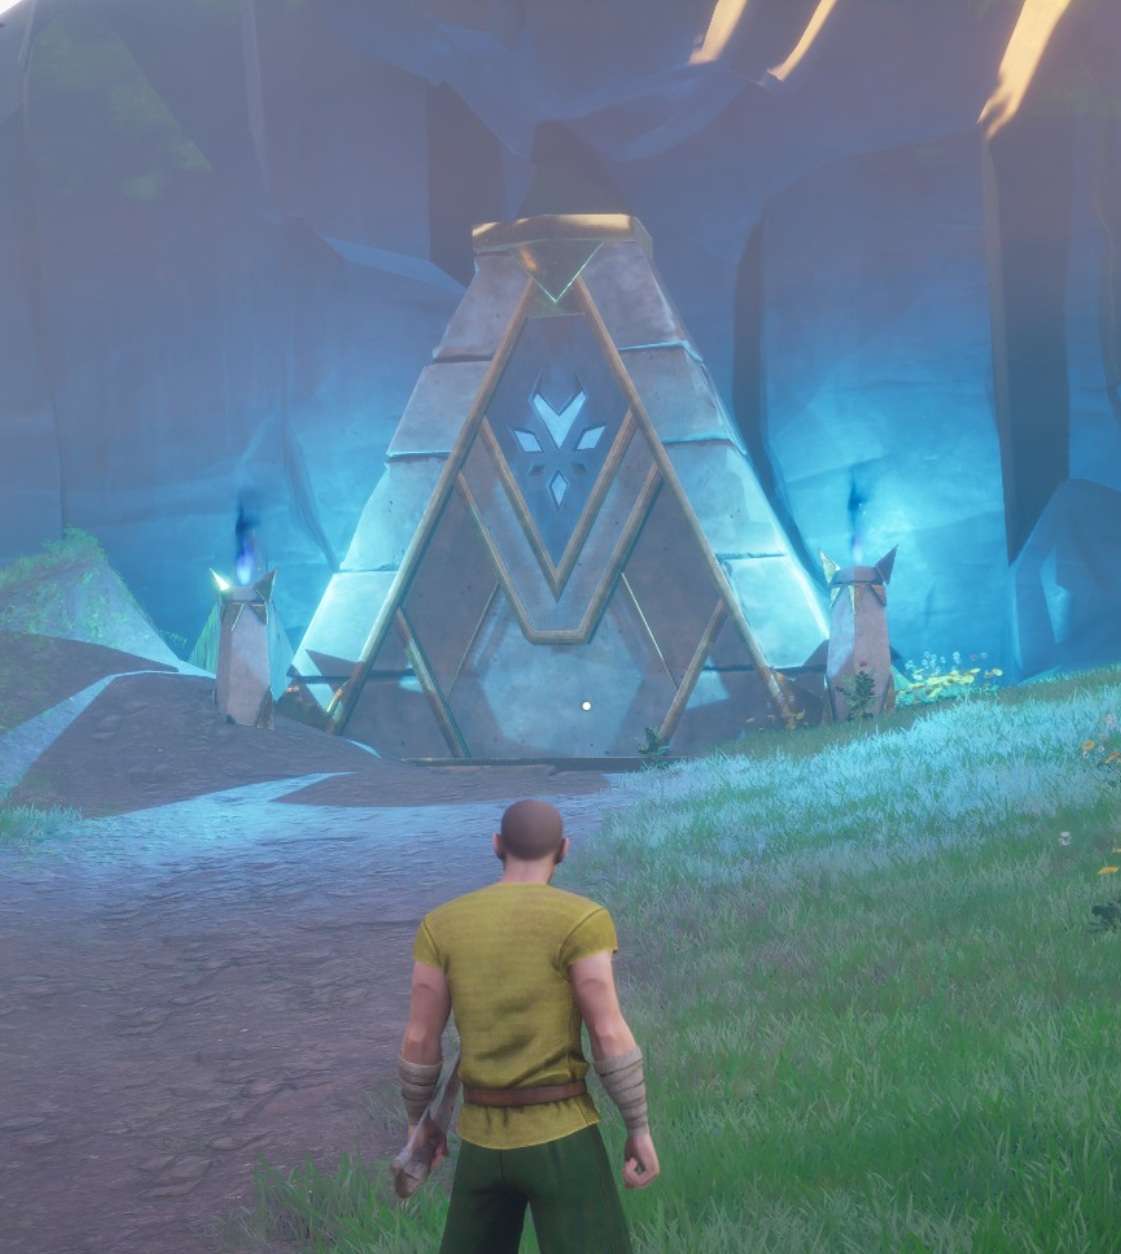
Understanding Vaults
Vaults are generally straightforward cave areas containing traps and enemies. You might find side paths leading to chests or rune essence. The main objective is to get to the end and activate a lever. This lever typically opens at least two gates: one creates a shortcut back to the entrance, and the other leads to the vault’s boss (usually a Vault Overlord (melee) or Vault Archon (magic); later vaults might have both).
Enemies you defeat will stay gone for a while, though they will eventually reappear. If you die inside a vault, you will respawn near the entrance.
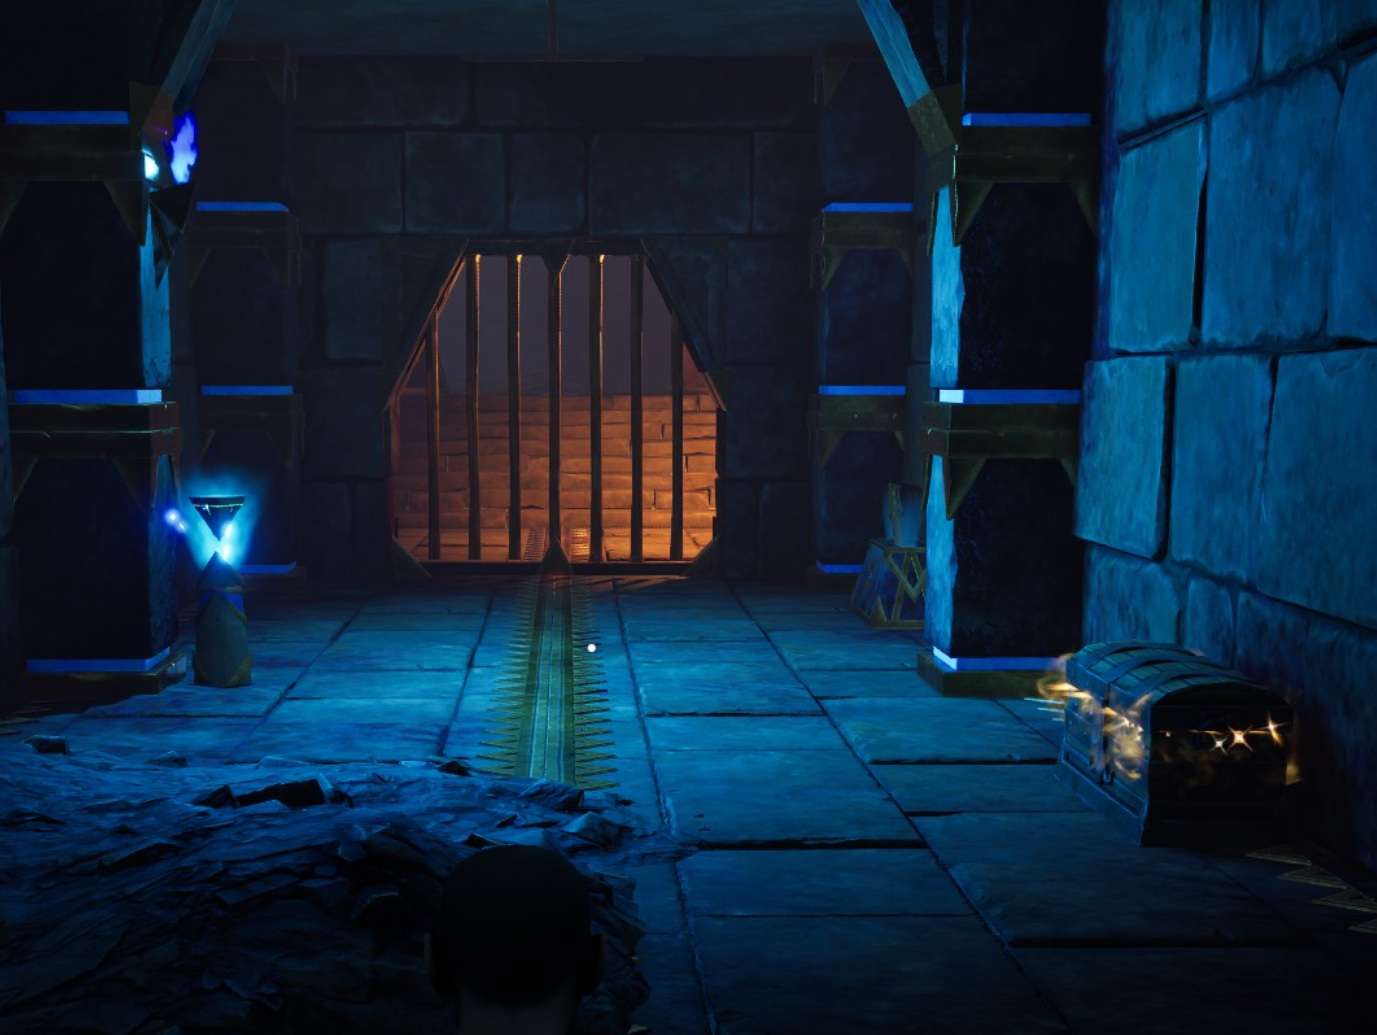
Inside the Southern Vault
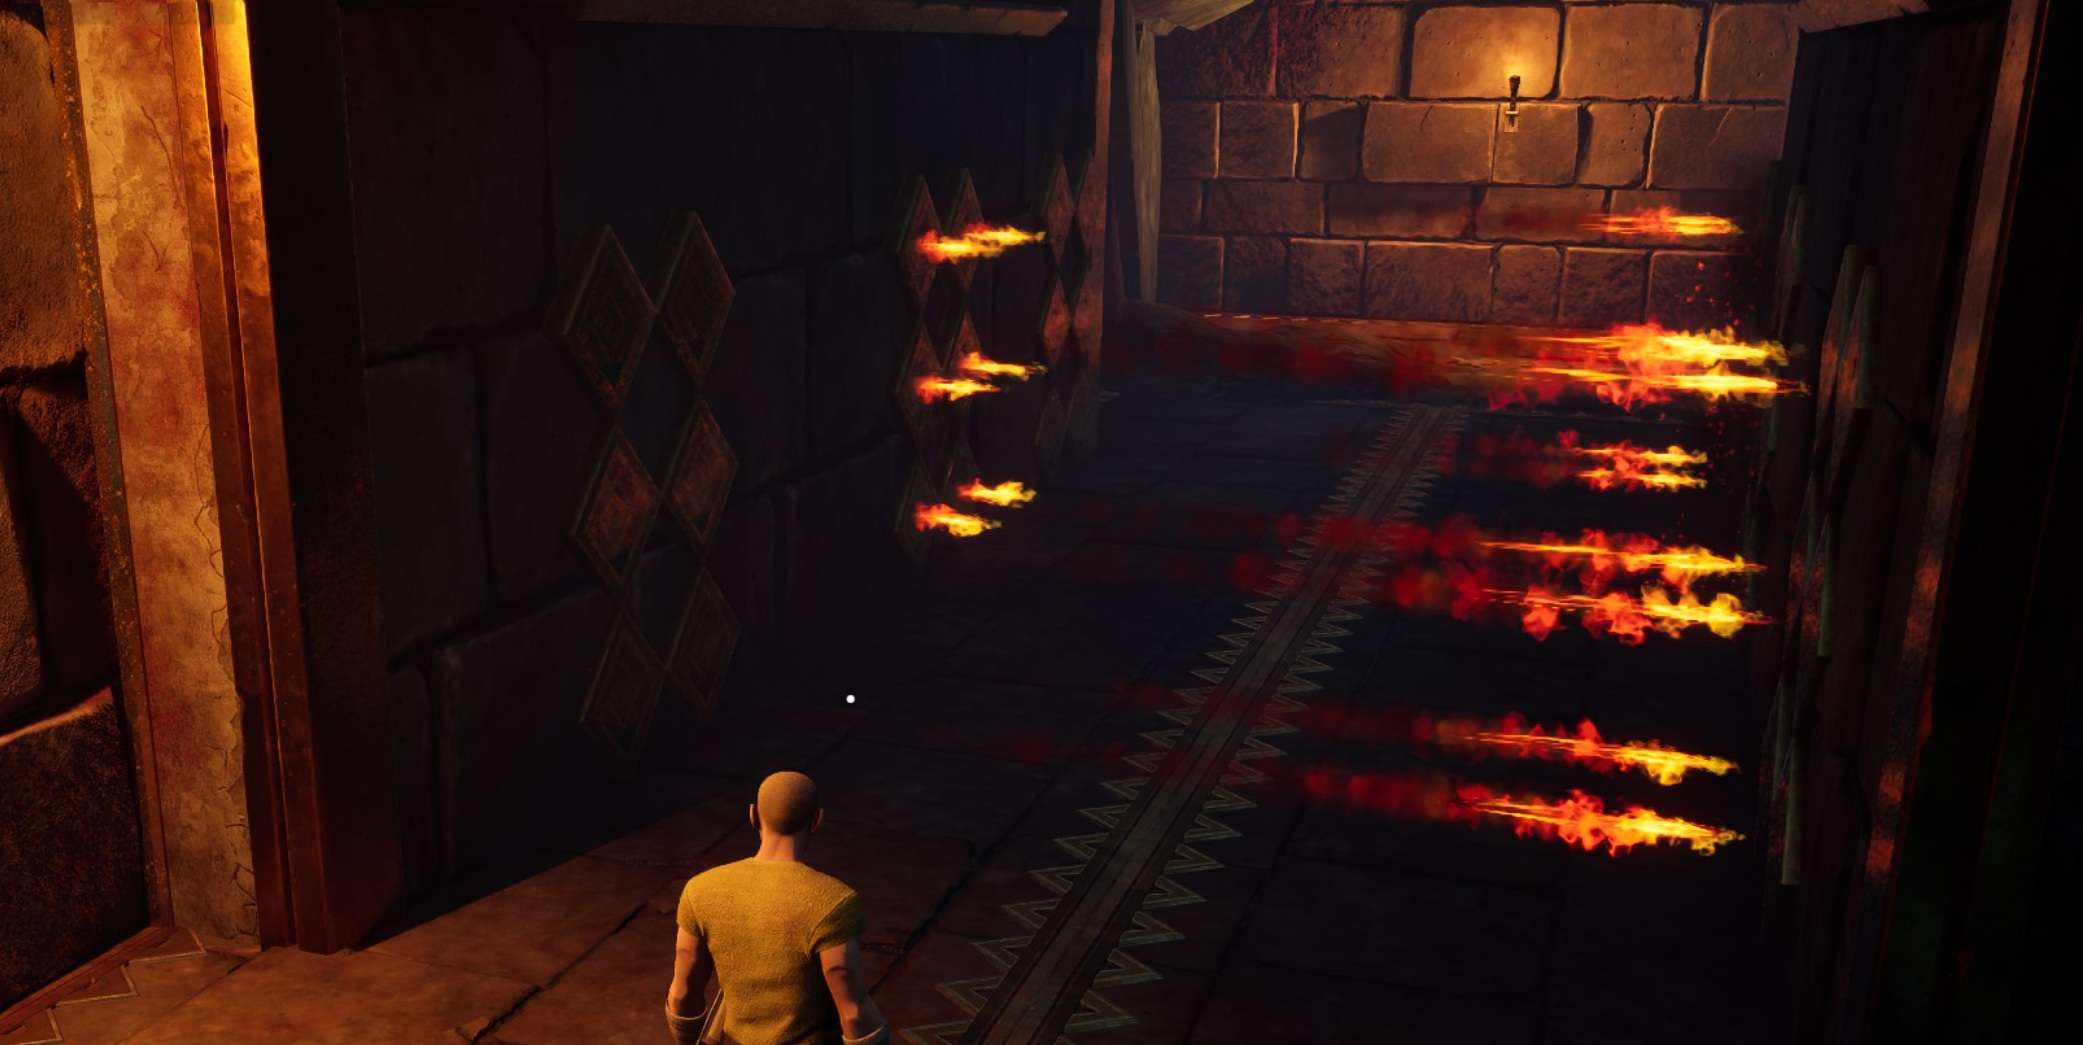
This vault contains obstacles like fire traps and floor spikes. The enemies you will encounter, generally in this order, are:
- Vault Guardian Hulks: Melee fighters with a jump slam attack.
- Vault Guardian Sentinel: Ranged magic users that can also cause spikes to erupt from the ground beneath you.
- Giant Rats: Similar to those outside, but they hit harder here.
- Goblin Runts: Like the ones in the village, but stronger.
- Vault Overlord (Boss): A much stronger version of the Hulk with the same attacks plus a sweep attack. It has a lot of health and deals high damage.
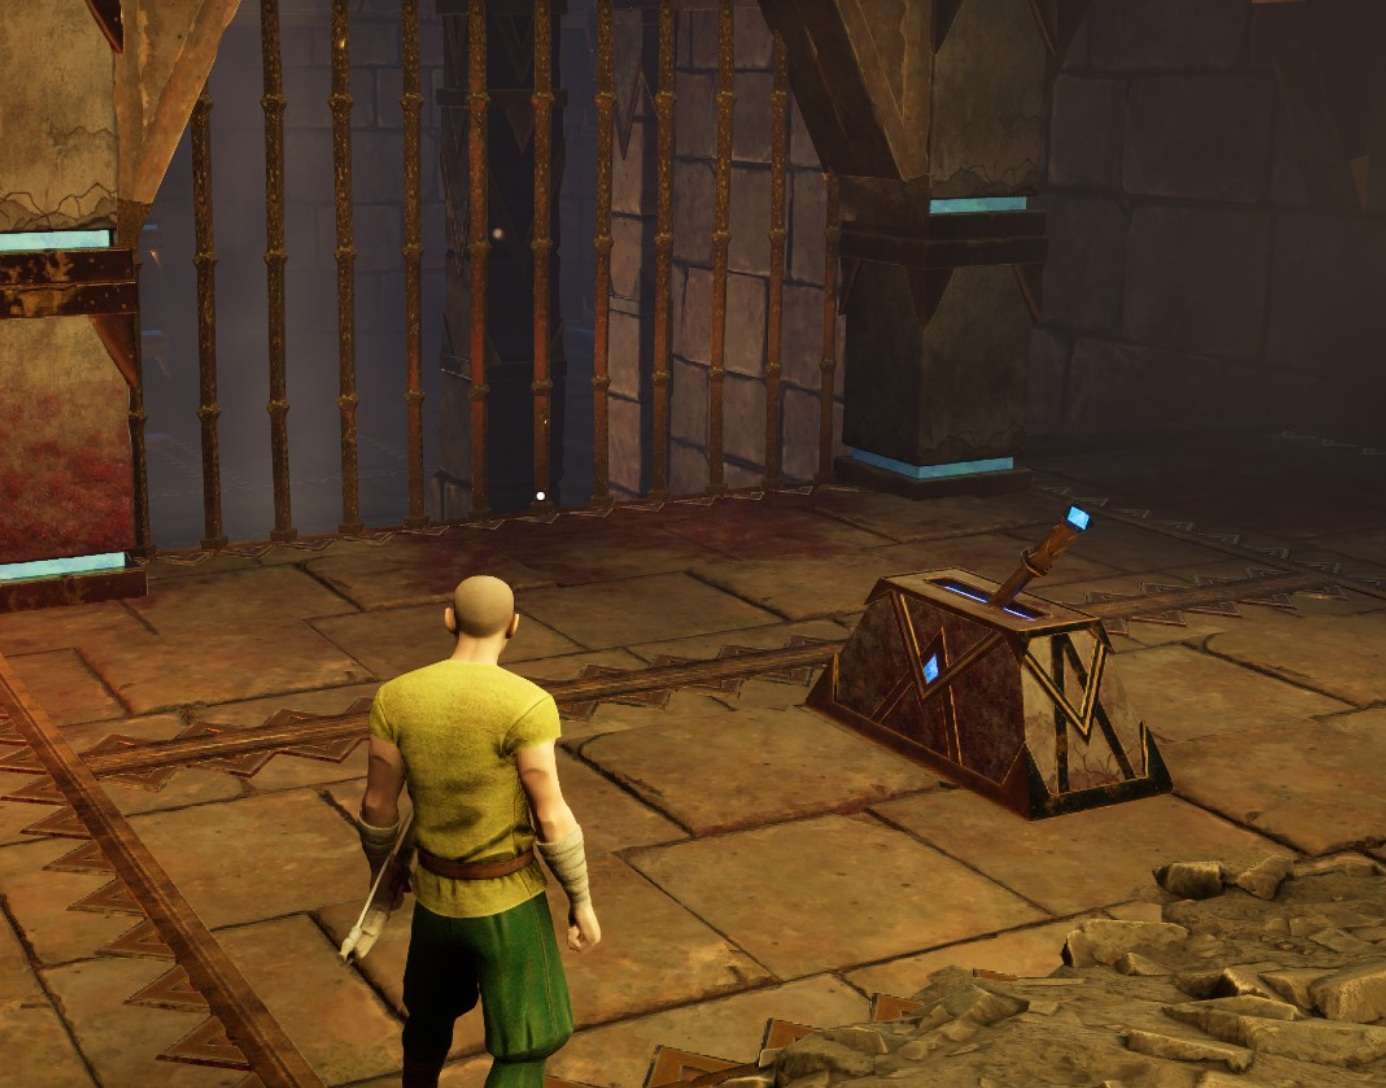
Your goal is to reach the lever located behind a gate.
Getting Through the Vault
Proceed through the vault, overcoming the traps and defeating the enemies.

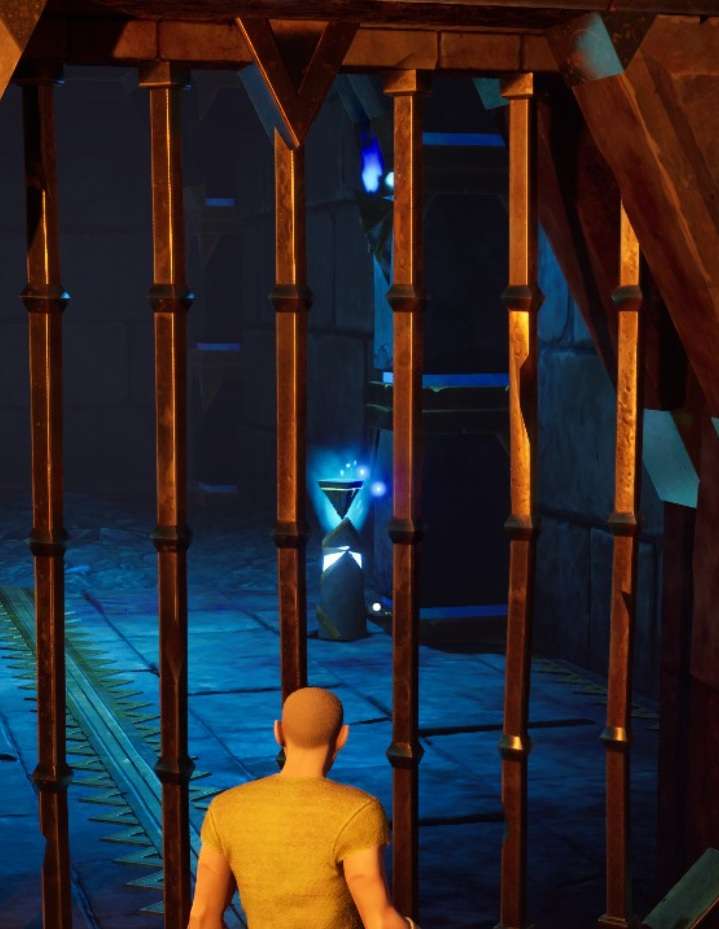
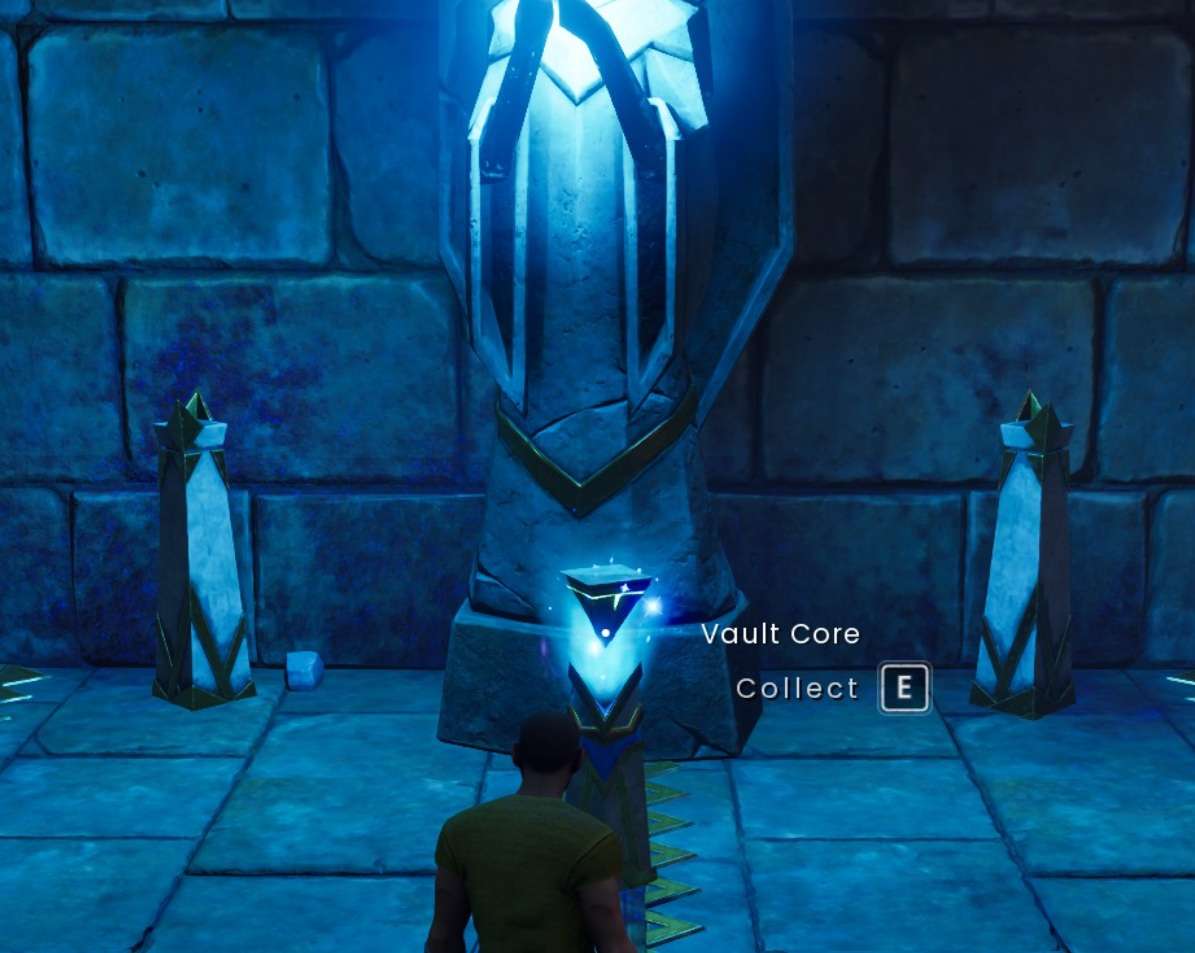
You will find the first Vault Core along the main path. Picking this up is what allows you to build Lodestones for fast travel.

Continue until you reach the end and activate the main lever.
After Activating the Lever
You now have several choices:
- Return to your camp, store your items, and come back for more loot.
- Go back to camp and build your first Lodestone.
- Stay in the vault and collect the second Vault Core.
- Fight the Vault Overlord boss to get the third Vault Core.
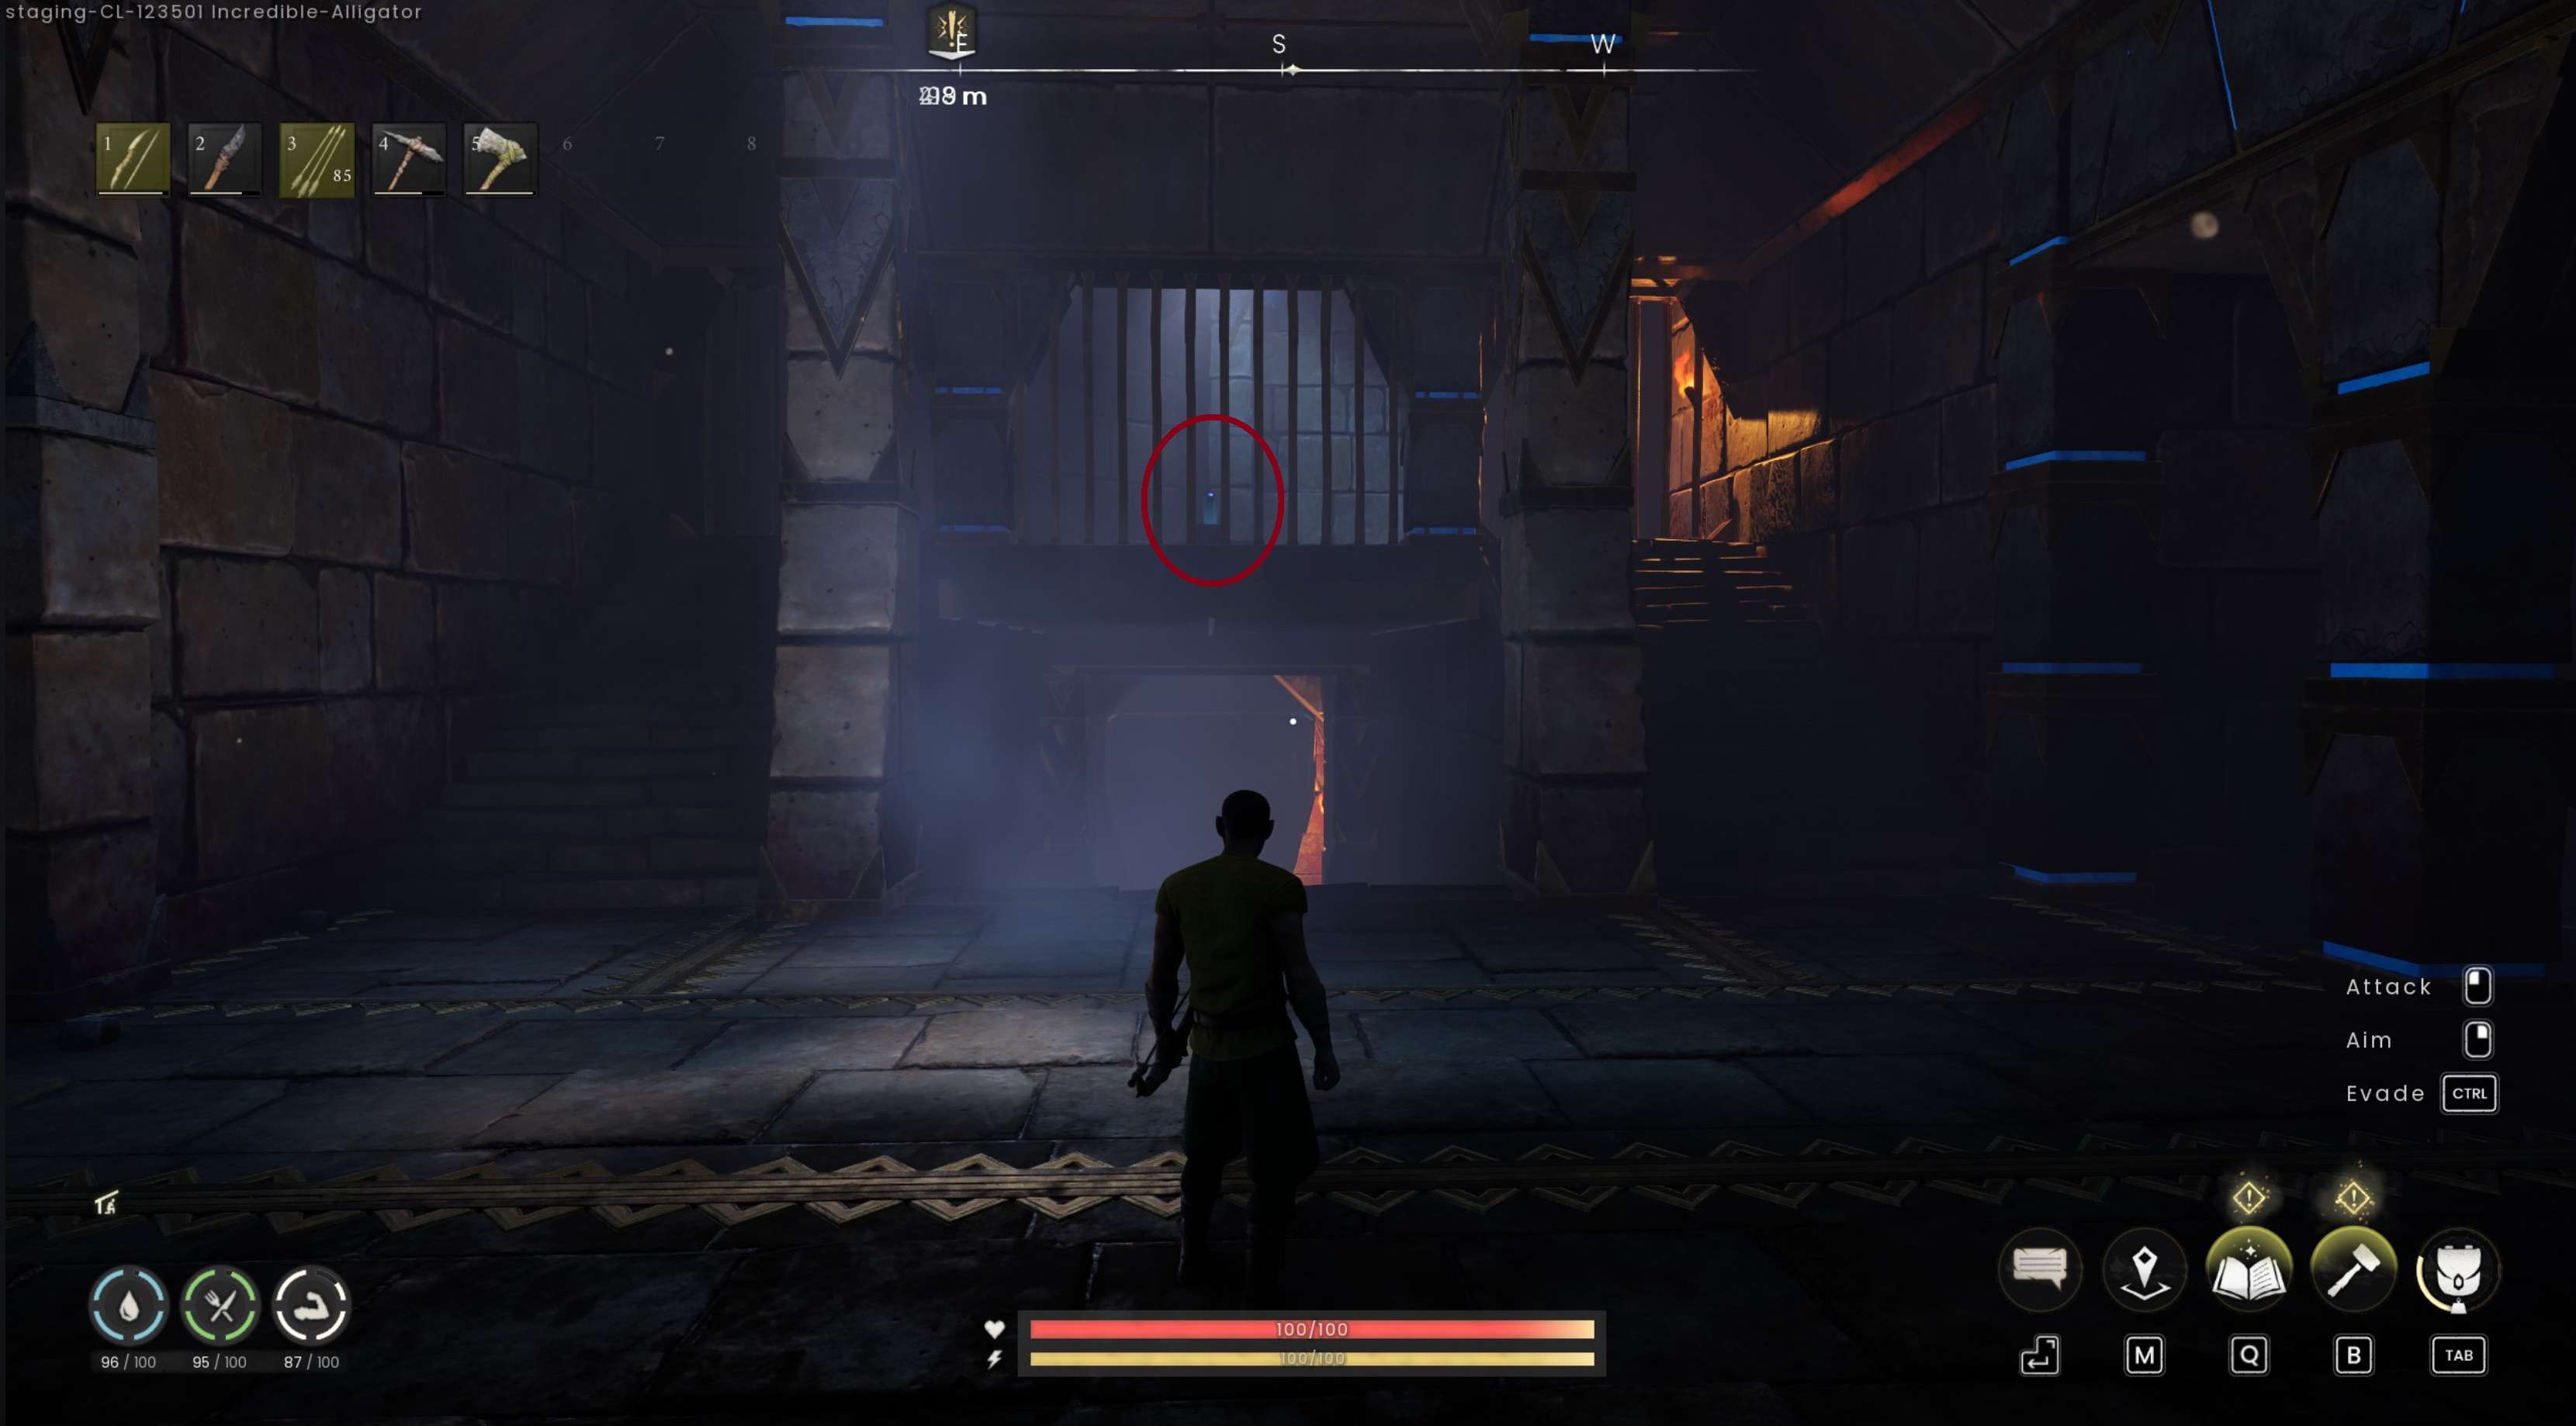
Finding the Second Vault Core
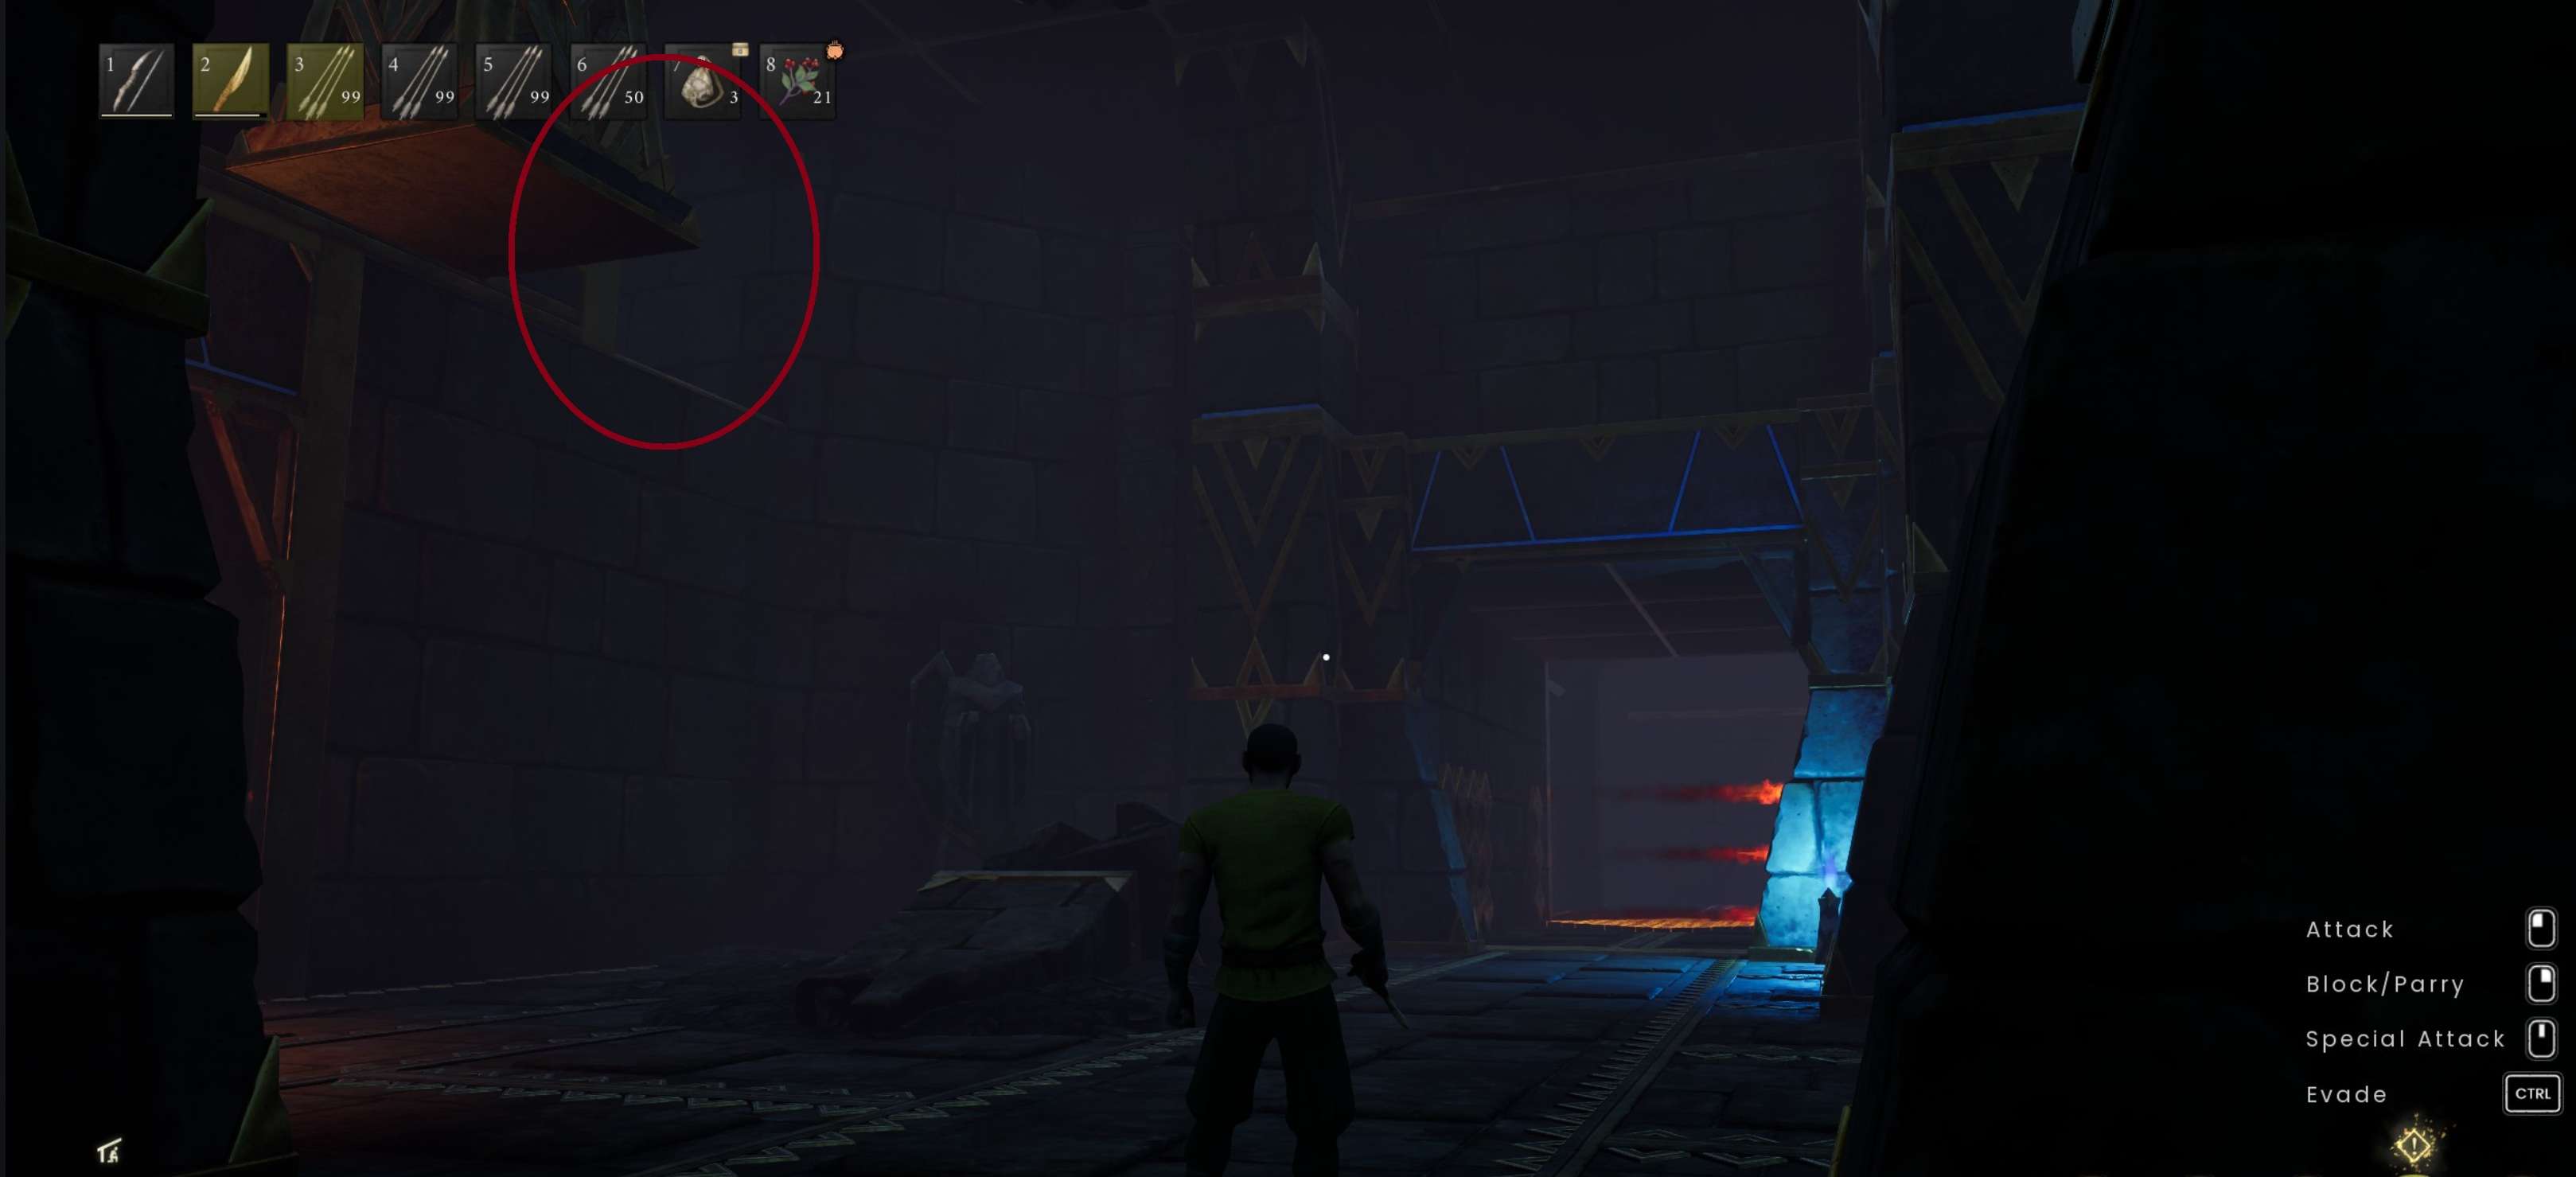
Turn around from the main lever you just pulled. Go back through the newly opened gate into the large room you passed through earlier. Look up and find an opening in the upper corner. Use your Windstep spell to jump up to it.
Follow the path, and you will find the second Vault Core, a chest, and another lever. This lever opens a gate, creating a path back to the end area of the vault.
Fighting the Boss for the Third Vault Core
Activating the main lever at the end of the vault also opened the gate leading to the boss, located on the other side of the entrance area. Go through this gate to face the Vault Overlord.


The Vault Overlord is a tougher version of the Guardian Hulk enemy. Defeat it, then enter its chamber. The third Vault Core is at the back of this room.
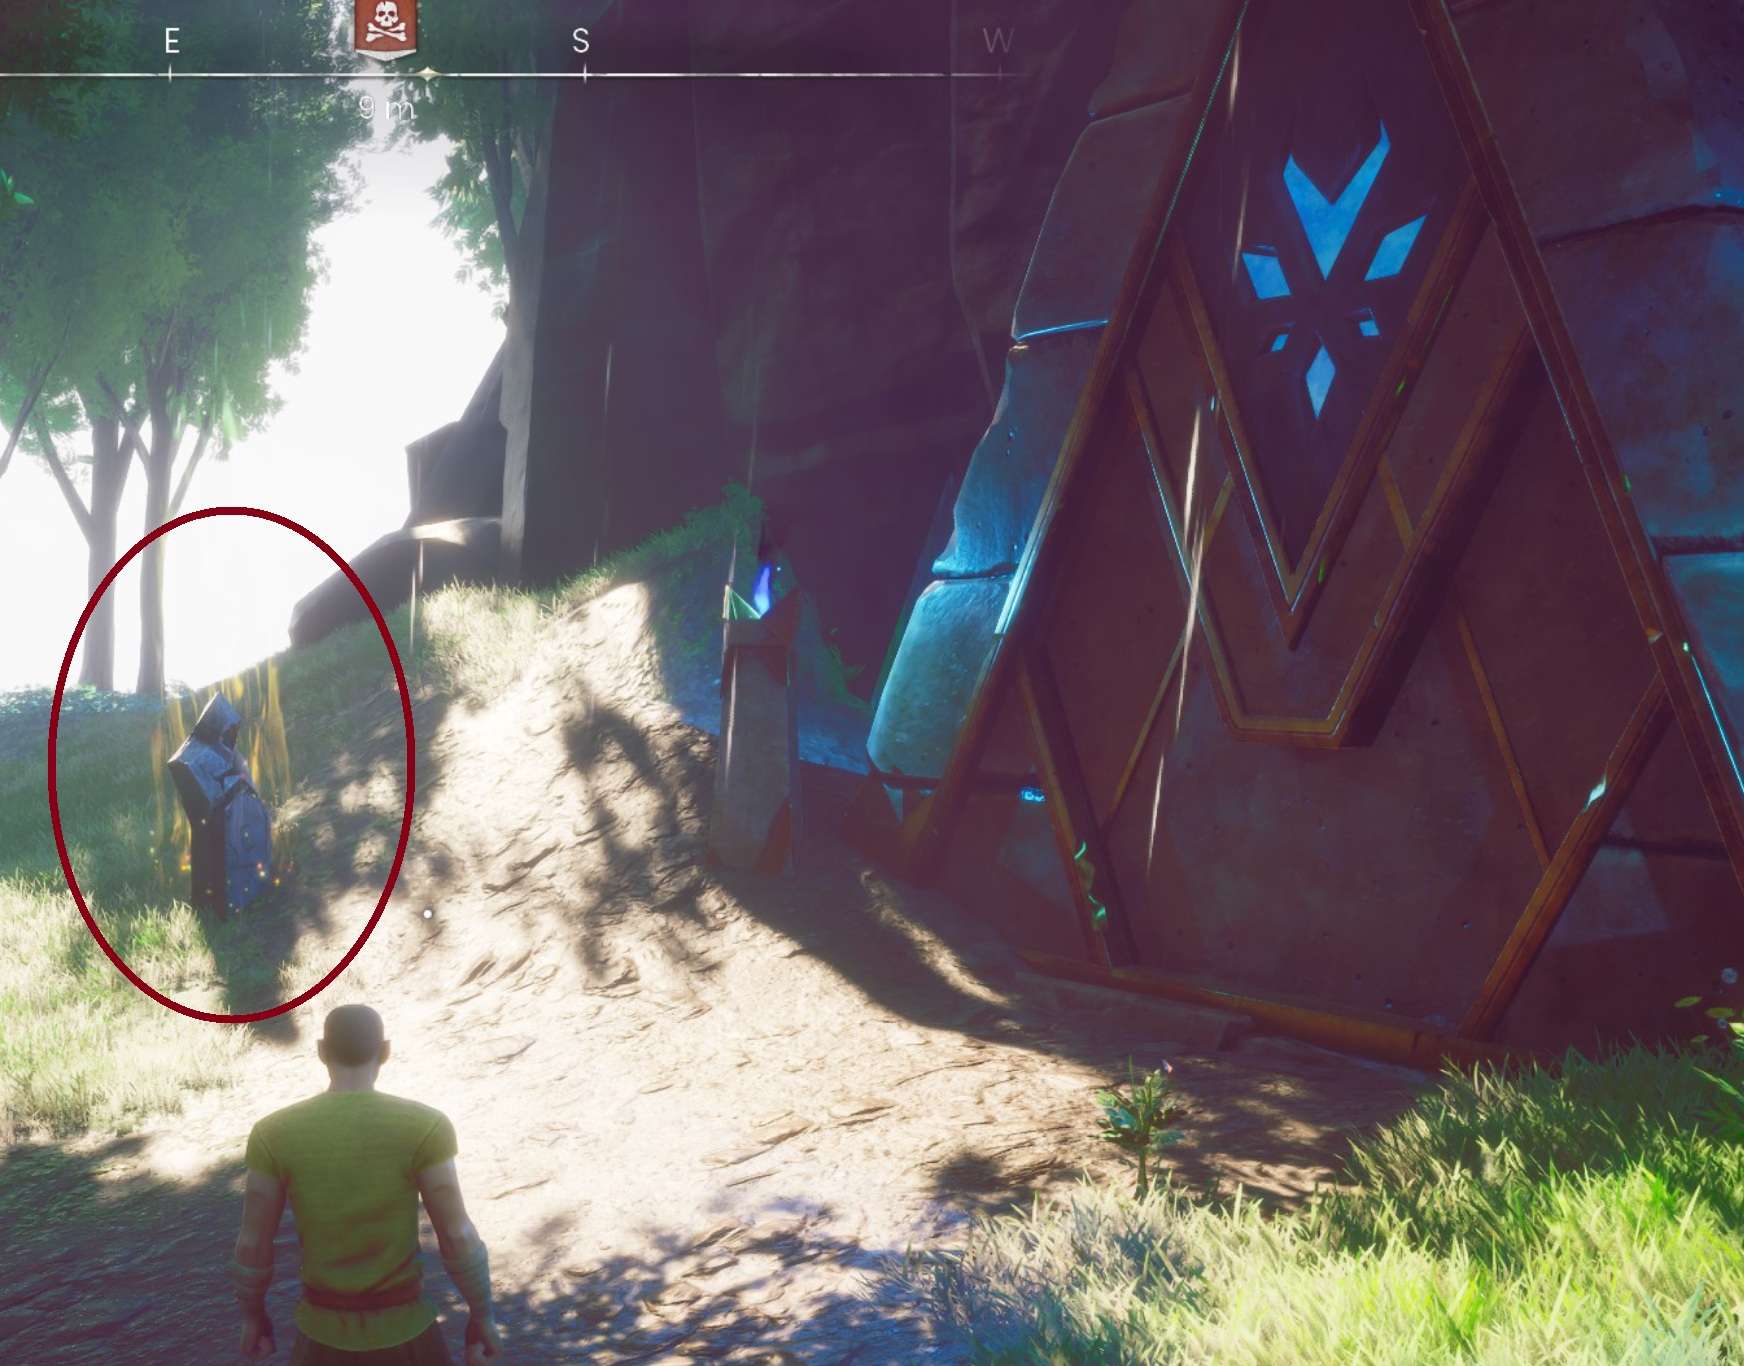
How to Set Up Fast Travel
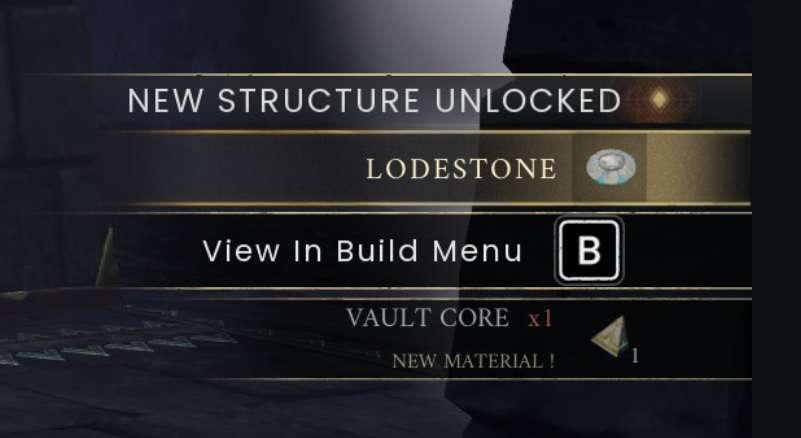
Picking up your first Vault Core automatically unlocks the recipe for the Lodestone.
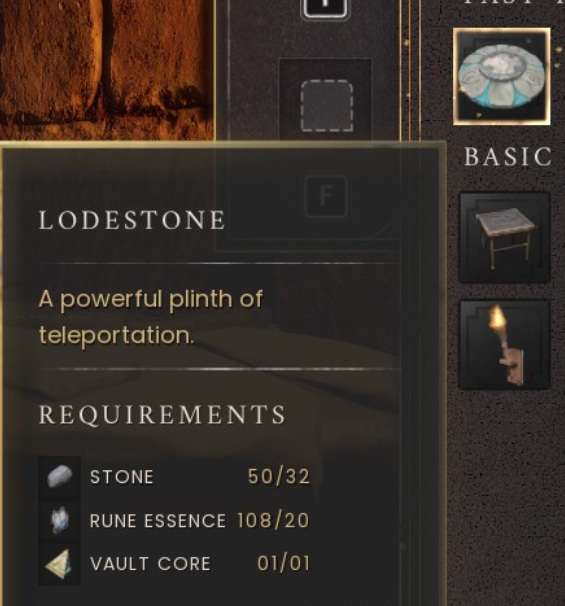
To build a Lodestone, you need:
- 32 Stone
- 20 Rune Essence
- 1 Vault Core
Build the Lodestone and place it down in a location of your choice.
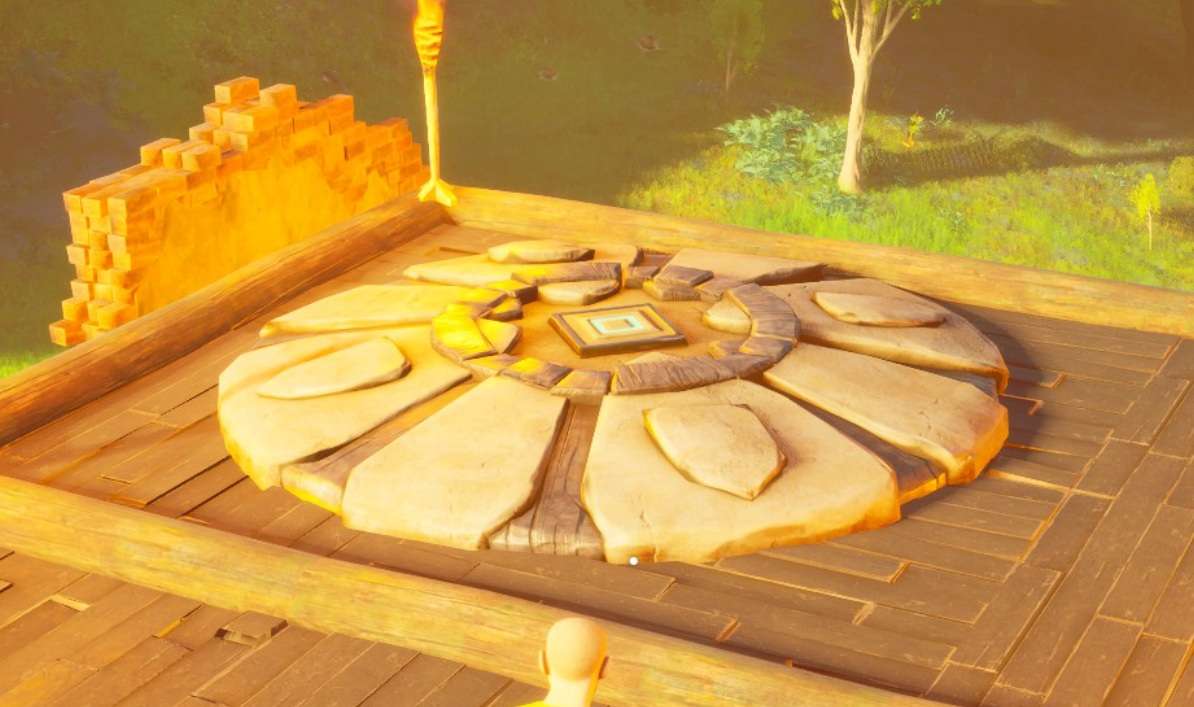
Interact with the placed Lodestone to open the fast travel map. By default, the only destination available is the church near the game’s starting point.

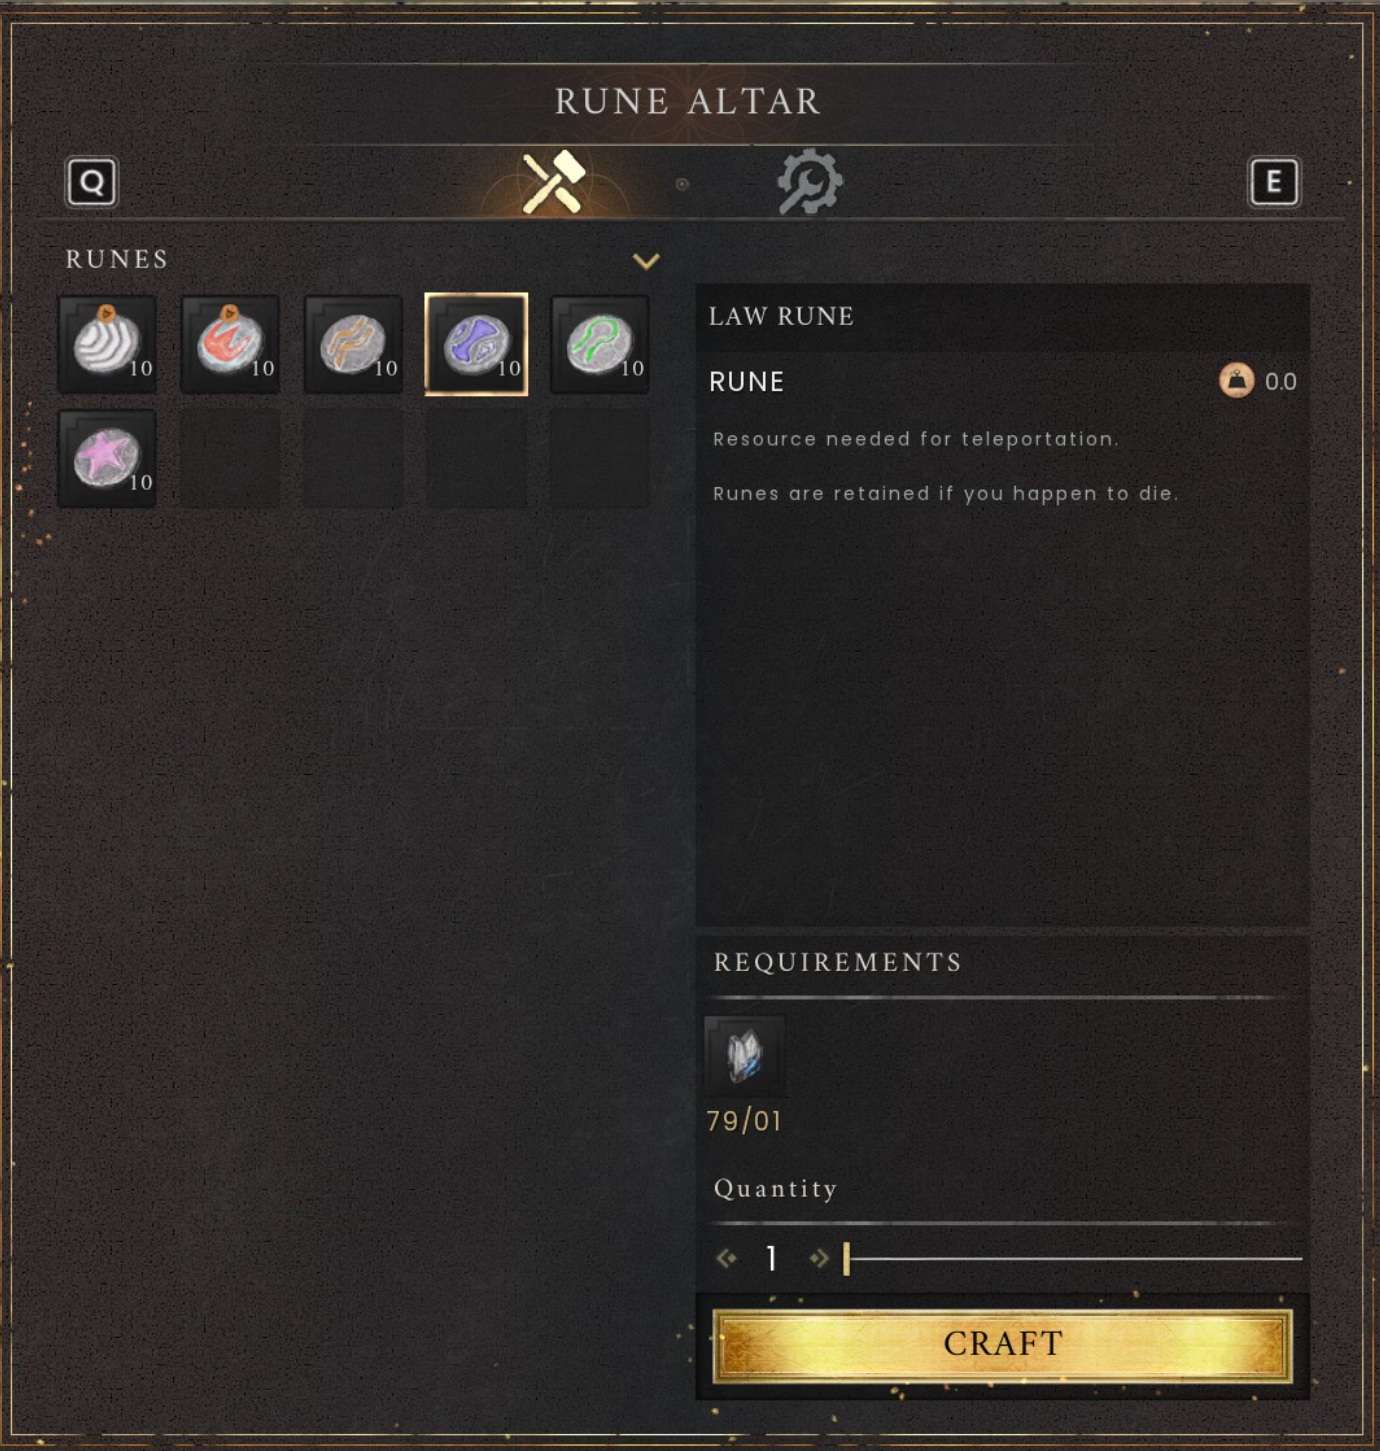
Using the fast travel network requires Law Runes (the purple ones). These runes are crafted at a Rune Alter.
Tips for Using Fast Travel
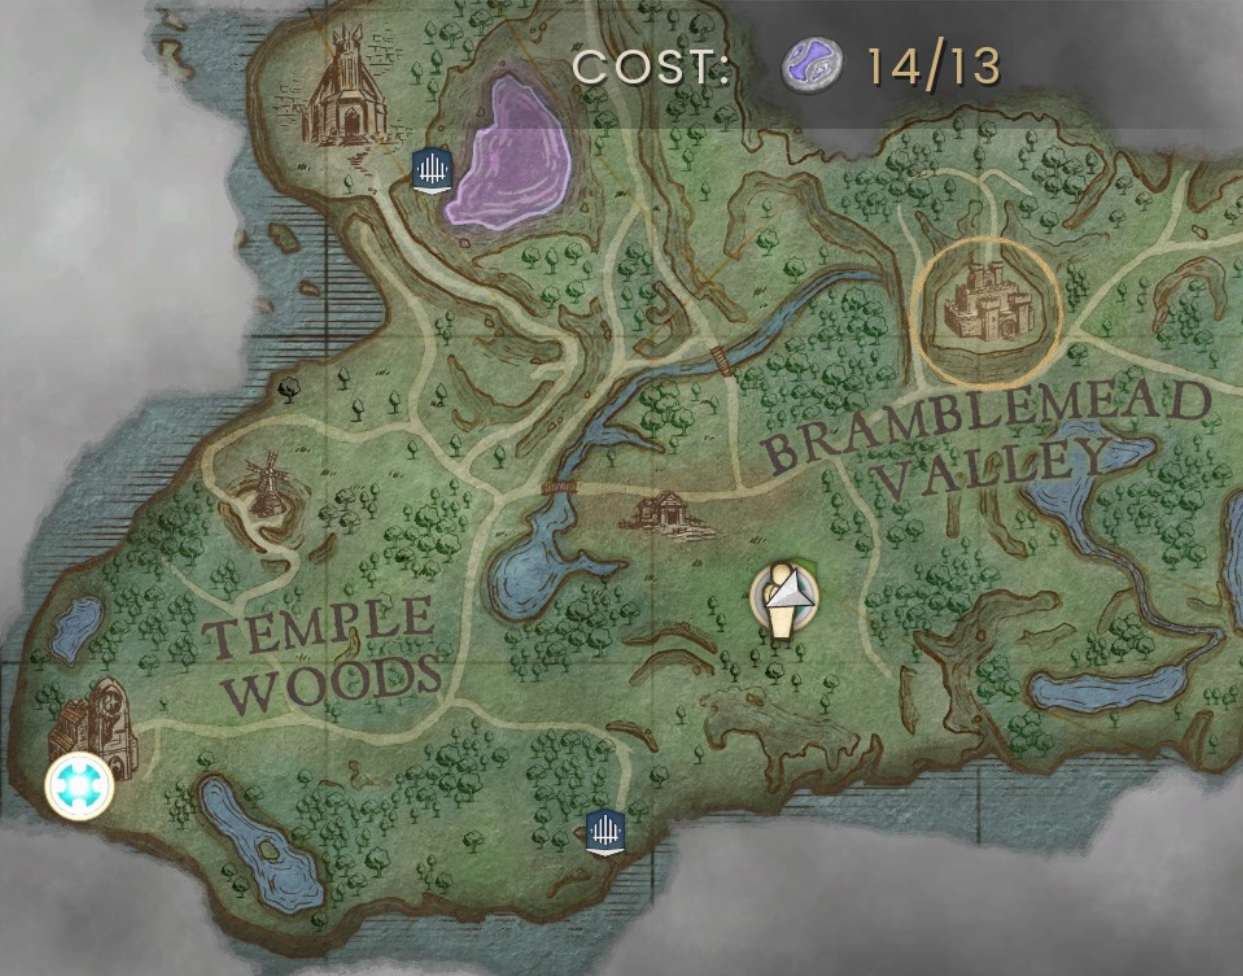
- The cost in Law Runes to fast travel depends on two things: the distance you want to travel and the total weight of items you are carrying.
- Carrying less weight significantly reduces the Law Rune cost.
For example: Traveling from the abandoned village back to the starting church might cost 13 Law Runes if you are carrying 285 weight, but only 1 Law Rune if you are carrying just 15 weight.
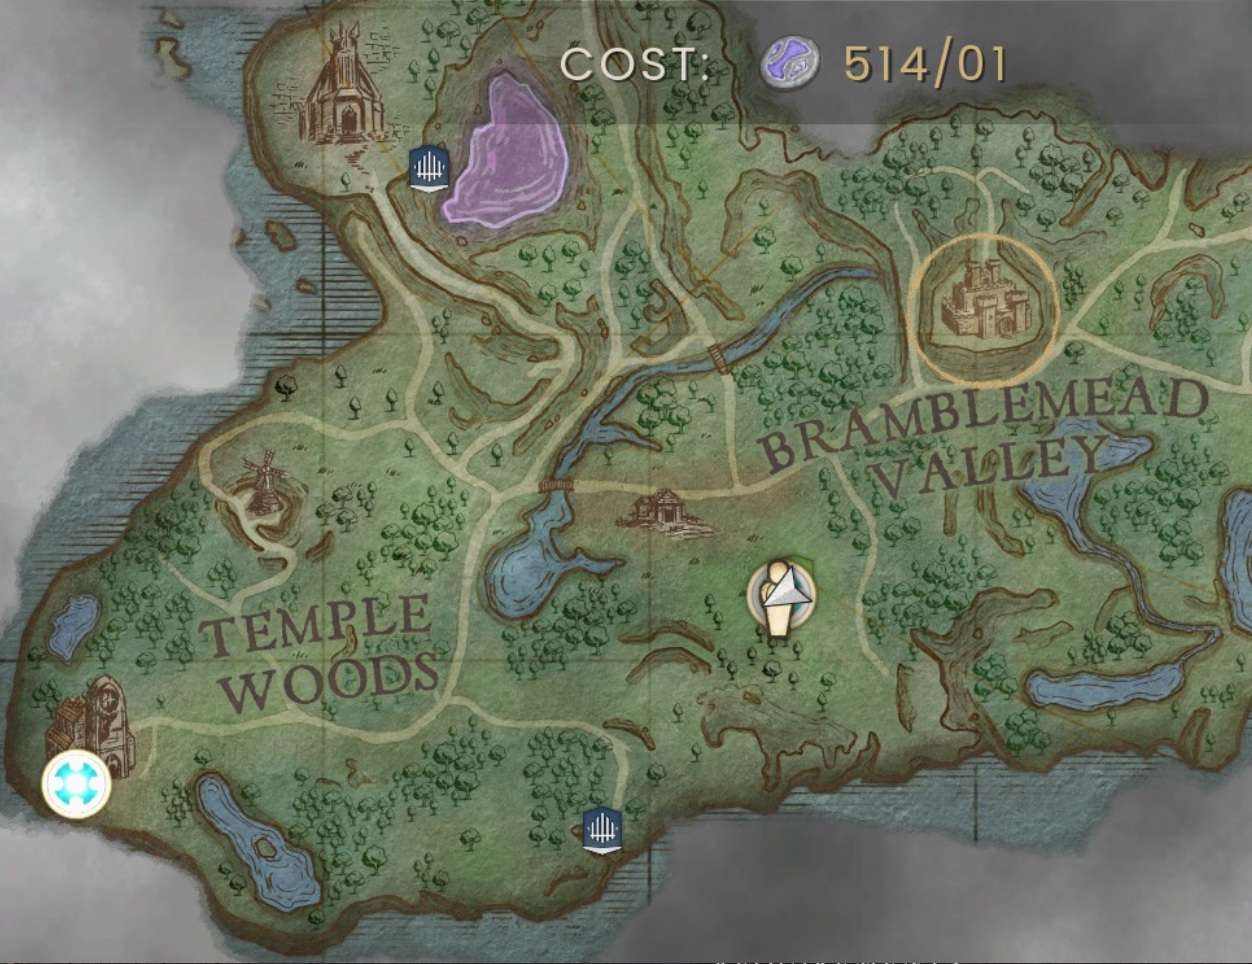
- Remember this as you explore further. Traveling across the map back to your base while carrying a lot of items can cost hundreds or even thousands of Law Runes.


Be the first to comment