
Table of Contents
Walkthrough
Introduction
This guide gives you the fundamental steps required to proceed forward, it largely ignores anything not absolutely required to progress.
That being said, I’d highly recommend speaking with all the NPCs and inspecting all the various things available so you can better understand the story and themes.
There are spoilers ahead.
Walkthrough
Building reception
Talk to the police officer, this is the first instance of the ‘interrogation’ choice system

Melancholic – Option One
- Head up through the elevator
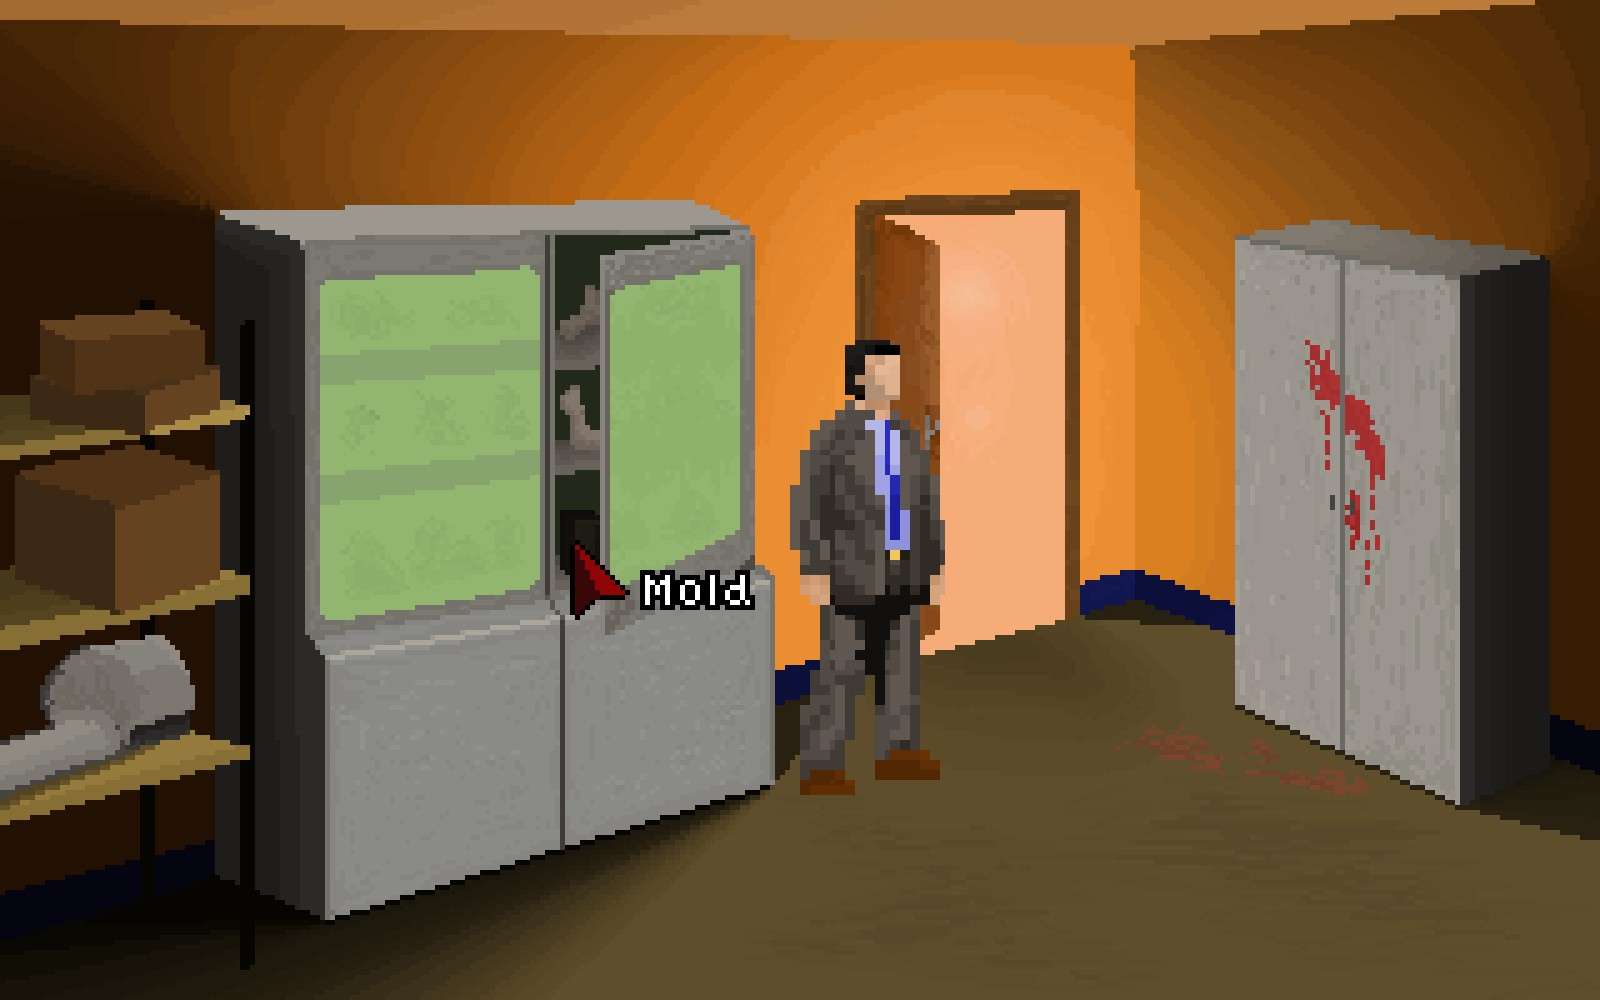
- Inspect the bloody foot prints
- Inspect the easel, the fallen painting the table and finally the collection of paintings in the case on the right wall – The point being is to establish she’s an artist
- Pickup the bloody piece of glass
- Use the black leather jacket and acquire the notebook
- Talk to officer Braintree and ask about the crime scene and the time the call came in
- Head up the stairs and talk with Detective Luna
- Head back down stairs and talk with the landlord
- Ask about the boot prints
- Ask about the victim, specifically about her interest in art
- Discuss what happened
Choleric – Option four
- You’re have received a clue from the interrogation, use the clue ‘Mark’ on the notebook to get his full name
- Head back up and speak with detective Luna run through her dialog options and then head back down to reception and leave
Morgue
- Speak with the doctor
Detective office
- Use the computer, type in “Address (Mark Torrence)”, now have his home address
- Use the phone and speak with your daughter
- Check the letter (If you try to leave without inspecting the letter the game forces you to anyway)
- Leave and go home
Home
- There is a dresser beside the entrance, select it to open and add the screwdriver to your inventory.
- Leave and go to Mark Torrance’s apartment
Torrance’s Apartment
- Knock on apartment number two, speak with the old woman, exhaust her dialog options unit you’re given an interrogation option
Phlegmatic – Option two
- Take the key and use it on the number one apartment
- Alternatively use the screwdriver on the door
- Inside the apartment locate the Polaroid photo beside the entrance, inspect the bloody fingerprint, the faces and the bridge in the background of the photo
- Enter the bathroom, inspect the pants and acquire the tattoo receipt (Check the sink for a fright)
- Leave and head to the art gallery
Art Gallery
- Knock on the door exhaust the girl’s dialog options selecting ‘was she in trouble’ last.
Sanguine – Option three
- Ask the girl about the birthday
- Access your inventory, read the poetry book to receive the book store location
- Access your inventory and use the tattoo clue with the receipt to receive the tattoo store location
- Leave the area, when you do you’ll enter a cut scene
Home
- Speak with detective Luna
Melancholic – Option one
Detective office
- Use the phone and speak to your daughter
Phlegmatic – Option two
- Leave and head for the book store
Book store
- Talk to the clerk ask about the book, receive information about the woman and tattooed man.
- Leave and head to the tattoo parlour
Bloodwebb Tattoo Parlour
- Talk to the bouncer and ask how much it will cost to let you in, he ain’t letting you in.
- Head down the alleyway and speak with the bum, ask about the bouncer, then exhaust his dialog options
Sanguine – Option three
- Enter the liquor store, ask the clerk about Greenleaf and then buy a bottle of absinthe. Exhaust his dialog options, then head back to the bouncer
- Speak to the bouncer and give him the absinthe bottle, once he steps aside enter the building
- Alternatively acquire the bar from the trash on the left side of the street and smash the power box drawing the bouncer away
- Speak with Nate, ask the top three dialog option first the bottom one last
Choleric – Option four
- Kill Nate. You’ll acquire a new location
- Leave and head to Lascado Prosthetics on the edge of town
Lascado Prosthetics
- Open the gate and inspect the label on the shipping container
- Leave and return to the detective office
Detective office
- Use the phone and contact the stepford office, you’ll be given officer Braintree’s address
- Leave and head to office Braintree’s home
Braintree’s house
- There is a rock beside the steps, pick it up and find a spare key, use the key on the front door, turn on the lights use the attic rope and head up, when in the attic acquire the crowbar on the table, go back outside
- When outside go to the back of the house, use the crowbar on the red door, turn on the lights acquire the hacksaw
- Leave the location and head back to the Lascado Prosthetics location
Lascado Prosthetics
- Use the hacksaw on the padlock and head on in, you’ll find a folder pick it up and look inside, inspect the barrel of chemicals and finally use the beaker with red ink on it, a cut scene will play
Lascado Prosthetics – 1986
Head downstairs and you’ll enter a corridor with three crazy people. After speaking to the woman with the bloody sheet go to the second door on the left and you’ll be inside a janitor closet, pickup the screwdriver and the rust remover return to the corridor
Go to the door on the right, pickup the clay directly in front of you, use the screwdriver on the desk draw with the blood, use the drawer and acquire the key, return to the corridor
Go to the door on the left and use the rust remover, head inside, open the display case and pickup the mould inside, use the key on the closet, pickup the red hand bag, access your inventory and use the handbag, it will transform into a photograph, return to the corridor
Go to the door on the right again and show the new photo to the women in blue, exhaust her dialog options, return to the corridor
Use the clay on the wet carpet, then access your inventory and use the wet clay on the mould, you’ll now have two round clay balls, give the clay balls to the woman with the bloody sheet, she’ll give you a knife. Speak to the man in green and ask about the door and how to access it. Give the knife to the man in blue and receive the flowers, leave the corridor and head back to the reception area
In reception after a brief conversation with Detective Luna speak to the man and ask about the oldest known symbol to humanity, head back down stairs
Go to the door on the right and give the flowers to the women painting the mural in the back, she’ll give you the paint brush, return to the corridor
Head to the red door at the end of the corridor and use the door, then use the paintbrush on the door.
You should save here
Use the door and a watch a long cutscene.
Braintree’s attic
Run through the dialog options and make your choice
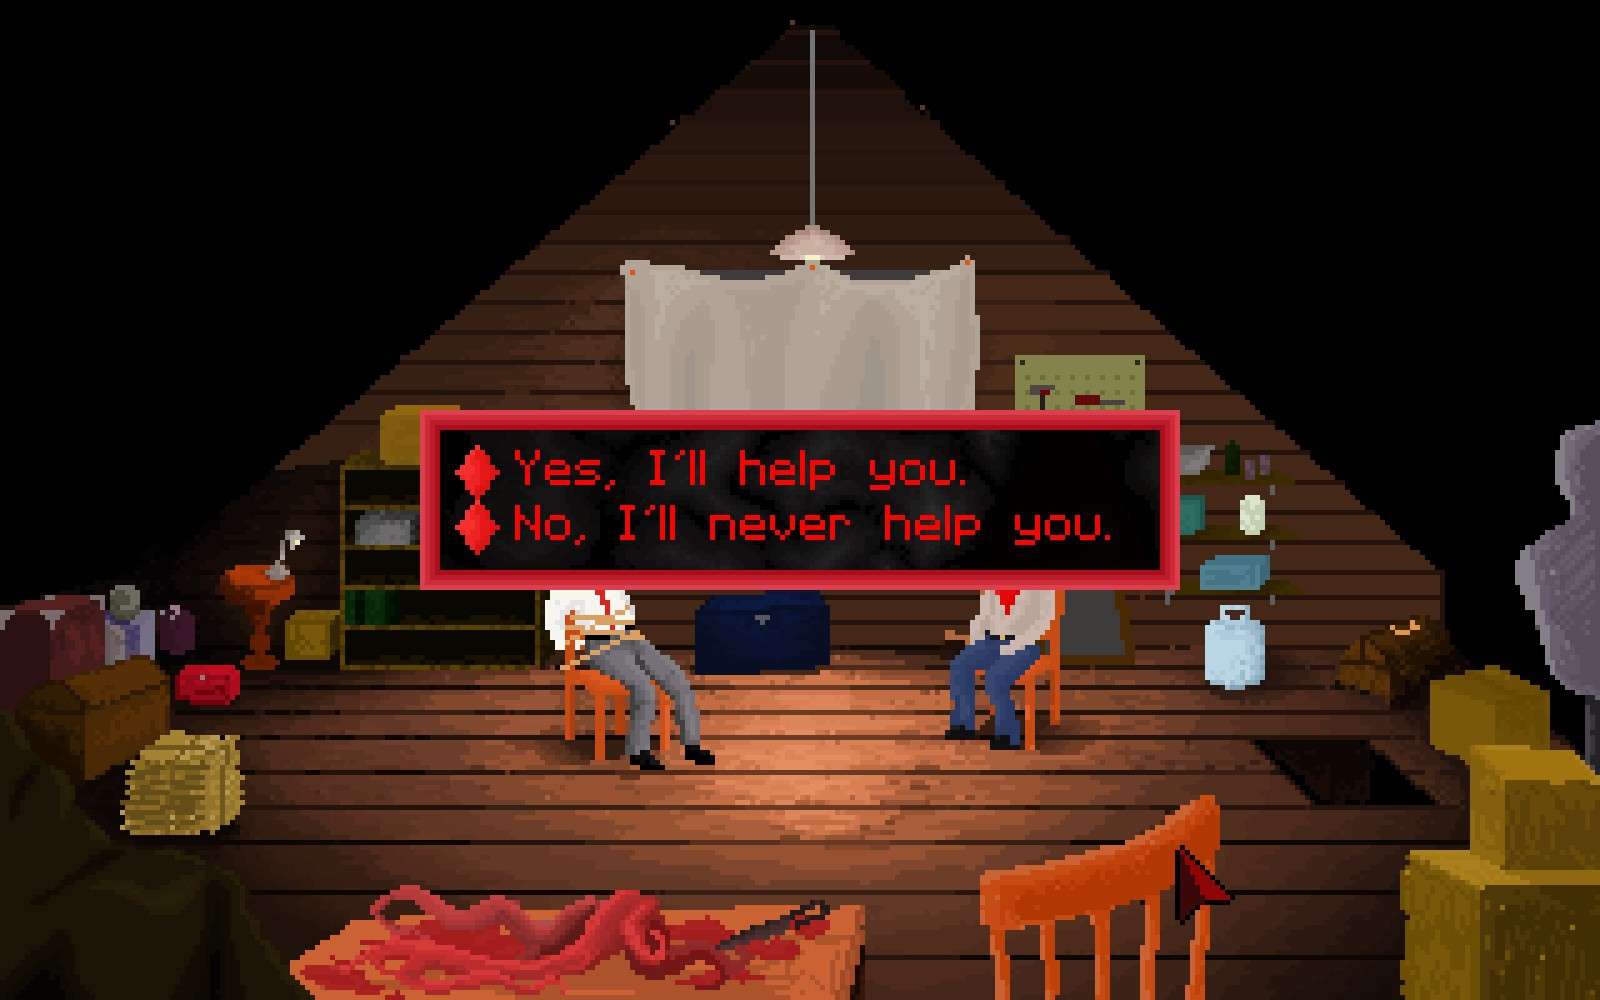
- If you choose to side with Braintree pickup the iron knife before leaving
- If you didn’t side with Braintree rock the chair till you’re free, pickup the knife and leave
Detective office
- Depending on your choice either Detective Luna or Office Braintree will be present
- Access your inventory and use the new clue ‘where is Serina’ on the Polaroid acquired from Torrance’s apartment
- Leave and head to the bridge. (You can also go visit the morgue if you’d like, a sign of things to come…)
Cobb Bridge
- Talk to Torrance
Phlegmatic – Option two
- Head through the door, use the screwdriver on the power box and fix the lights then walk to the right and visit Serena
- When you return there will be a standoff, depending on your previous choices. You can either shoot Torrance or Braintree, make your choice.
- Either way a cut scene plays
Book Store
- There is a door to the right, head down to the cellar and move to the right till you end up in a room with statues.
You should save here
- Continue forward and meet the benefactor and listen to his backstory.,
- If you followed my guide properly then all four endings should be open to you.
Make your choice

Endings

So the four endings are apparently based on your interrogation choices. As long as you pick at least one option twice then that corresponding ending is opened up. There are nine interrogation instances so you can get all four endings in one go, like my guide shows.
As said in the beginning you don’t have to make the same choices you can change them around and still get those four endings.
Be the first to comment