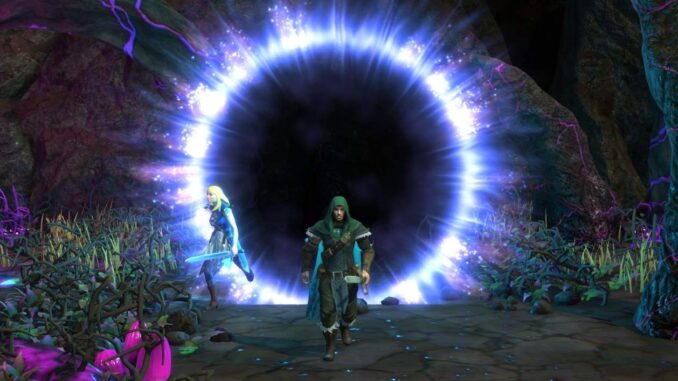
For those who want to keep the hard difficulty setting.
Loadout (skills, items and gems)
Leonhard (kills the crypt cyst with a boost from Oiko):
Items:
- Warp maul + warp (1 gem)
- Dagger + pierce (1 gem)
- Ninja robe
- Boots of speed +speed (3 gems)
Skills:
- Mobility
- Action Surge
- Charge + range (1 gem)
- Flurry + damage (1 gem)
- Shift +4 uses (2 gems)
(You can also take more shifts instead of speed on the boots. Still need the boots for the dash though.)
Aava (kills the second cyst):
Items:
- Longbow + pierce (1 gem)
- Deer armor
- Cloak of night
Skills:
- Mobility
- Advance
- Power attack +1 use (1 gem)
Oiko (boosts Leonhard):
Skills:
- Mobility
- Teleport
Mochizuki (kills the first cyst):
Items:
- Sword + pierce (1 gem)
skills:
- Somersault
- Action surge
This is the simplest version of the loadout, some items can be swapped for others.
Walkthrough
Oiko + Leonhard
First, move Oiko to their maximum movement range. Then use the teleport ability to switch positions with Leonhard. Have Leonhard use their dash ability towards the crypt, then move inside it. Move to the pressure plate, then use your swap ability with the skeleton near you – this will place the skeleton on the pressure plate. Move in the direction of the cyst, then use charge attack on the second rat at a diagonal angle to get closer to the cyst. Move next to the cyst, use action surge and flurry attack on the cyst, dealing 6 damage, which will destroy it.
Aava
Vanish, move towards the cysts, power attack + advance on the second cyst (3dmg), then power attack+ attack it (3dmg) to finish it.
Mochizuki
Jump and move towards the first cyst, attack (3dmg), action surge and attack again (3dmg).
Other Solutions
This solution is less straightforward, but has less requirements. It still requires action surge on leonhard and the Warp maul.
Loadout
Leonhard
- Sword + Pierce
- Action surge
- Charge + range
- Mobility / shift
Aava
- Warp maul + warp
- mobility
- advance
- power attack +1 use
- dash +2 uses
- shift +6 uses (3 gems)
Oiko
- forcebolt + pierce
- focus
- teleport + range (or mobility)
Mochizuki is not required
Walkthrough
Leonhard charges the 1st cyst. Aava dashes and Leonhard moves toward the crypt. Oiko moves forward to get the beastmaster in range of teleport, teleports and moves 1 tile forward. Then focus + forcebolt on the two cysts, breaking the first cyst. Leonhard moves and charges the second cyst, breaking it.
Aava dashes, then moves into the crypt, then shifts onto the plate, warps with the nearby skeleton, shifts into the left passage, dashes toward the cyst, power attack+hits it, shifts into the alcove and power attack+advance hits it again.
Be careful not to take too much damage from enemy opportunity attacks. Or add more shifts if you don’t want to wait for enemy opportunity attack animations.
Or use the free move / vanish items.


Be the first to comment