
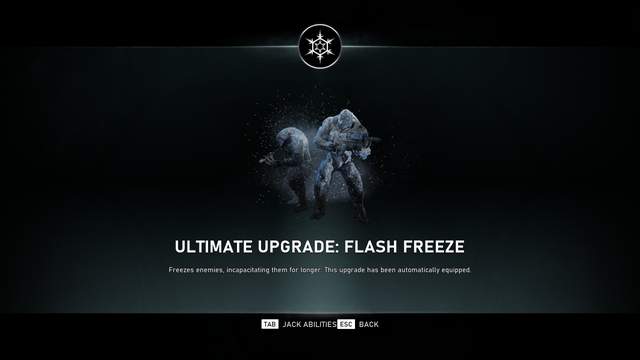
Hollow Storm (Flash Ultimate Upgrade: Flash Freeze)
First Stop: Old Derrick Site 1
This side mission can be completed during Act II: Chapter 4
Once you unlock the Old COG Gate, you’ll gain access to the Old Derrick Site locations.
Head to the first one and take out the hostiles there to obtain a collectible which doubles as part of a potential Jack upgrade.

Second Stop: Old Derrick Site 2
Head to the other Old Derrick Site and finish the next combat encounter to find the next collectible, which can be paired with the first to craft the upgrade.
After that, there’s just one more step, so head back through the Old COG Gate and head west.
Final Stop: Train Tunnel
Go to the Train Tunnel on the left side of the snow area. Send Jack to get the Mulcher weapon. Go to the back of the tunnel, and you’ll fight a Carrier enemy. Run around the train cars and shoot the ice spikes hanging from the ceiling when the Carrier is under them – this will hurt it a lot. After you beat it, check the train car in the back. You’ll find some parts for Jack and a blueprint that gives you the Flash Freeze upgrade, which is the best one you can get.
Lost Outsiders (Shock Trap Ultimate Upgrade: Seeker)
First Stop: Outsider Campsite
This side mission can be completed during Act II: Chapter 4
As you leave New Hope, you’ll see a small campsite on your right. Inspect the campfire to find a collectible which will begin the Lost Outsiders side mission.
Second Stop: East Tower Substation
After you’ve unlocked the Old COG Gate, you’ll gain access to the second part of the snowy field.
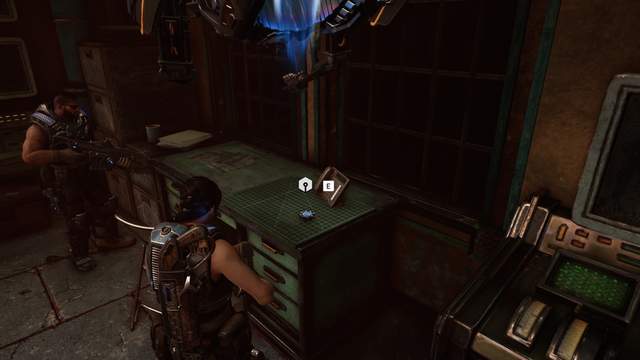
Head east along the lower edge, then turn north after you reach the far end, and you’ll soon find the East Tower Substation. Explore it to find a collectible with the codes you’ll need for the next part of the mission.
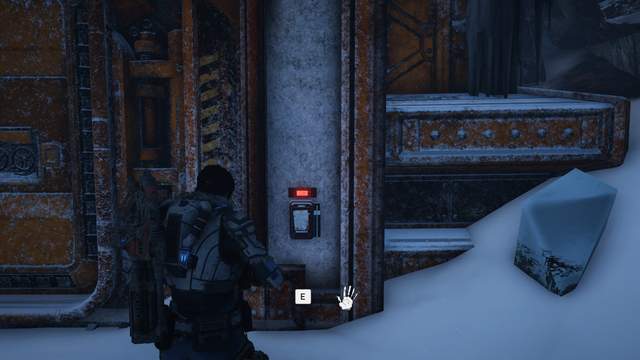
Final Stop: North Tower Substation
Once you have the codes, head to the North Tower Substation, located on the northern end of the snowy field. Pick up the note on the door, then use the code to unlock the keypad.
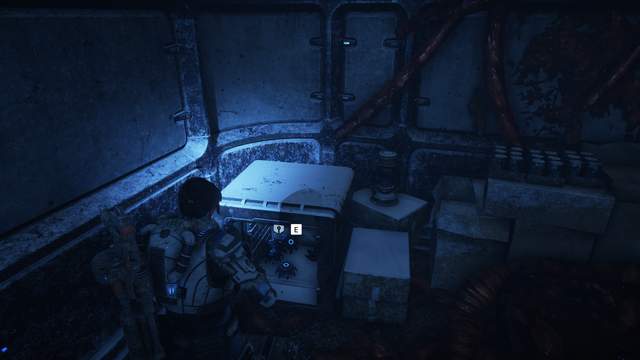
Head inside, locate the inhabitant, then loop around the left side of the room to find a safe, then open it to obtain the Ultimate Upgrade: Seeker.

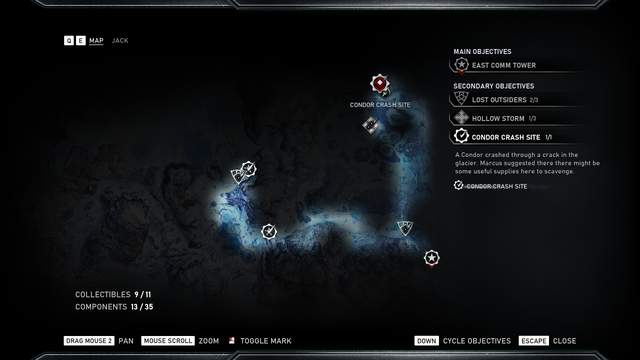
Condor Crash Site (Pulse Ultimate Upgrade: Marked For Death)
This side mission can be completed during Act II: Chapter 4
This Condor Crash Site is located in the center of the snowy field, slightly towards the southeast. Enter the site to fight off waves of Rejects, capped off by two Flocks.
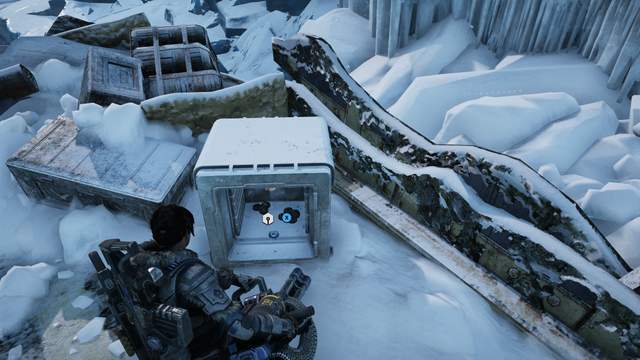
Take them out, then climb the ramp to the left to find a safe containing the ultimate upgrade for Jack’s Pulse ability, Marked for Death.

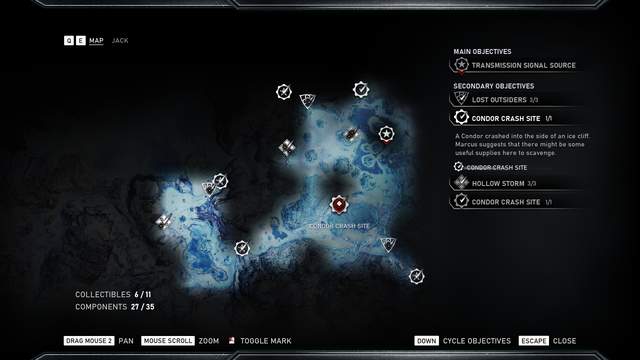
Condor Crash Site (Stim Ultimate Upgrade: Brawler)
This side quest can be completed during Act II: Chapter 4
This Condor Crash Site is located in the northeast corner of the snowy field during Act II: Chapter 4. Approach the crash site, fight off the DeeBees, then destroy the Raven to complete the encounter.
Head to the upper ledge and unlock the safe to obtain the ultimate upgrade for Jack’s Stim ability, Brawler.

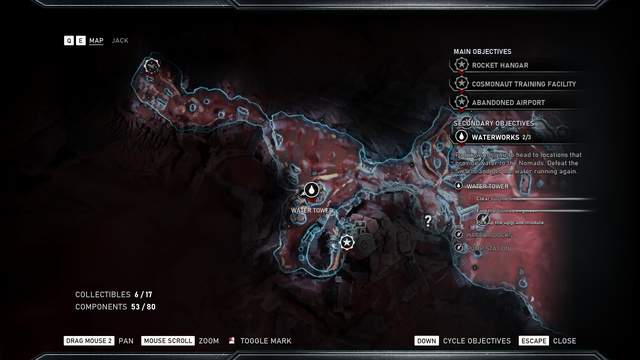
Waterworks
Note: This Side Mission can be completed in Act III: Chapter 1.
Complete the Waterworks Side Mission to obtain the potent Slayer upgrade for Jack’s Cloak ability, which allows you to stay in stealth for the entire duration of the ability, even while firing your weapons.
Harbor Docks
Approach the Harbor Docks to discover a large group of Swarm. Take out the Bastion, the Scion, and the Snipers, then clear out the rest and have Jack restart the pump at the center to complete this leg of the Side Mission.
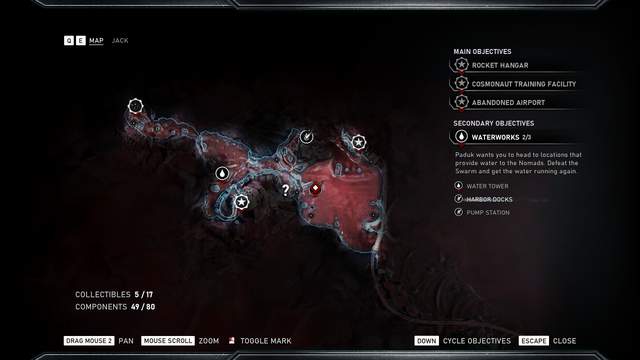
Pump Station
Approach the Pump Station to assist the locals and you’ll be attacked by waves of Juvies and Poppers. Fight them off, then have Jack boot up the Pump Station to complete this section of the Side Mission.
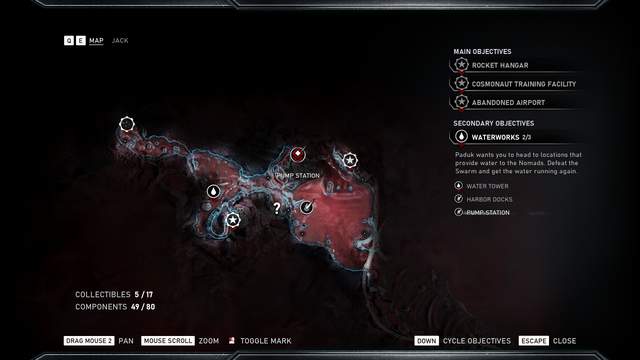
Water Tower
Clear out the Swarm occupying the Water Tower, then break through the door at the middle of the area to find the Ultimate Upgrade for Cloak: Slayer.

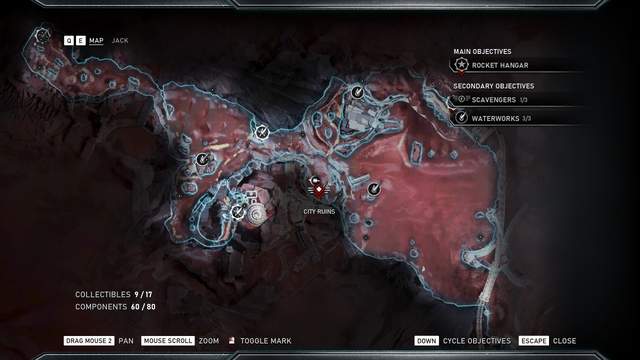
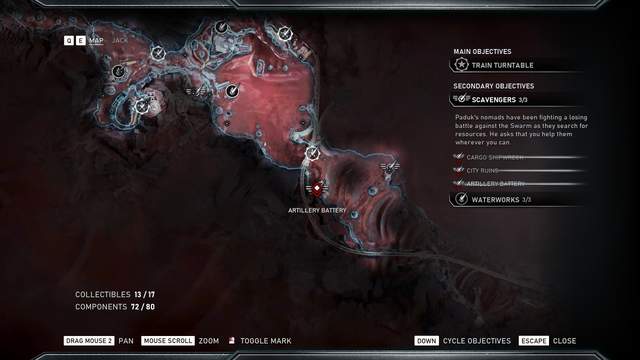
Scavengers (Hijack Ultimate Upgrade: Detonator Implant)
Note: This Side Mission can be completed in Act III: Chapter 1 and Chapter 2.
Complete this Side Mission during Act III to obtain the ultimate upgrade to Hijack: Detonator Implant.
City Ruins
Head to the City Ruins location, towards the center of the dunes (just east of the Cosmonaut Training Facility) to initiate this Side Mission. Enter the arena and have Jack rip the door and you’ll be flanked by Hunters with Torque Bows.
Fight off the waves of enemies, then head through the door to find a circuit board collectible which will unlock Jack’s Ultimate Hijack ability, when combined with two other parts.
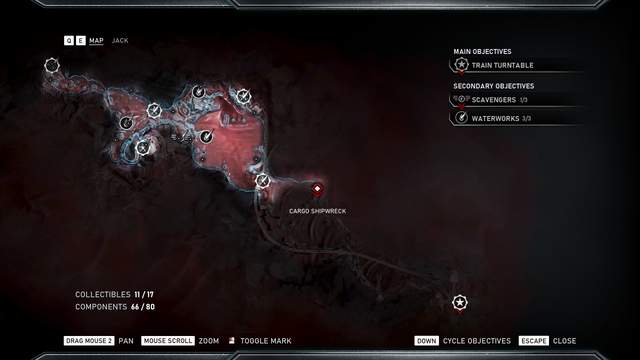
Cargo Shipwreck
Note: Available in Act III: Chapter 2.
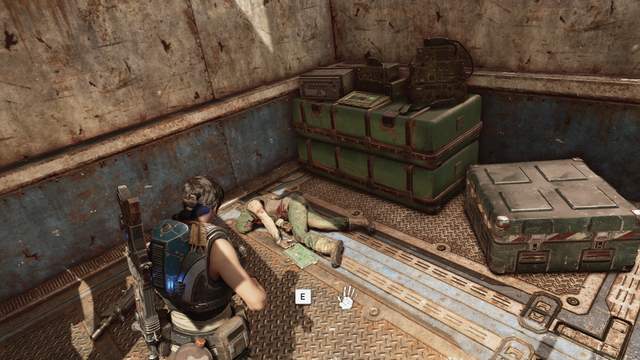
After getting the satellite from the Rocket Hangar, return to your Skiff. Head past the Train Bridge and follow the cliff on the left side and you’ll soon encounter the Cargo Shipwreck.
Head inside to face two Flocks. Soon they’ll leave and Rejects will emerge from the sand. Once the Rejects are destroyed the Flocks will return. Fight them off using the Weaponized Silverback in one of the first cargo containers, then head to the stairs at the back of the area once they are all dead to find another circuit board.
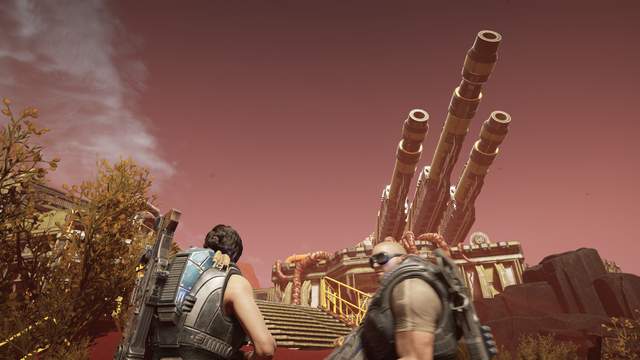
Artillery Battery
Note: Available in Act III: Chapter 2.
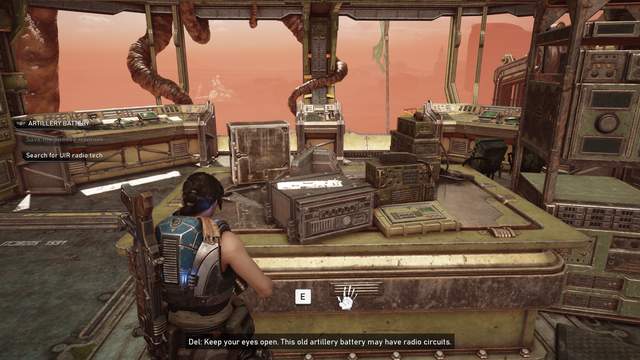
After lifting the Train Bridge, head past it and immediately to the south to find the Artillery Battery. Head inside and open the first pod you find to begin this leg of the mission. Fight the Juvies and Snatcher which appear, then head inside and pop more pods.
Head up the stairs and you’ll find the final circuit on a large table, completing Jack’s Ultimate Upgrade for Hijack.
Be the first to comment