
A simple guide for modifying your own internal game files to create mods!
Table of Contents
Introduction
This is a short guide on how to modify your game, may it be sprites, music, adjusting in-game mechanics, etc. It is absolutely important to keep in mind that this can and will break your game, so be sure to back up any files you modify. Especially back up your entire package.nw if you modify it, you’ll want a clean file that is not altered by modding if you wish to go back after testing things.
Please make sure you’re following all copyright/other laws/website guidelines when creating and sharing mods, thank you!
Huge thank you to leegao for the tip on how to access internal files.
Accessing Internal Files
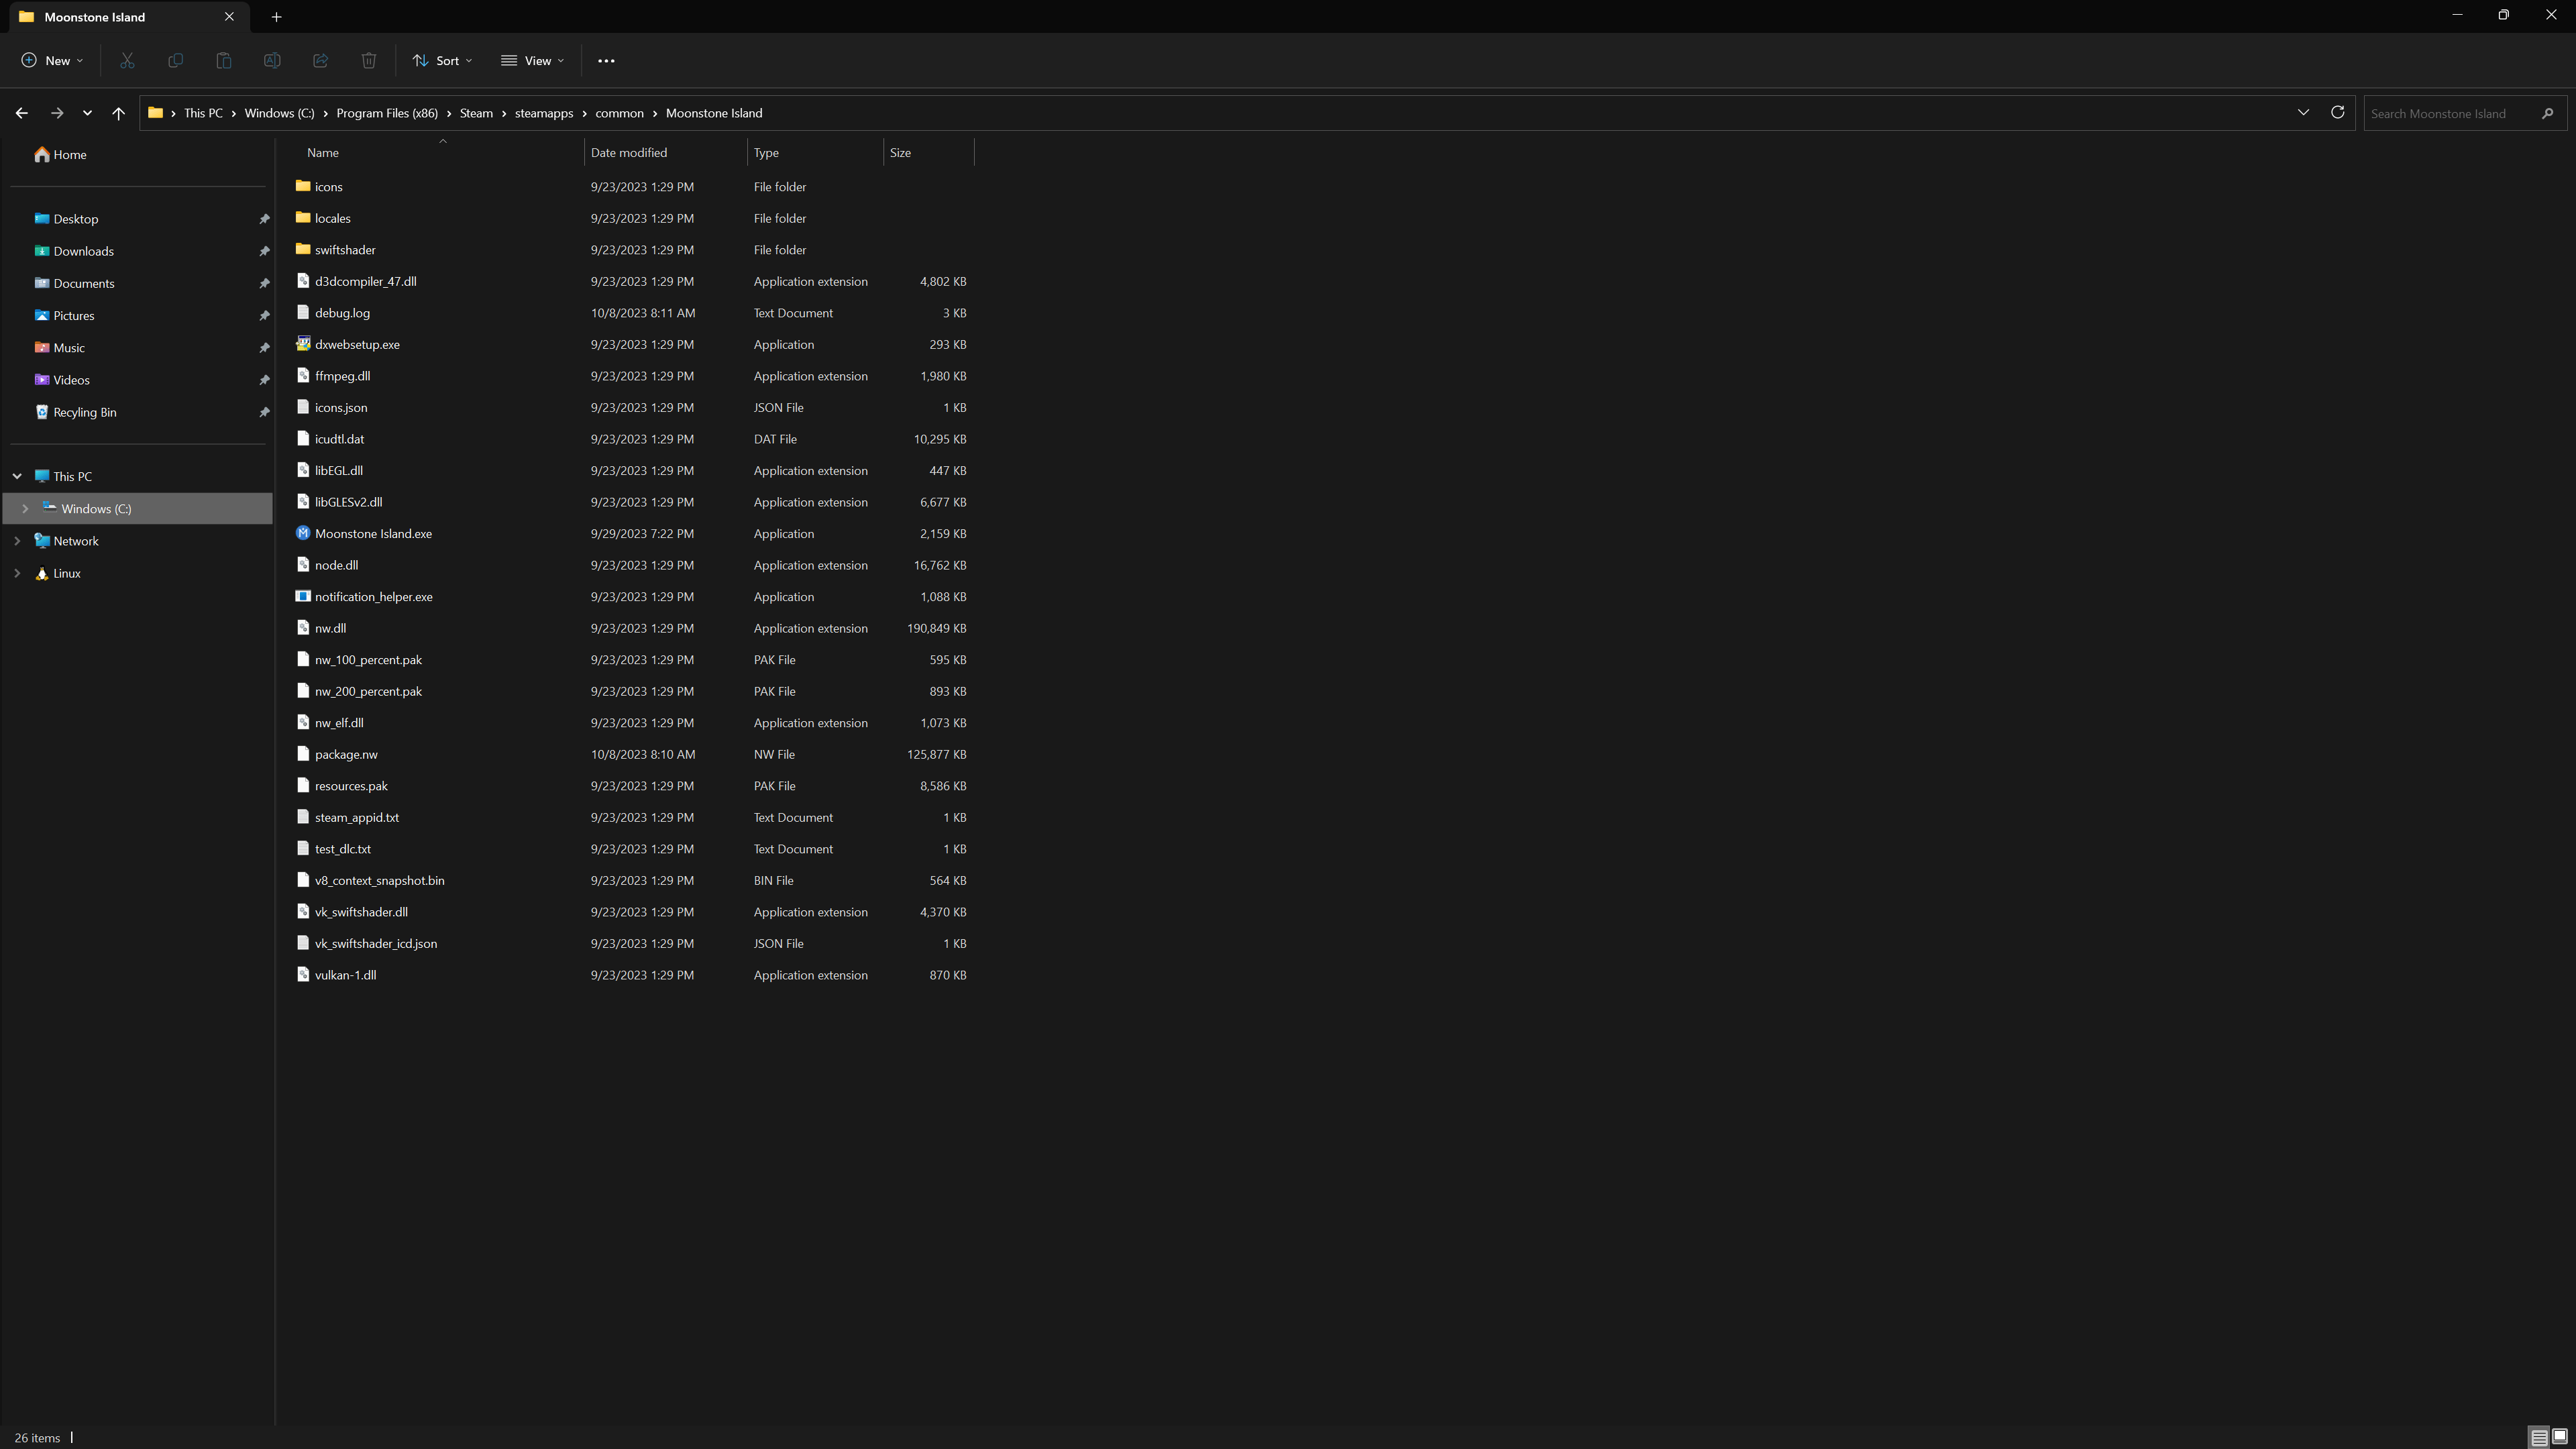
- Navigate to your C drive > Program Files > Steam > steamapps > common > Moonstone Island and locate the package.nw file.
- Copy and paste the package.nw file somewhere else, wherever you wish to start modifying and storing edited files. I keep mine on my desktop for fast access. Also, copy and paste a safe unedited version somewhere where you won’t touch it – or you can always reinstall the game if you need a fresh package.nw file.
- Using 7-Zip or something similar (download 7-Zip if you don’t have it, it’s free,) right click the package.nw file in your desktop (or wherever you put it) and click Open With > 7-Zip File Manager
- You can also rename the file to package.zip to make it easier to open.
- Data folder contains in-game .json data files, such as editing holographic color values or editing dialogue.
- media folder contains in-game music, which you can swap out for different music if you want. Just make sure the title/format of the file remains the same.
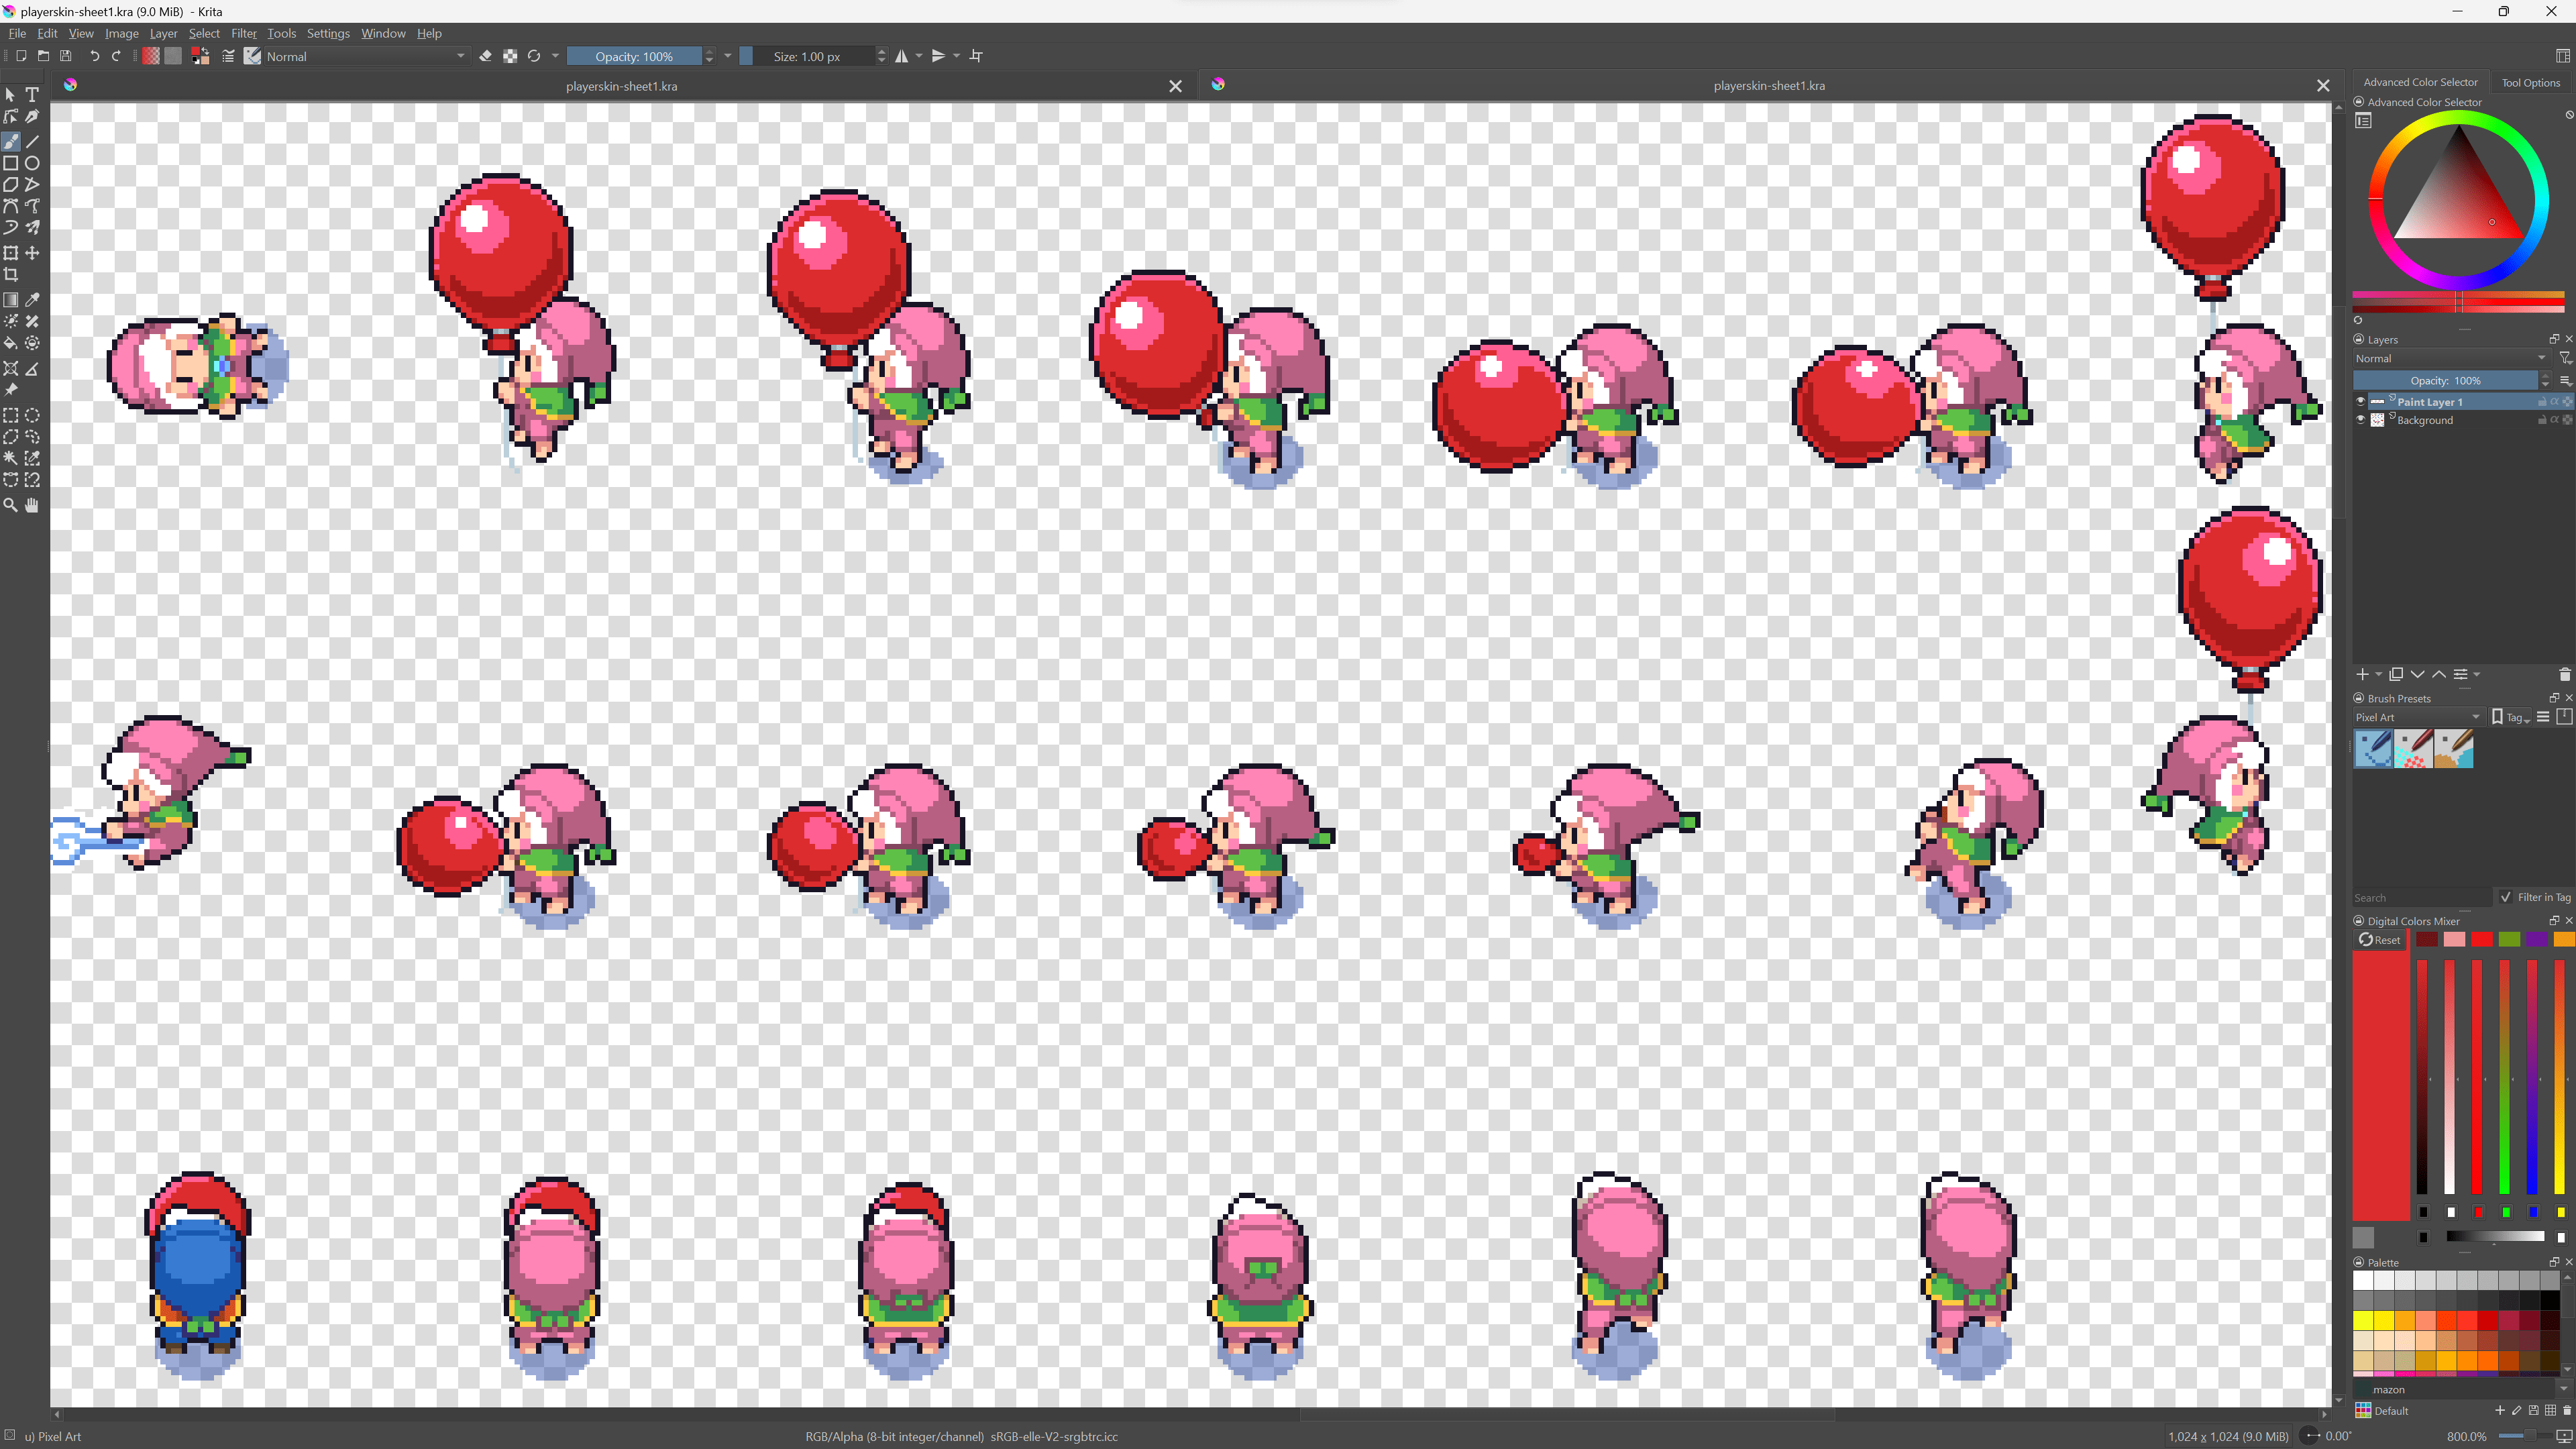
- images folder contains in-game sprites, I recommend just extracting all these files onto your desktop or someplace where you plan to edit them.
- scripts folder contains some important mechanics such as how the in-game time moves.

Sprite Editing Tips
I haven’t really seen how the game code works, so take this with a grain of salt. This is advice coming from trial and error of sprite editing so far.
- Keep your editing within the general confines of how they appear on the sheet, the game won’t take giant sprites (right now) and they need to remain relatively the same size as before. You could test the max size of a sprite by just splotching on stripes of colors and see what the game picks up/doesn’t.
- Some sprites are all over the place instead of where they appear to be, for example, the player character. He has some sprites on shared sheets, I believe they are used during the tutorial. I think there’s others too, keep that in mind if you’re editing something with a complicated amount of sprites.
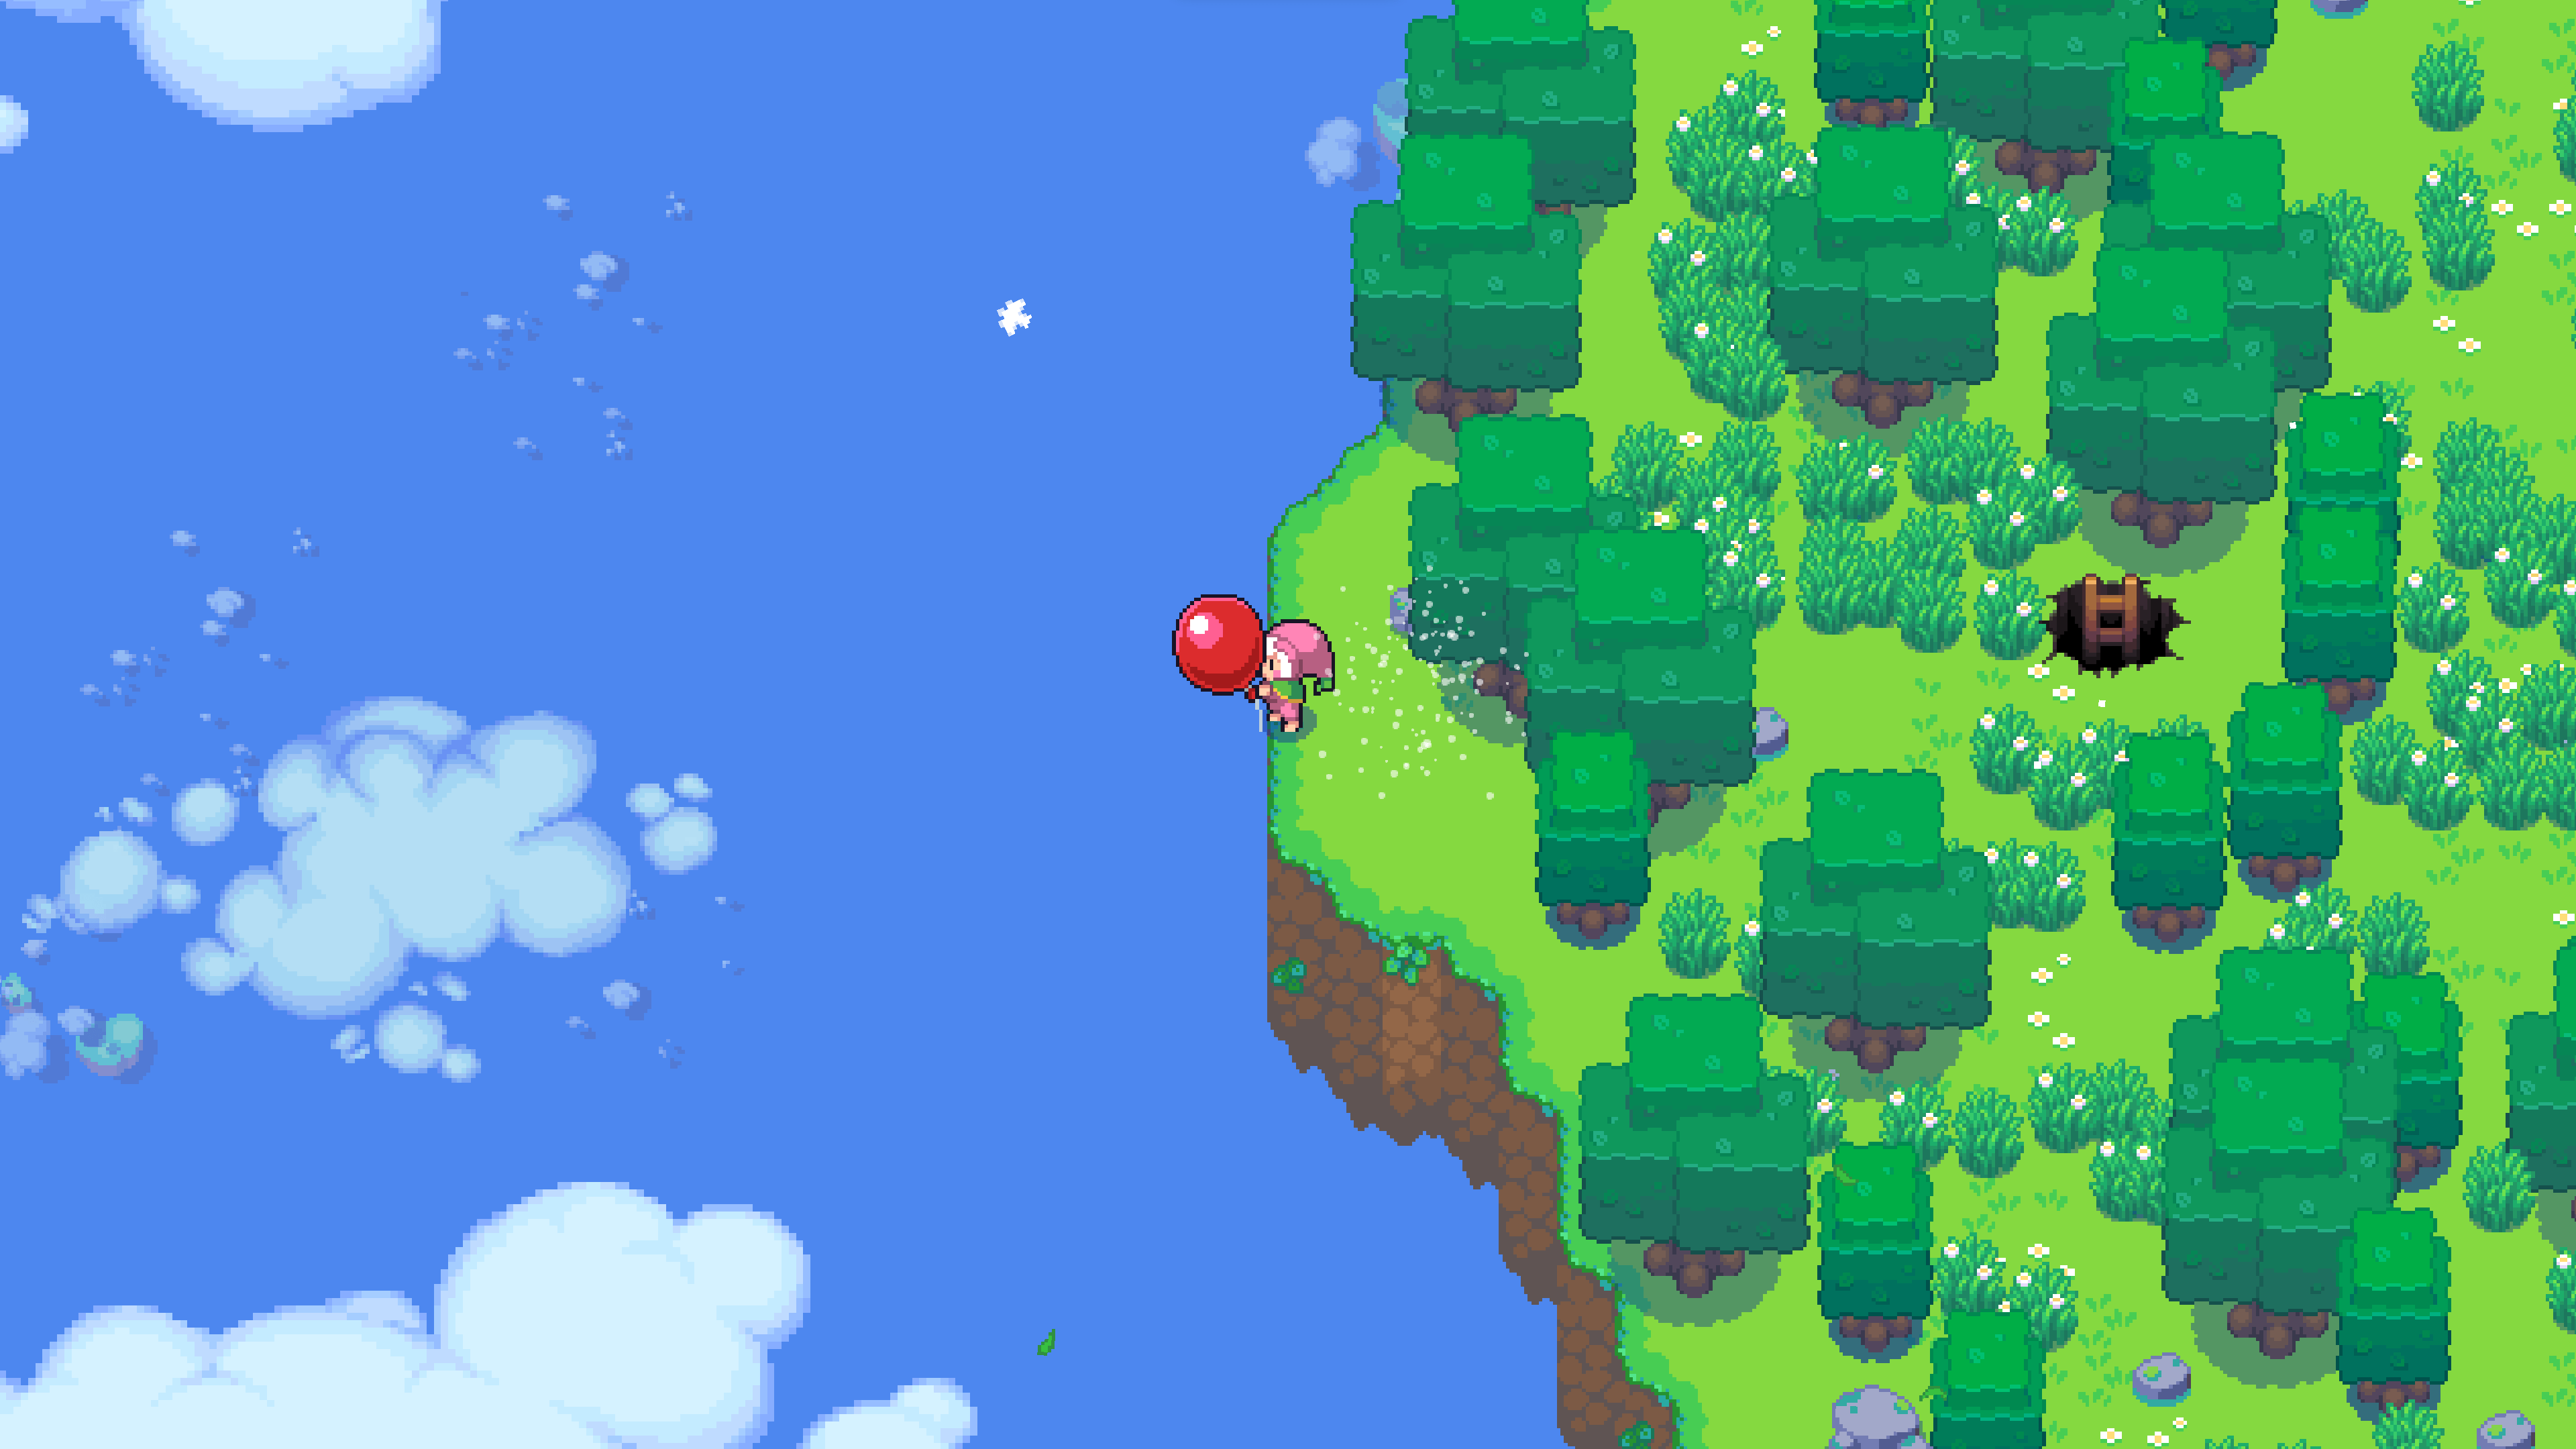
- You can replace sprites for others, as long as they fit somehow. For example, if you want to fill your island with cherry blossom trees, you could replace out a larger model for a smaller cherry tree (such as the poison marsh-looking tree.)
- Check the shared sheets just to make sure you aren’t missing any sprites on there, not sure what they are for but sometimes random sprites end up in there.
Placing Edited Files in the Game
- If you’re ready to place in your edited files or test something, head back to where you originally found your package.nw in your C drive (stored where the game is installed by Steam.)
- Open the original package.nw with 7-Zip. Navigate to where your edited file should be placed and drag it in.
- Click yes to replacing the original file.
- Open the game and test that your mod is working!
- Have fun!!!

Be the first to comment