
How to make a suspension stabiliser for those who prefer step by step guides compared to videos.
Suspension Types
Short or tall suspension?
I use short suspension in this guide, however if you’d like to use tall suspension, it really doesn’t change much in terms of functionality.
The Actual Building
Alright, so you’ve came here to learn how to build a suspension stabiliser.
Equipment Needed:
- A lift (obviously).
- A welding tool.
- Blocks of choice.
- Suspension.
How To:
- First place your lift on the ground.
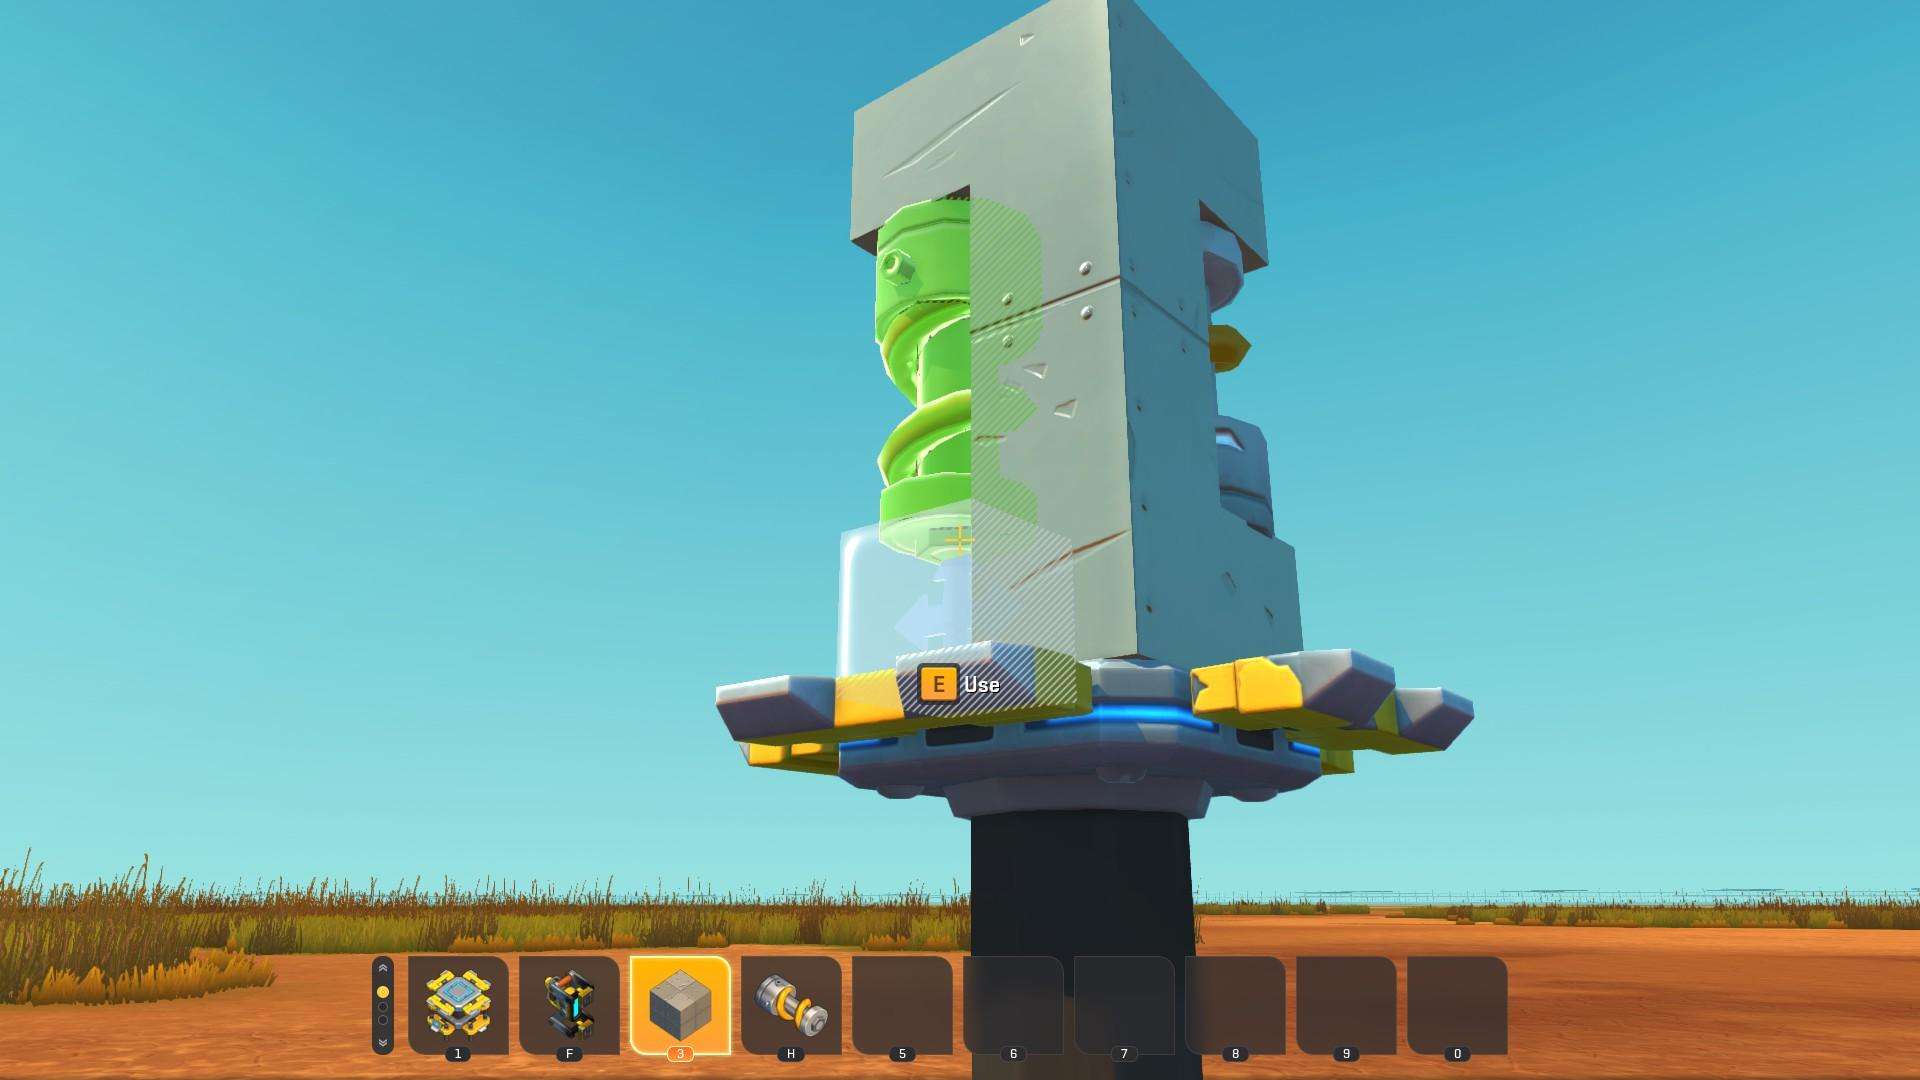
- Next, Build a shape like this on your lift.
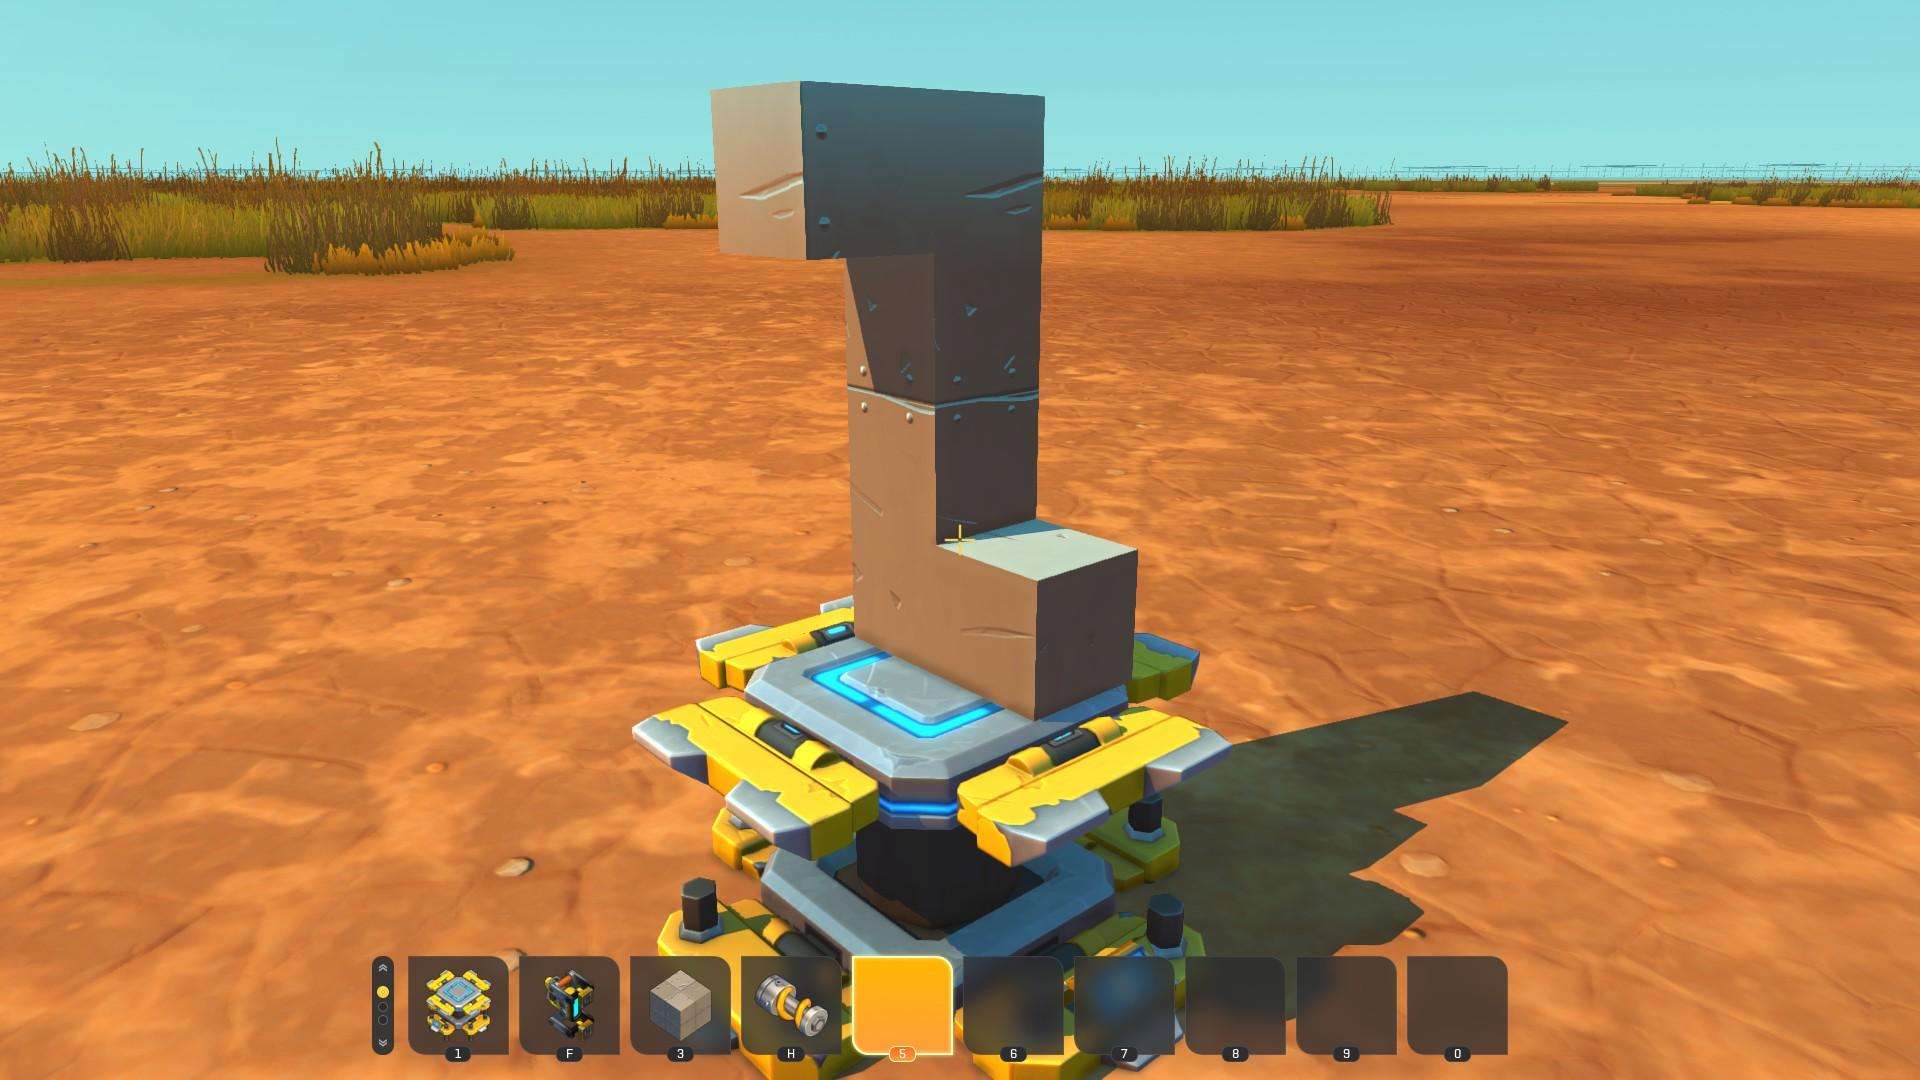
- Place a suspension as shown with a block on top.
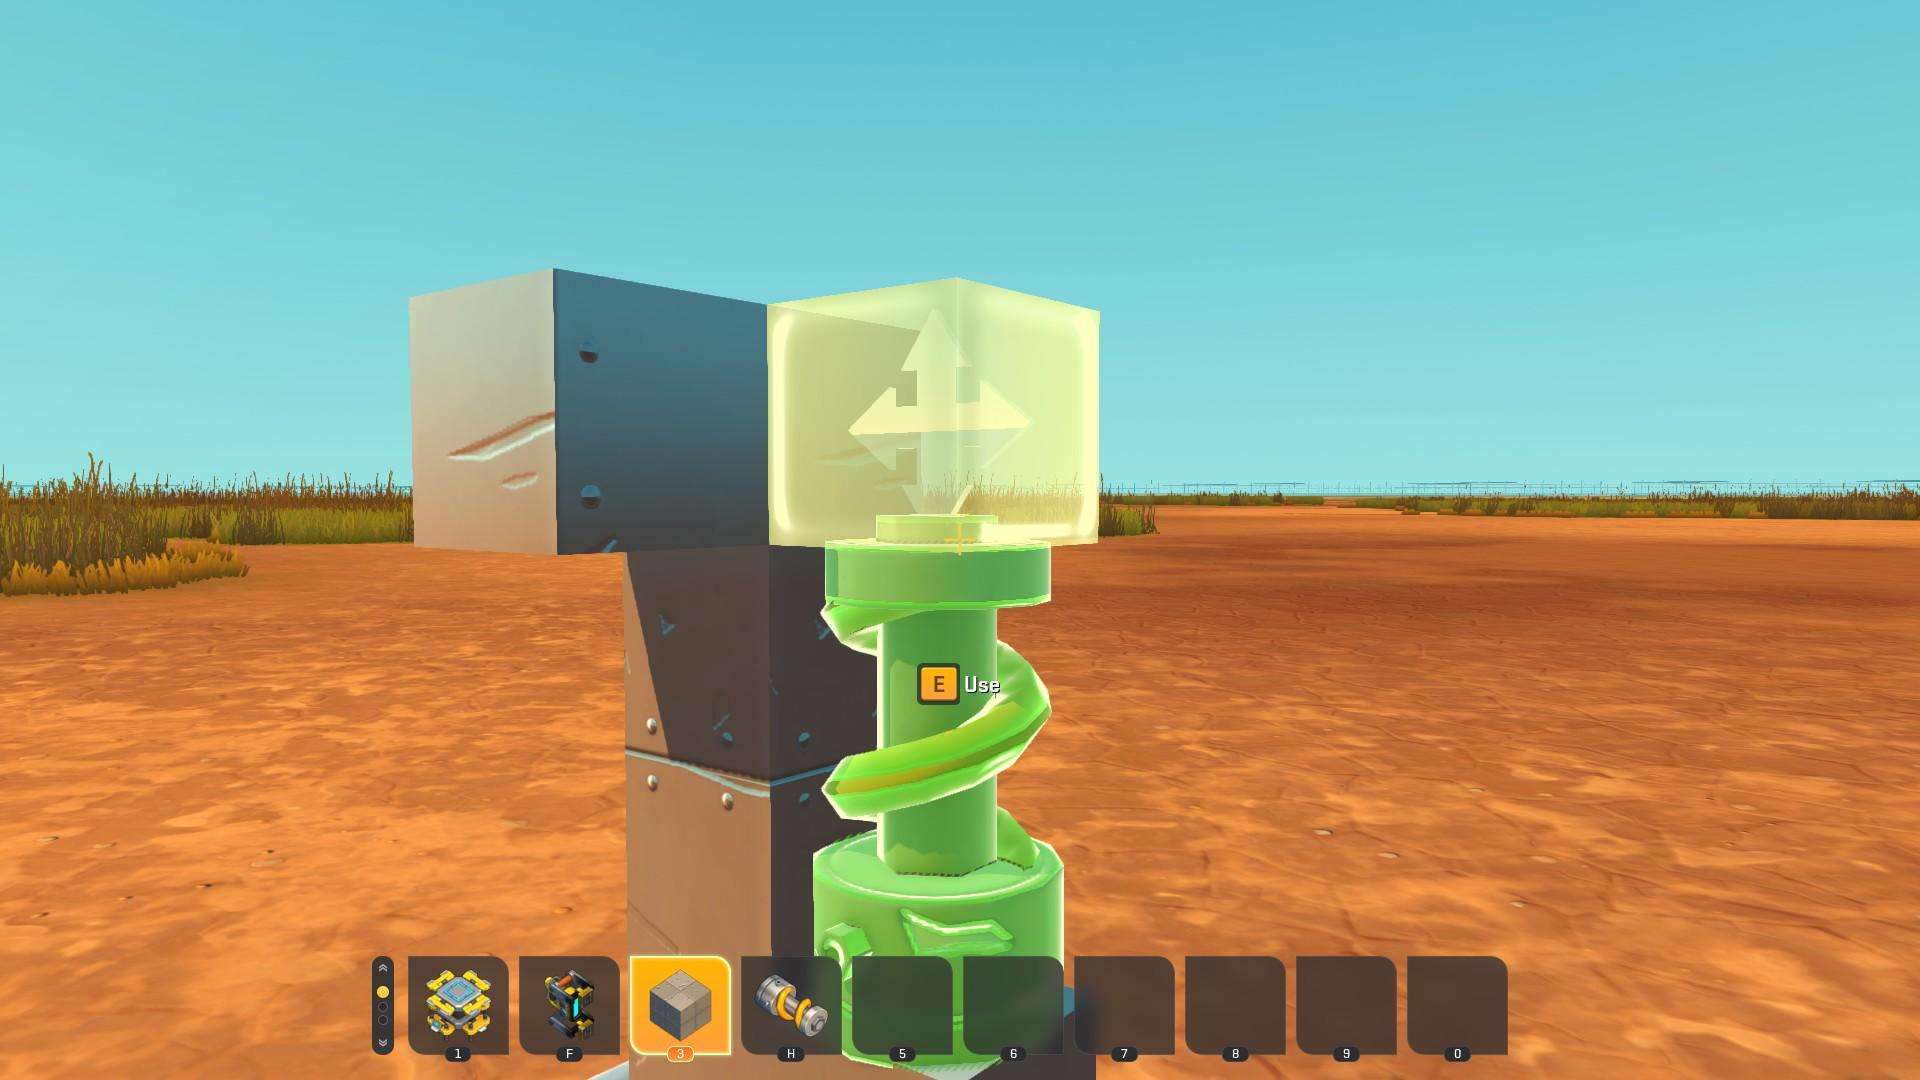
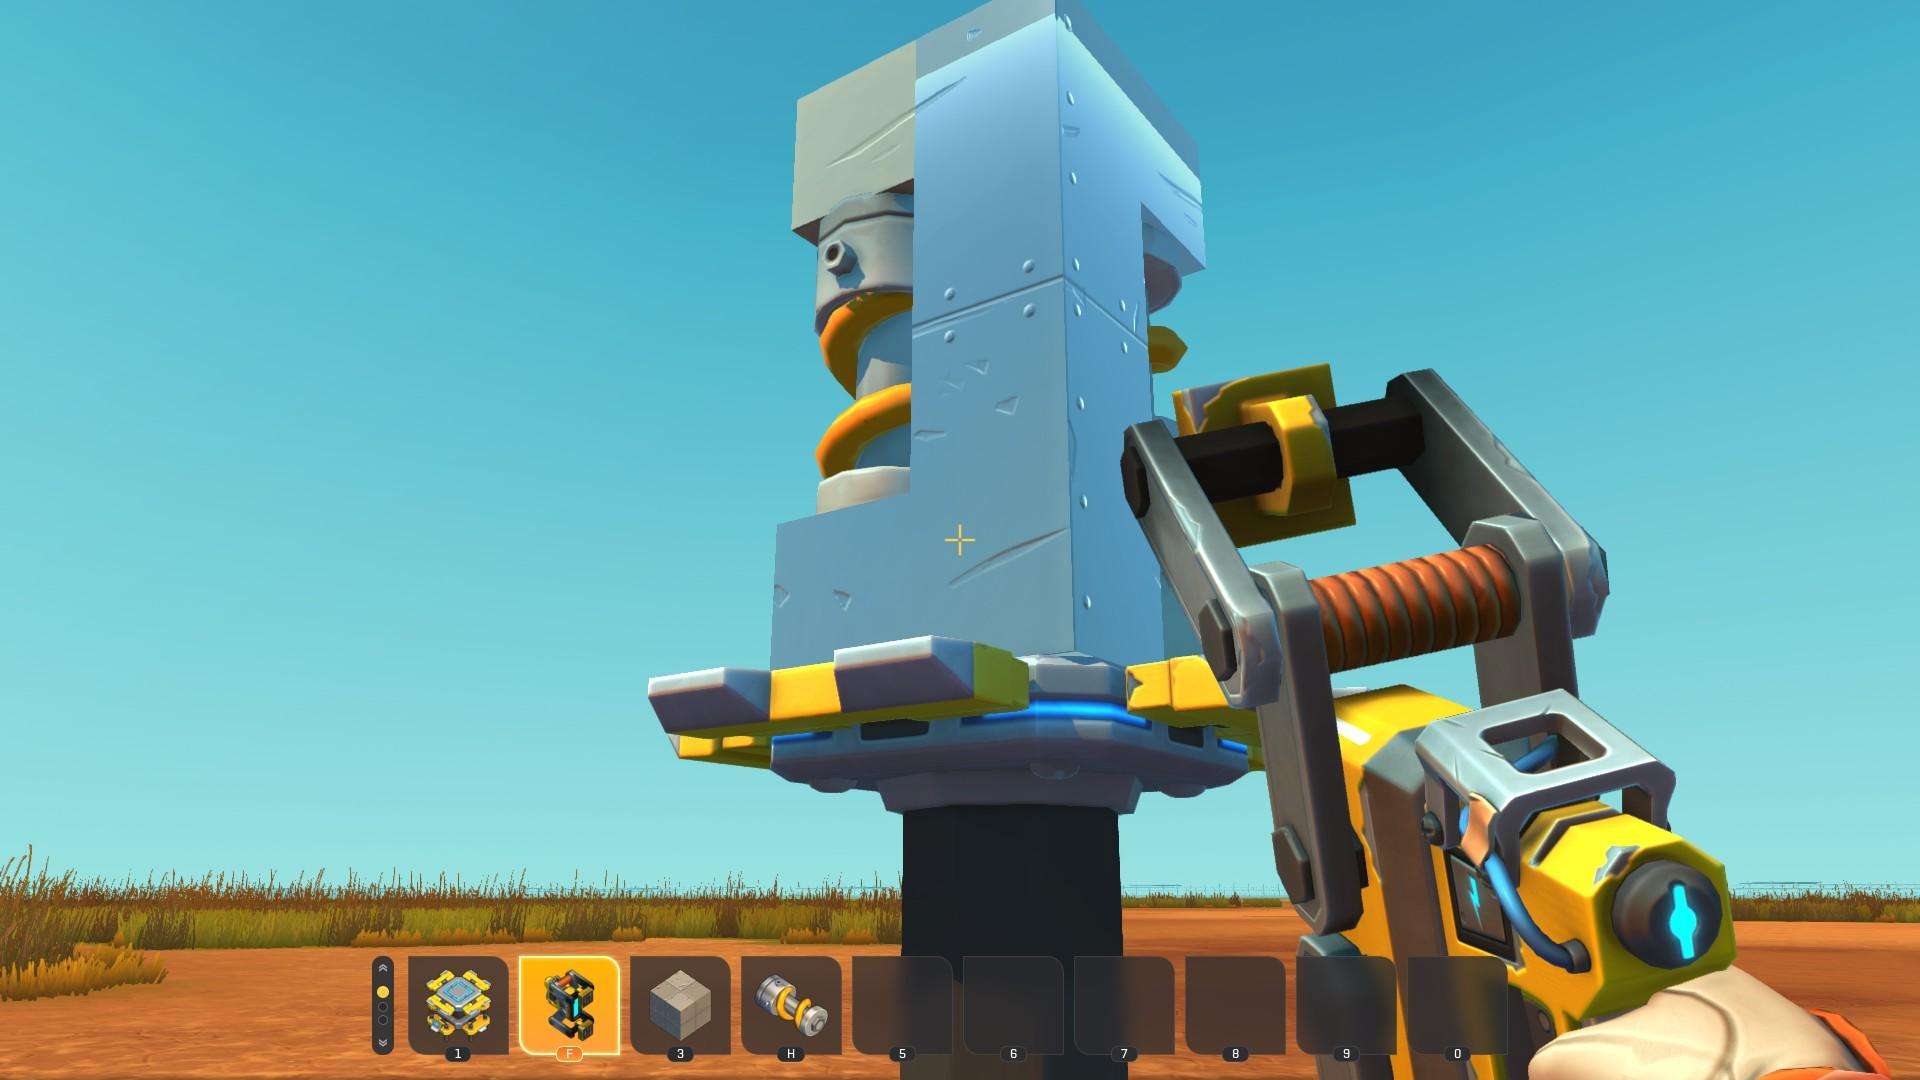
- After this, Connect a rod leading to the bottom of the contraption from the suspension you’ve just placed.
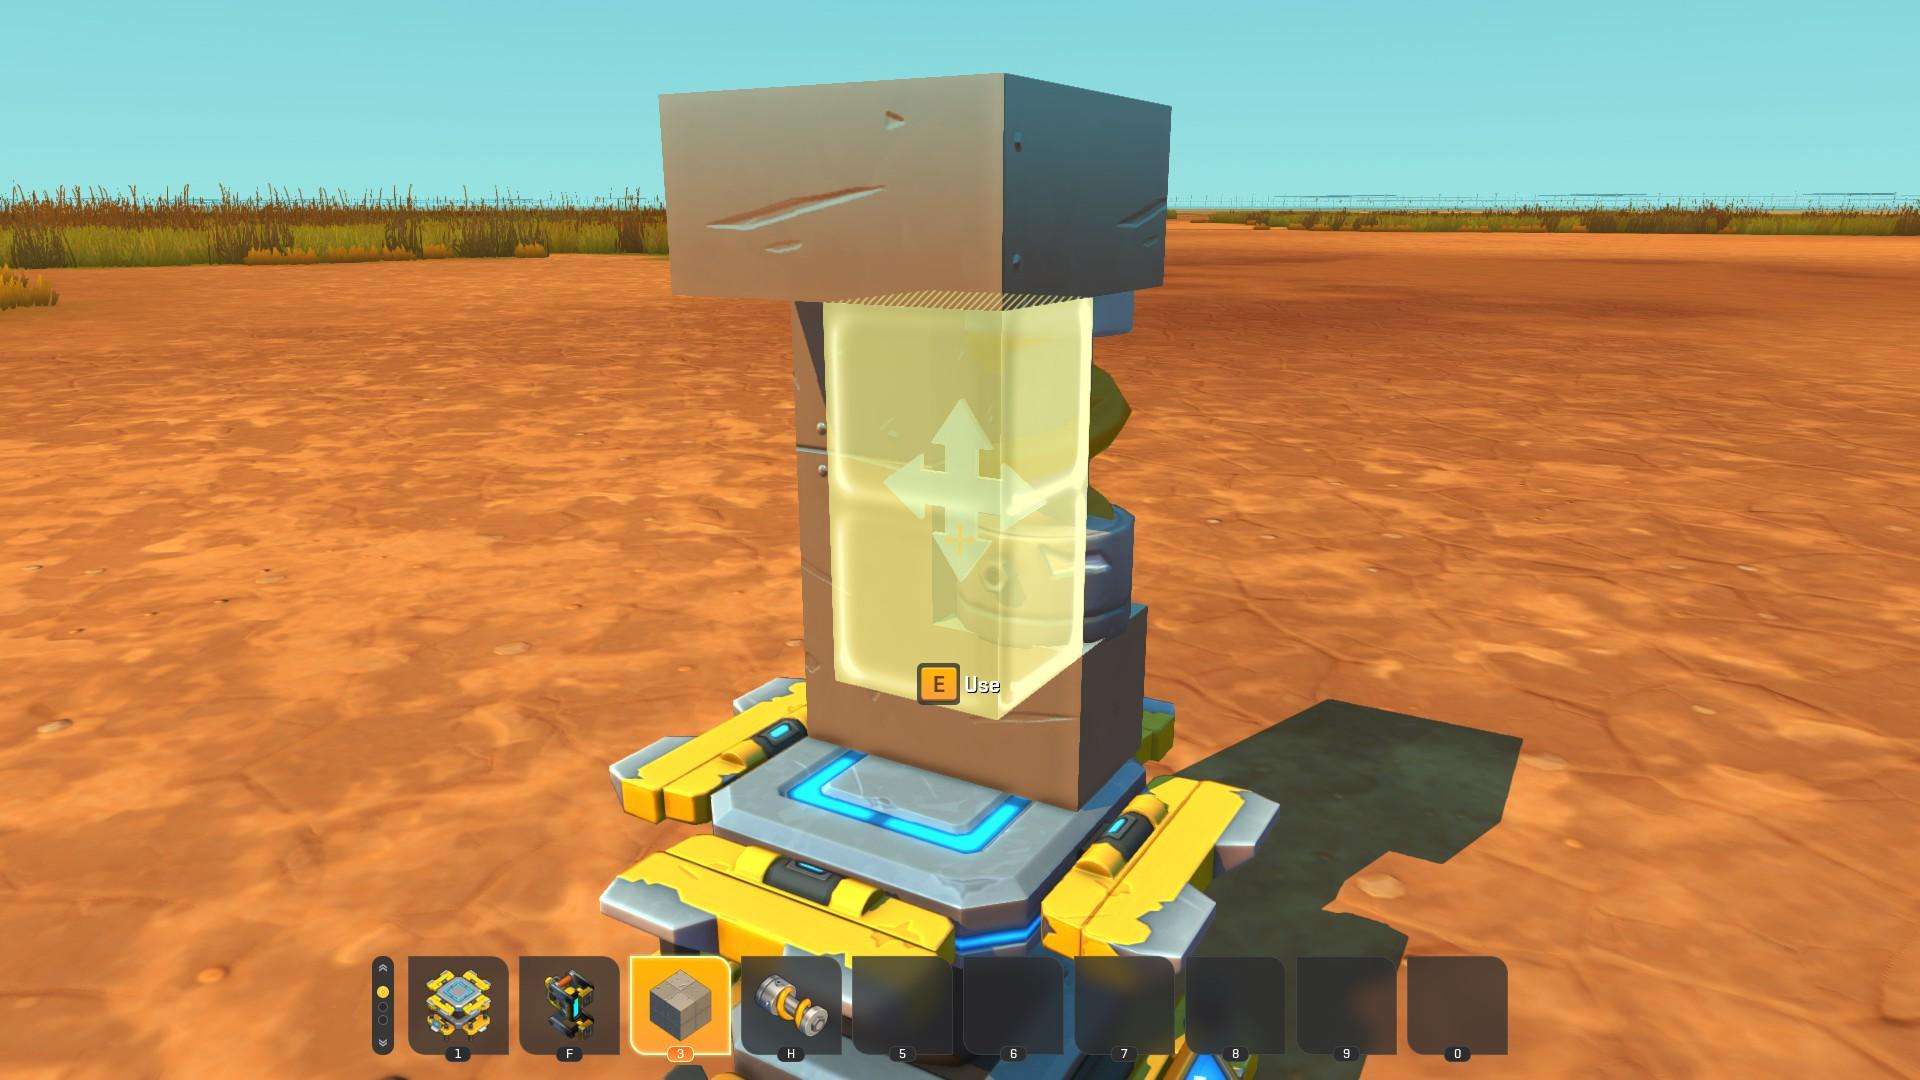
- On the first shape you built, add a suspension as shown.
- Place a block on that suspension.
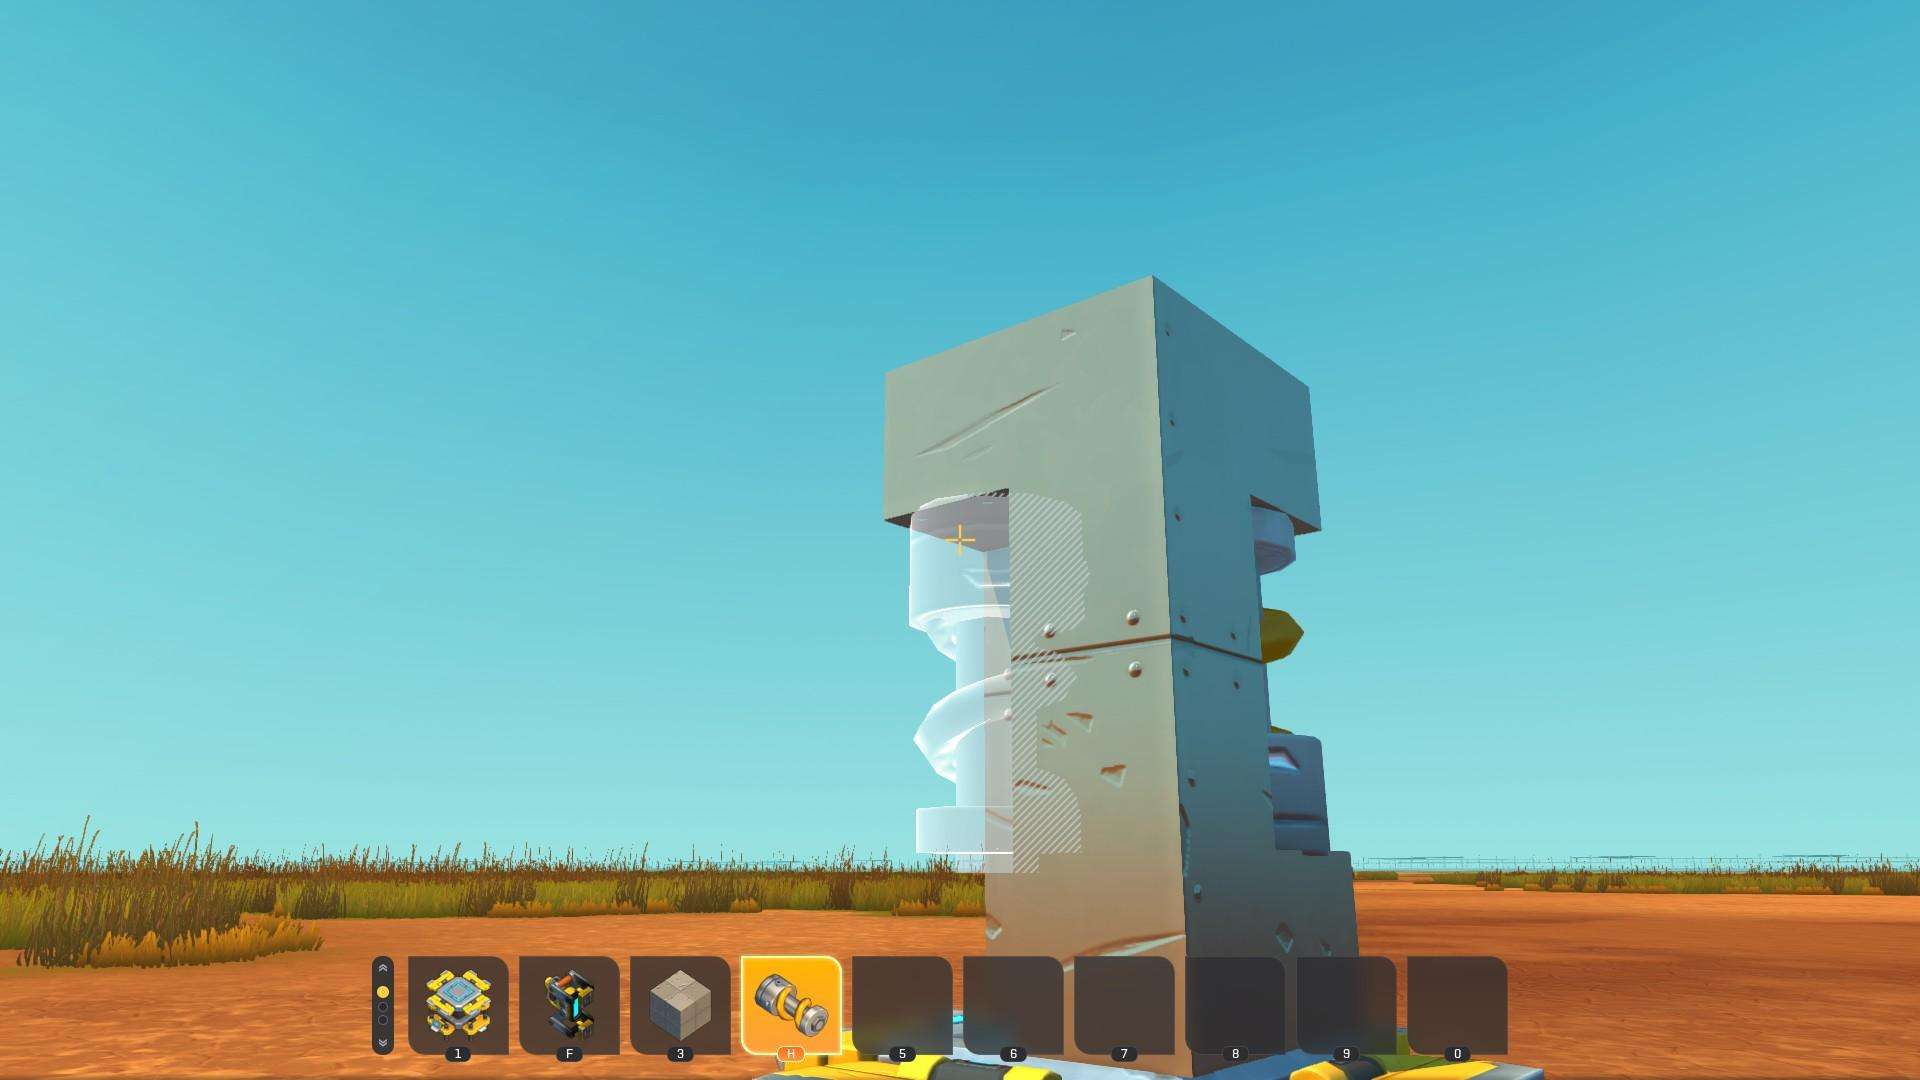
- Final Step! Simply connect the block to the rod.

Be the first to comment