
Table of Contents
The Paper Analogy
Note: Credit goes to Raw Toast
Let’s work with an example that’s fairly easy to manage: 3D mini golf.
Imagine we want to draw this 3D golf hole on a 2D sheet of paper without relying on depth perception.
Simple enough, right? We can just draw a top-down view of the hole, which gives us a map of sorts.

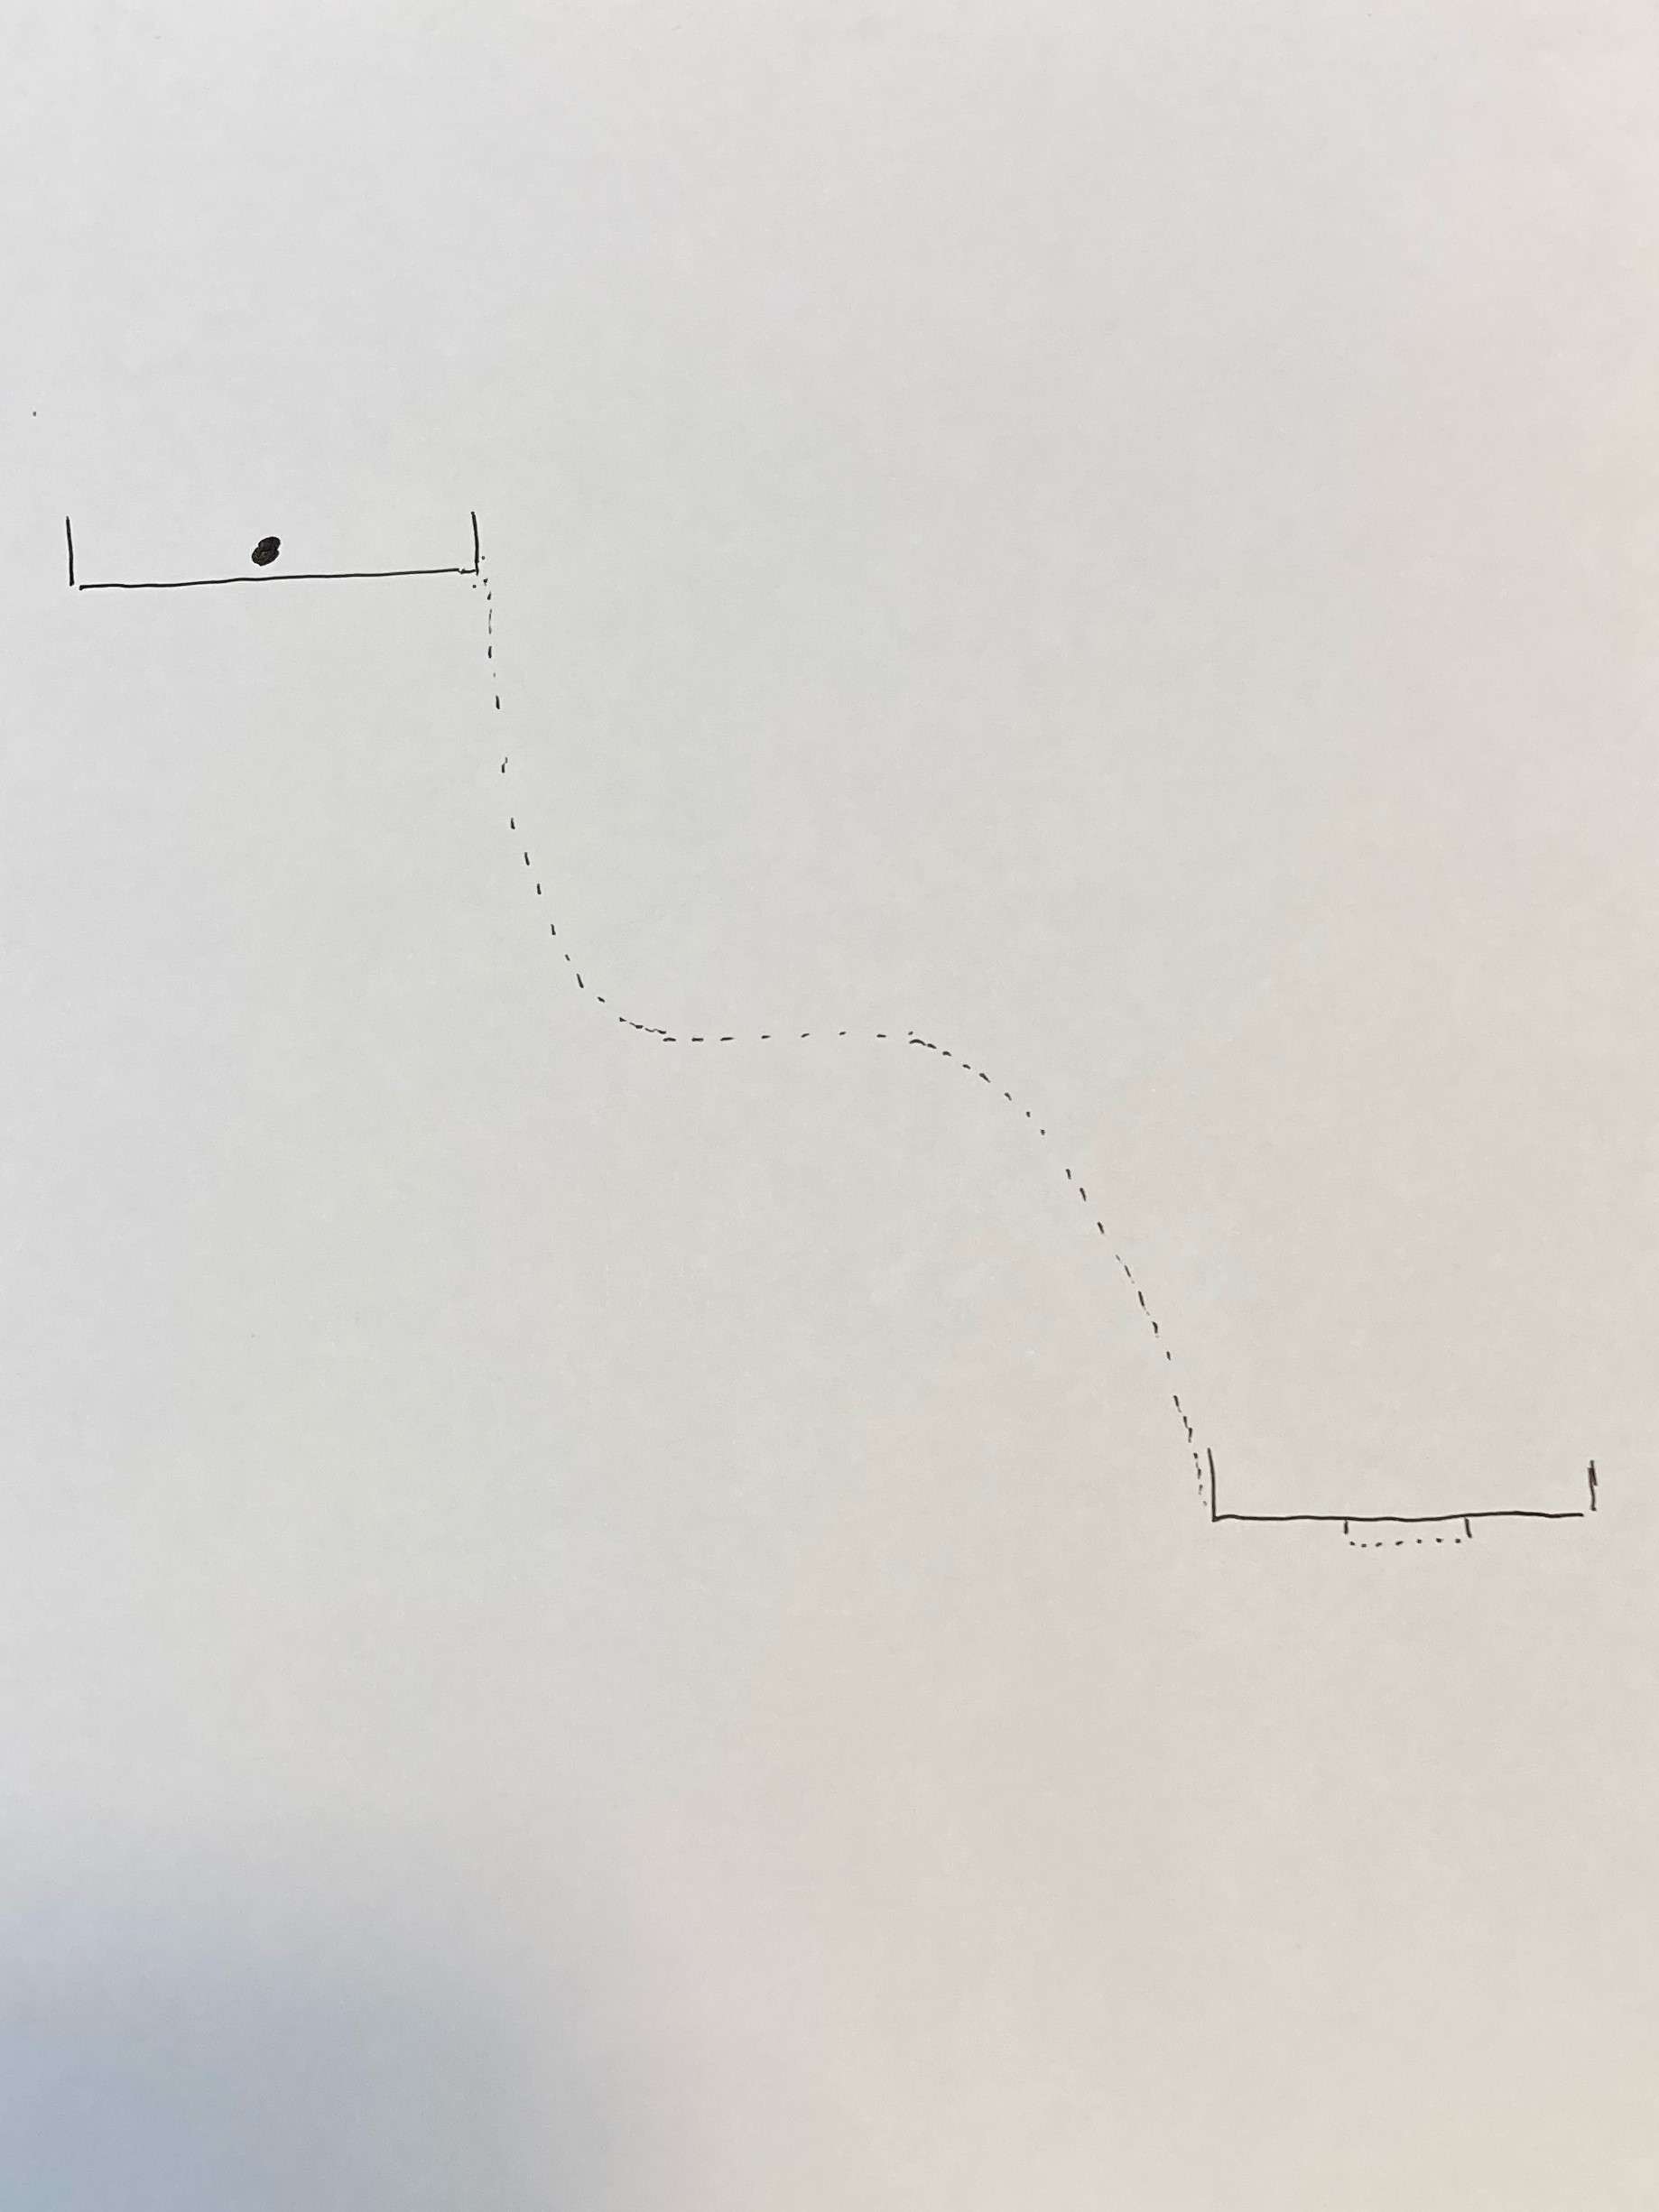
Terrible drawing skills aside, there’s one other problem with this. What we’ve really drawn is a course that is completely flat, which would look like this.
Clearly this is not a complete view. We can’t tell from this view that the ball is going to accelerate all the way down the hill. If elevation isn’t accounted for, we don’t even know if the course is downhill or uphill!
So this view is kind of useless on its own, right?
Well, it might actually be the best option for drawing the hole on a sheet of paper (at least without some sort of elevation marker). Consider if we instead draw only the area of the course that’s flat. This will at least tell us where the elevation changes.
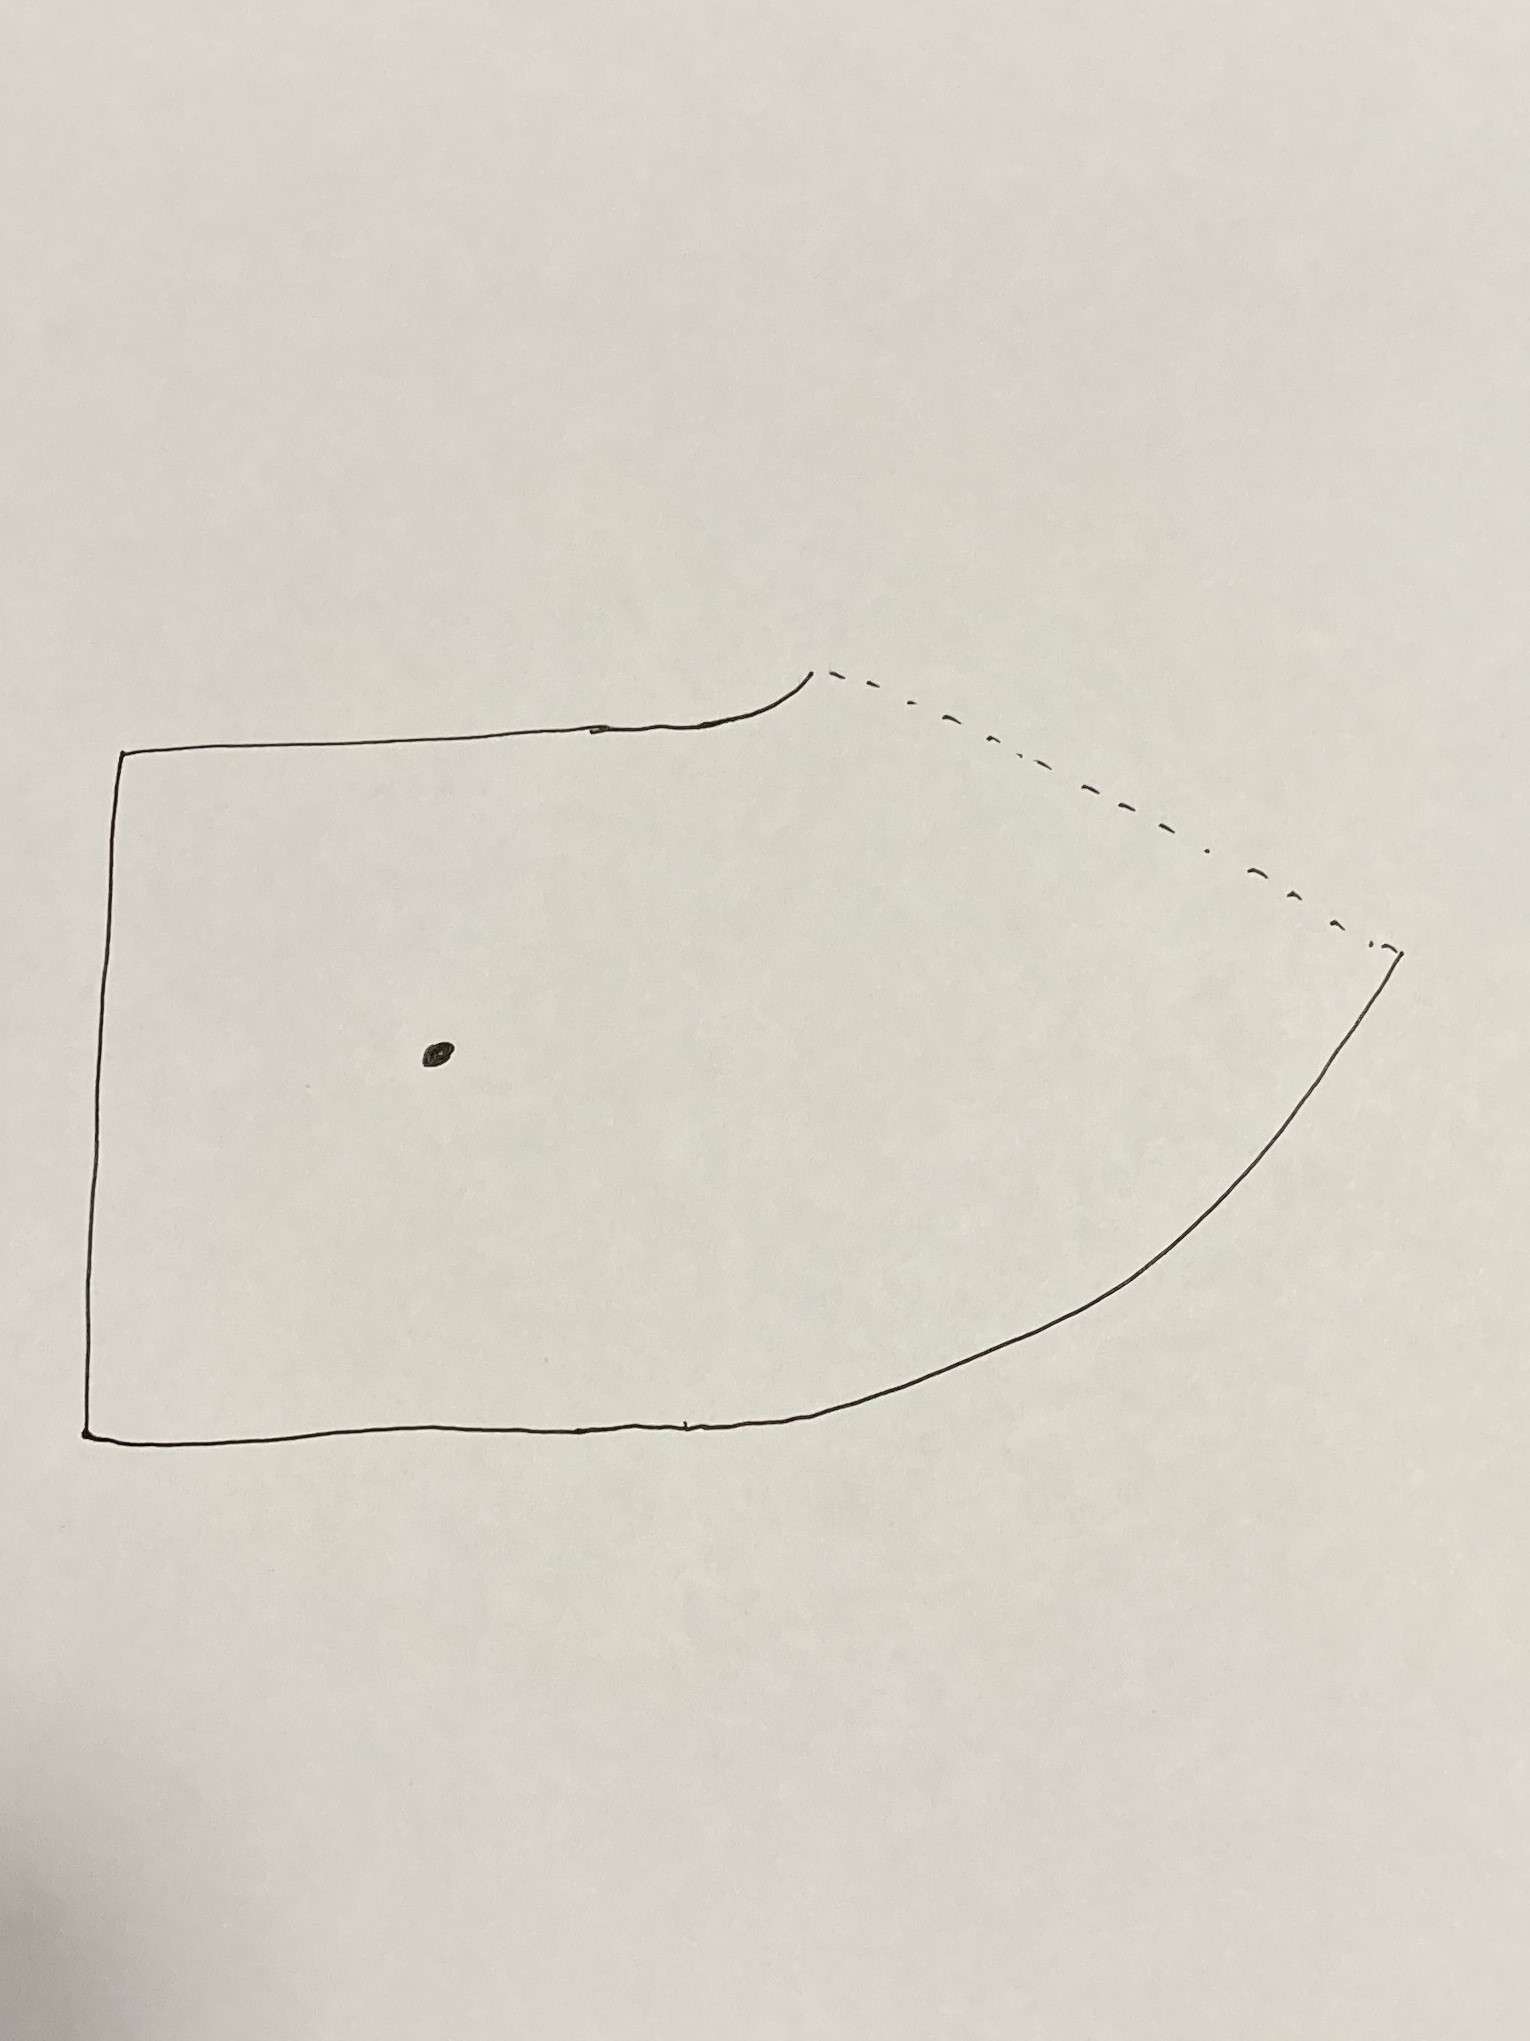
This does tell us where the slope starts, but it still doesn’t tell us whether it’s uphill or downhill, or even where the hole goes from there! This is far worse than our first option for the majority of cases.
Let’s take a different approach and draw the hole from the side, like a platformer.

We have two walls blocking the ball from going to the hole, and there’s a small cliff in between the ball and the hole. The hole looks impossible to complete. But this is what the view directly from the ball to the hole would look like, despite how bad this choice is.
While none of these three views tell the whole story individually, we can pretty easily approximate what the 3D hole looks like when using all three of these views combined. We have one view that gives us the full top-down path of the hole, one view that tells us where our slope starts, and one view that tells us the total vertical distance the slope must cover.
Three Sheets of 3D Paper
Let’s give these sheets of paper a name.
- Our first sheet of paper will be called map view.
- Our second sheet of paper will be called volume view.
- Our final sheet of paper will be called slice view (alternatively, default view).
In 4D, flat sheets of paper, or slices, are 3D. Since we have learned to see 3D objects for our whole lives, we need to view slices of 4D objects on 3D sheets of paper and figure out how to combine them into a full shape, rather than attempting to visualize the whole thing at once.
(Side note – technically, we could display 4D objects in a 2D perspective drawing, but without practice, viewing these would be massively confusing. It is simpler to view 4D in 3D slices, even if the information is less complete.)
So what do 3D sheets of paper look like in a simple 4D course (Evergreens/Tutorial Hole 2)?
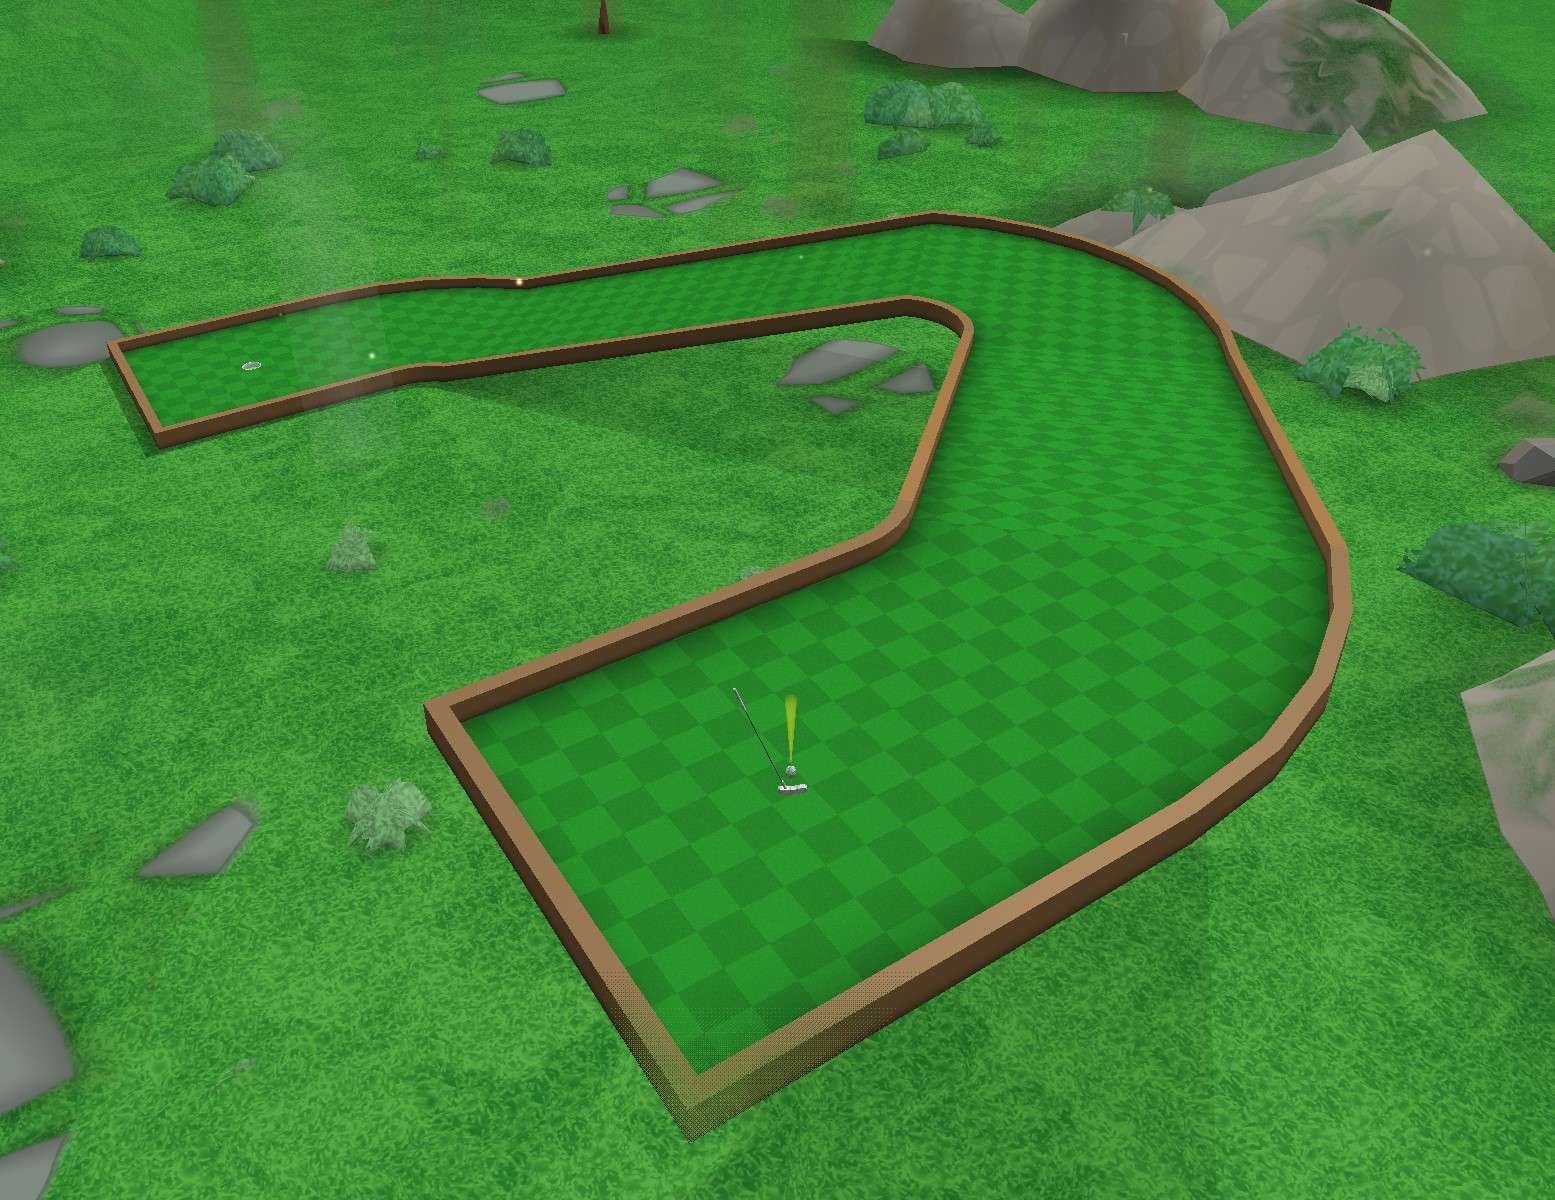
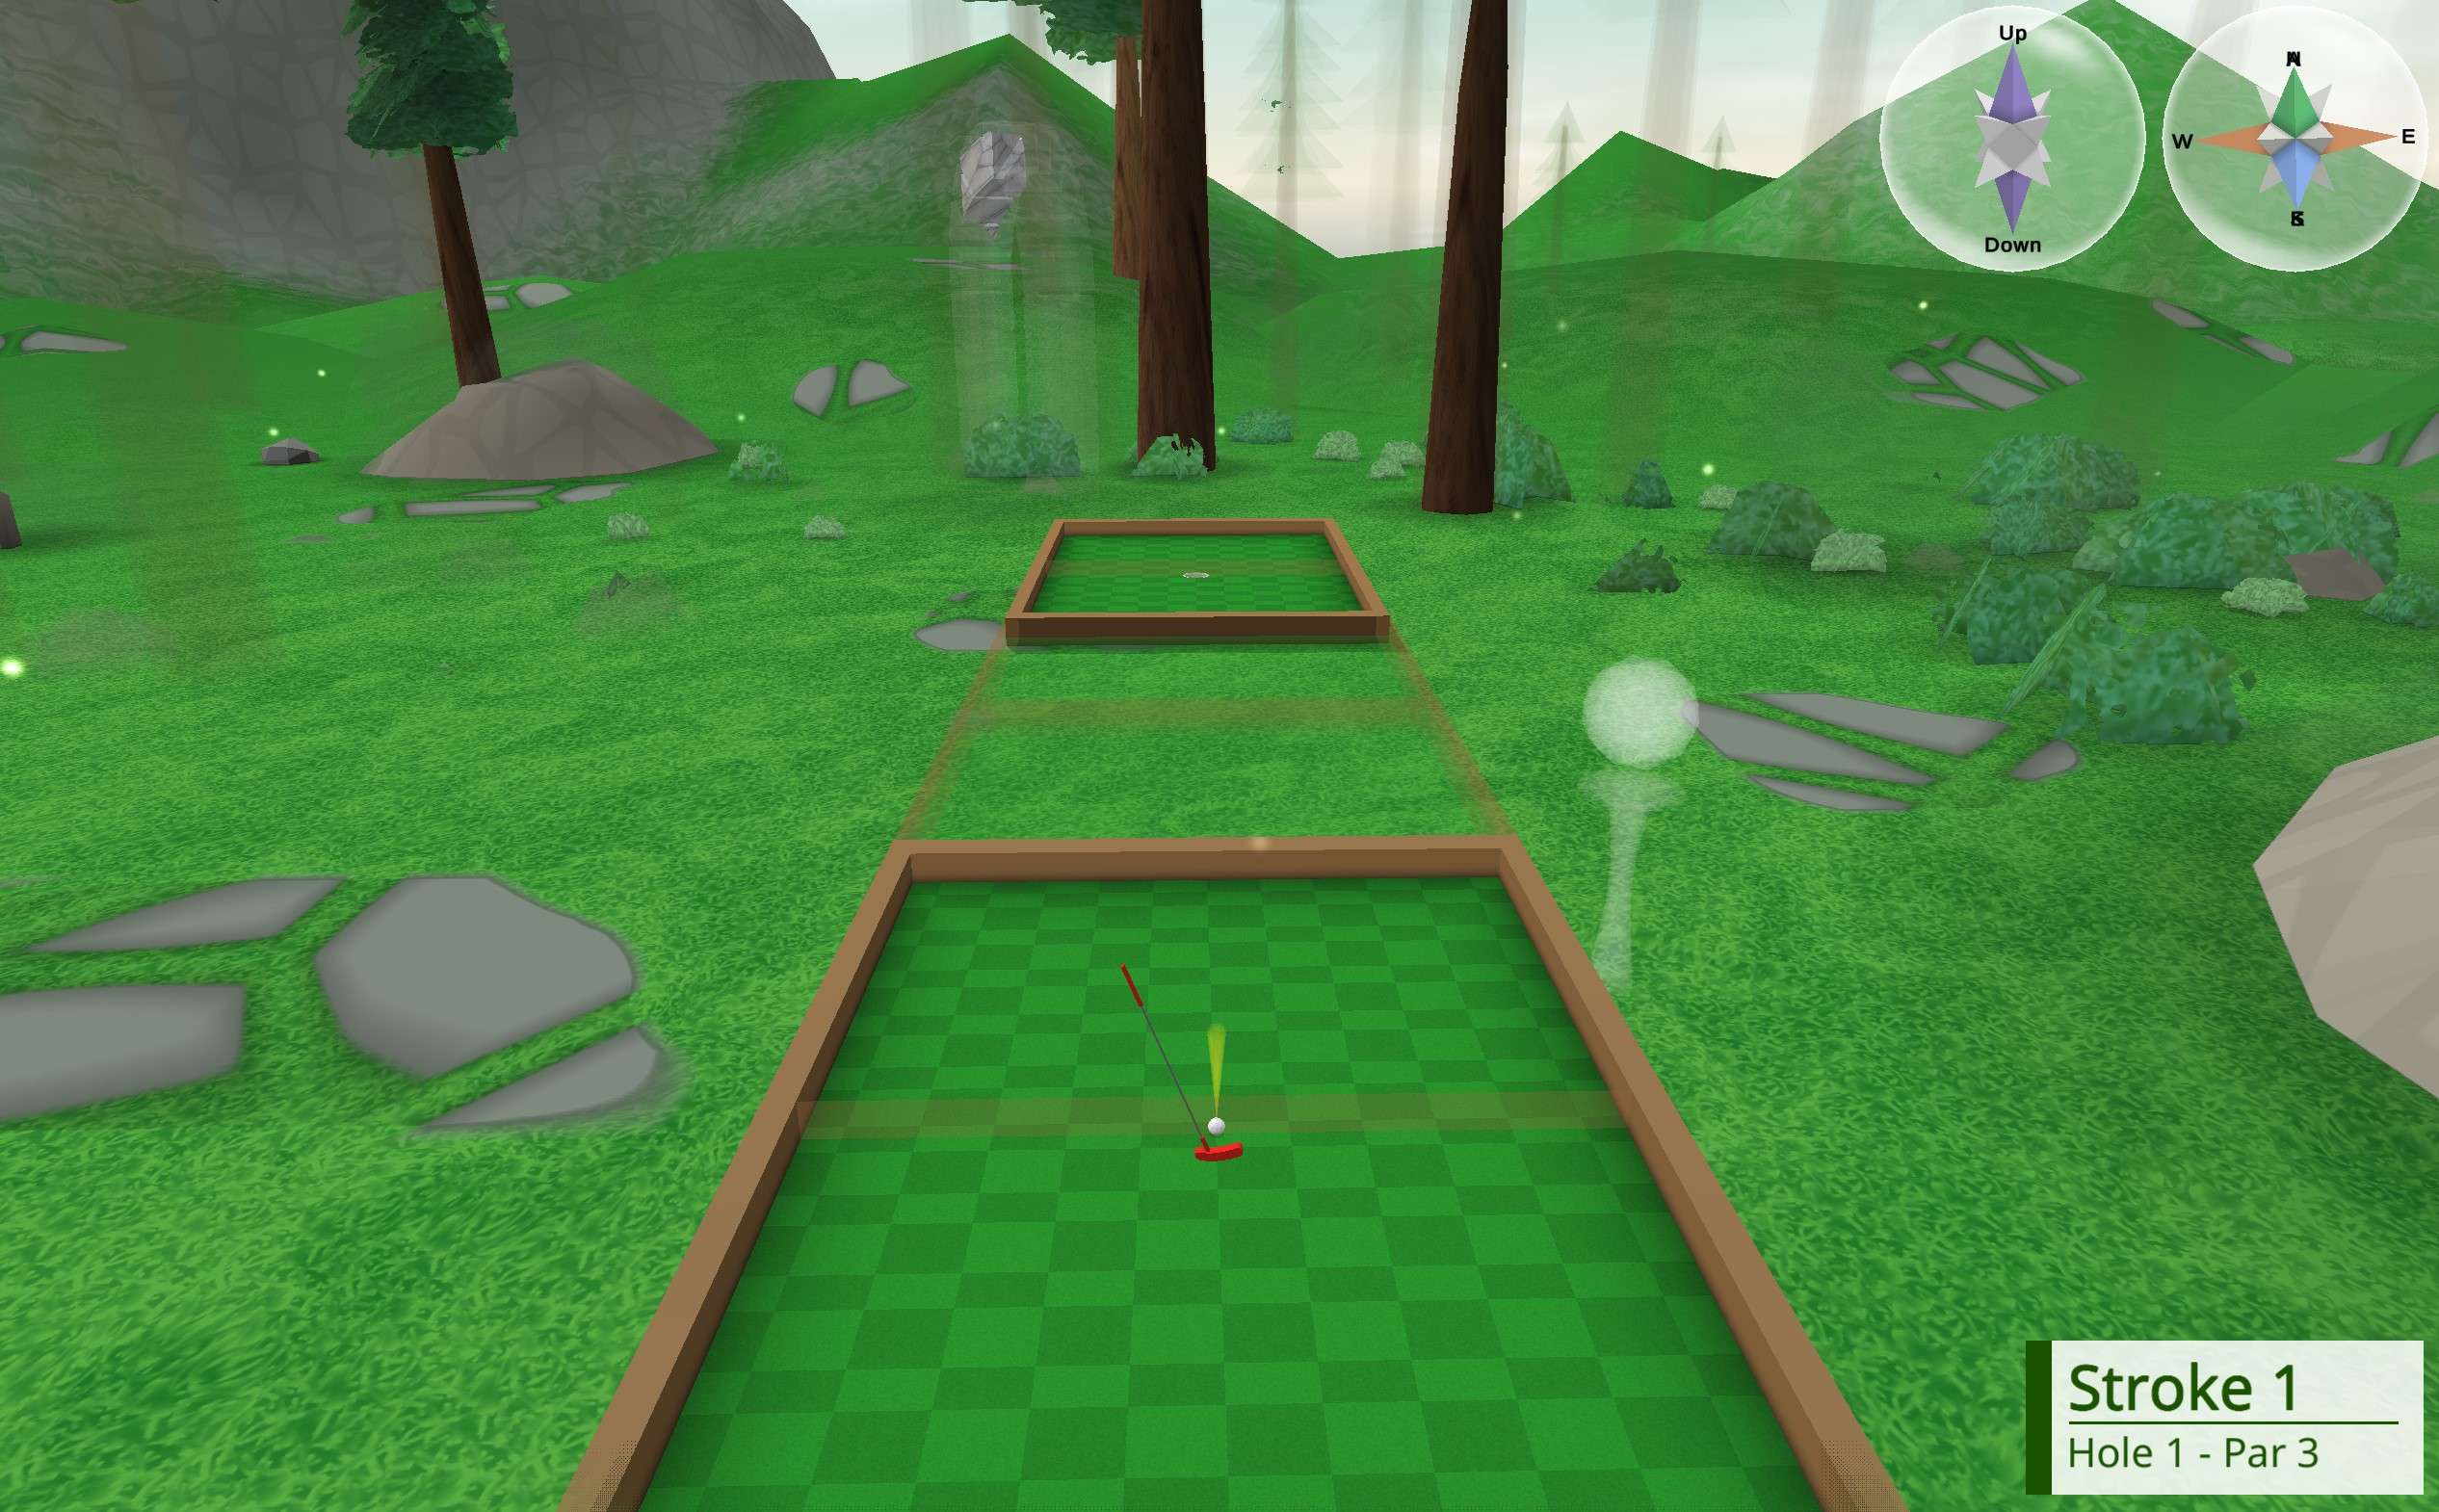
This is map view (default keybinds: “V” + “1”):
Map view is a 3D top-down view of the entire course. Elevation changes are not shown, but the left-right, forward-backward, and ana-kata (drawn as up-down on screen) directions are all shown irrespective of elevation. Just like our 2D map, we can see where the ball must travel, just not whether it must go down or up.
An important note about map view: If a part of the course is directly above/below another, both parts will be shown in the exact same place since they both occupy the same (left-right, forward-backward, ana-kata) position, and the map does not care about our up-down elevation.
Map view is arguably the most important view in 4D Golf. It is useful on every single hole in the game.
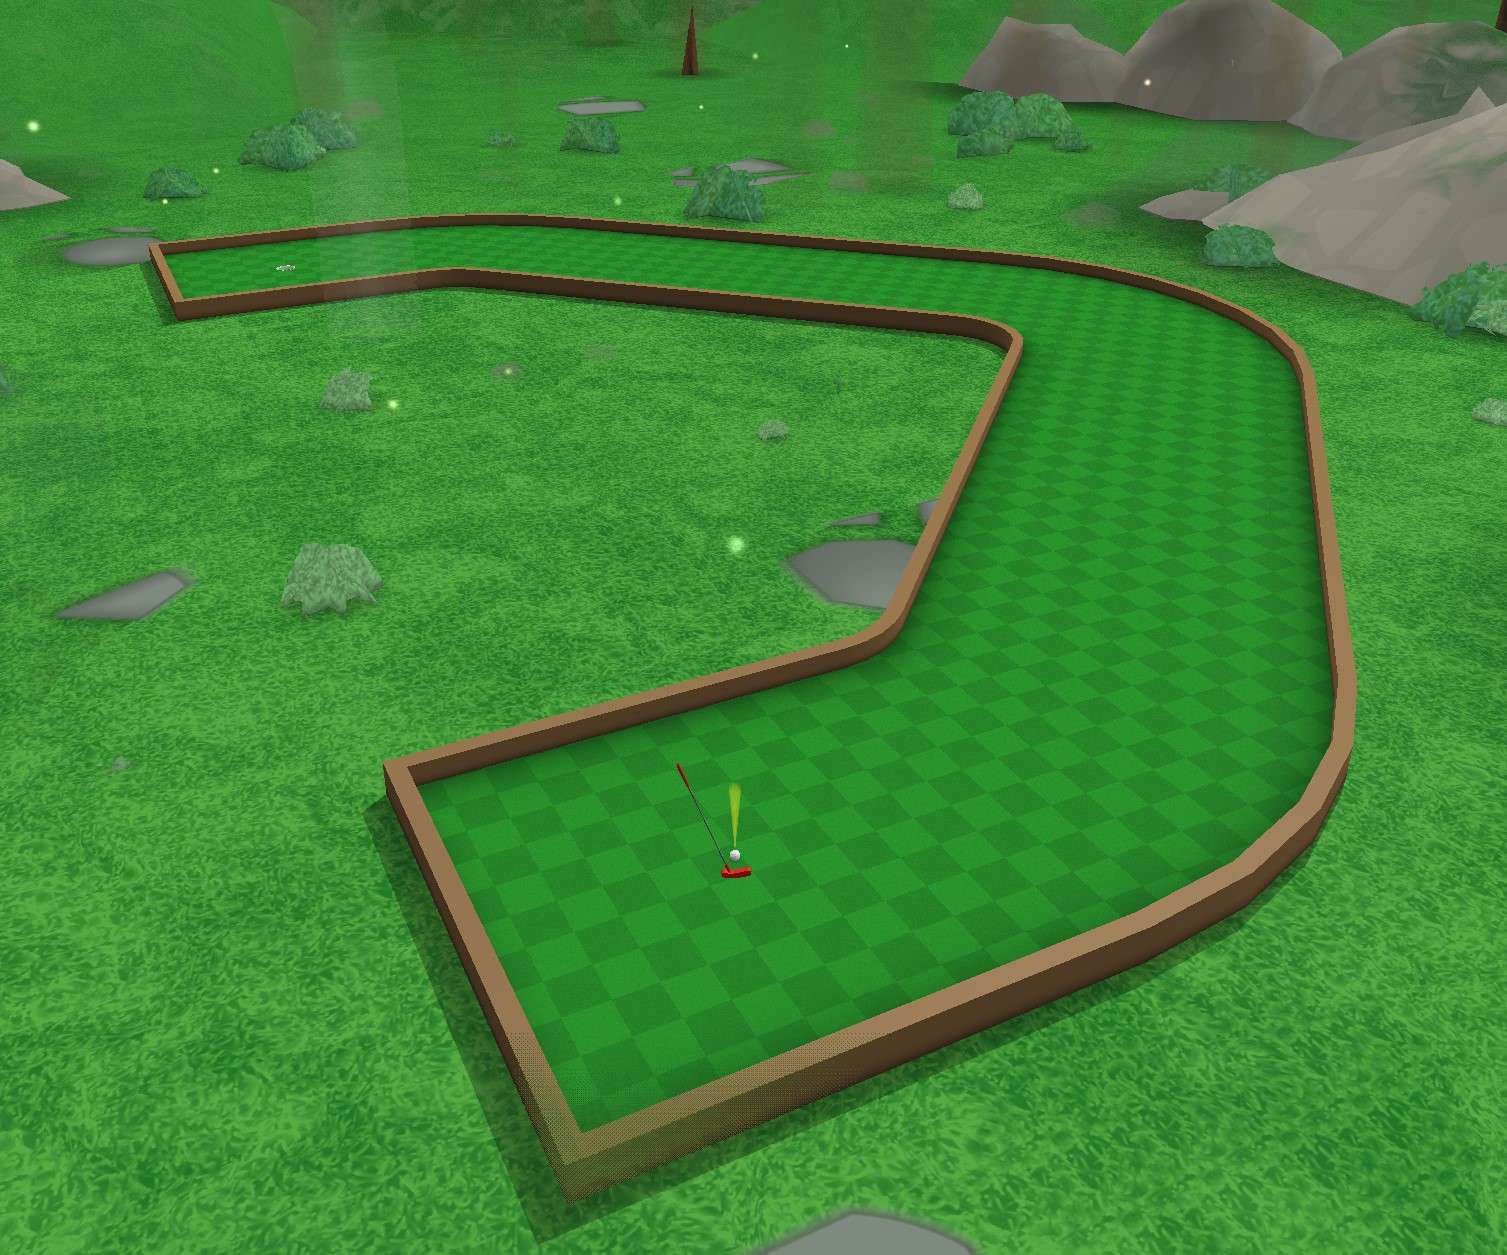
This is volume view (default keybind: “V”):

Volume view is a 3D view of all objects at our current up-down elevation. It is a 3D slice of a 4D world which eliminates the up-down direction from view. Like map view, it displays the left-right, forward-backward, and ana-kata (again drawn as up-down on screen) directions, and like our 2D “volume,” it indicates where slopes start or end. That’s why we have a wall of green when going up a hill in volume view, or a void when going down a hill – it’s indicating where a slope starts, which reaches into a different up-down slice. Unlike map view, areas with different elevations are completely invisible.
Volume view is useful on flat holes or flat sections of a hole.
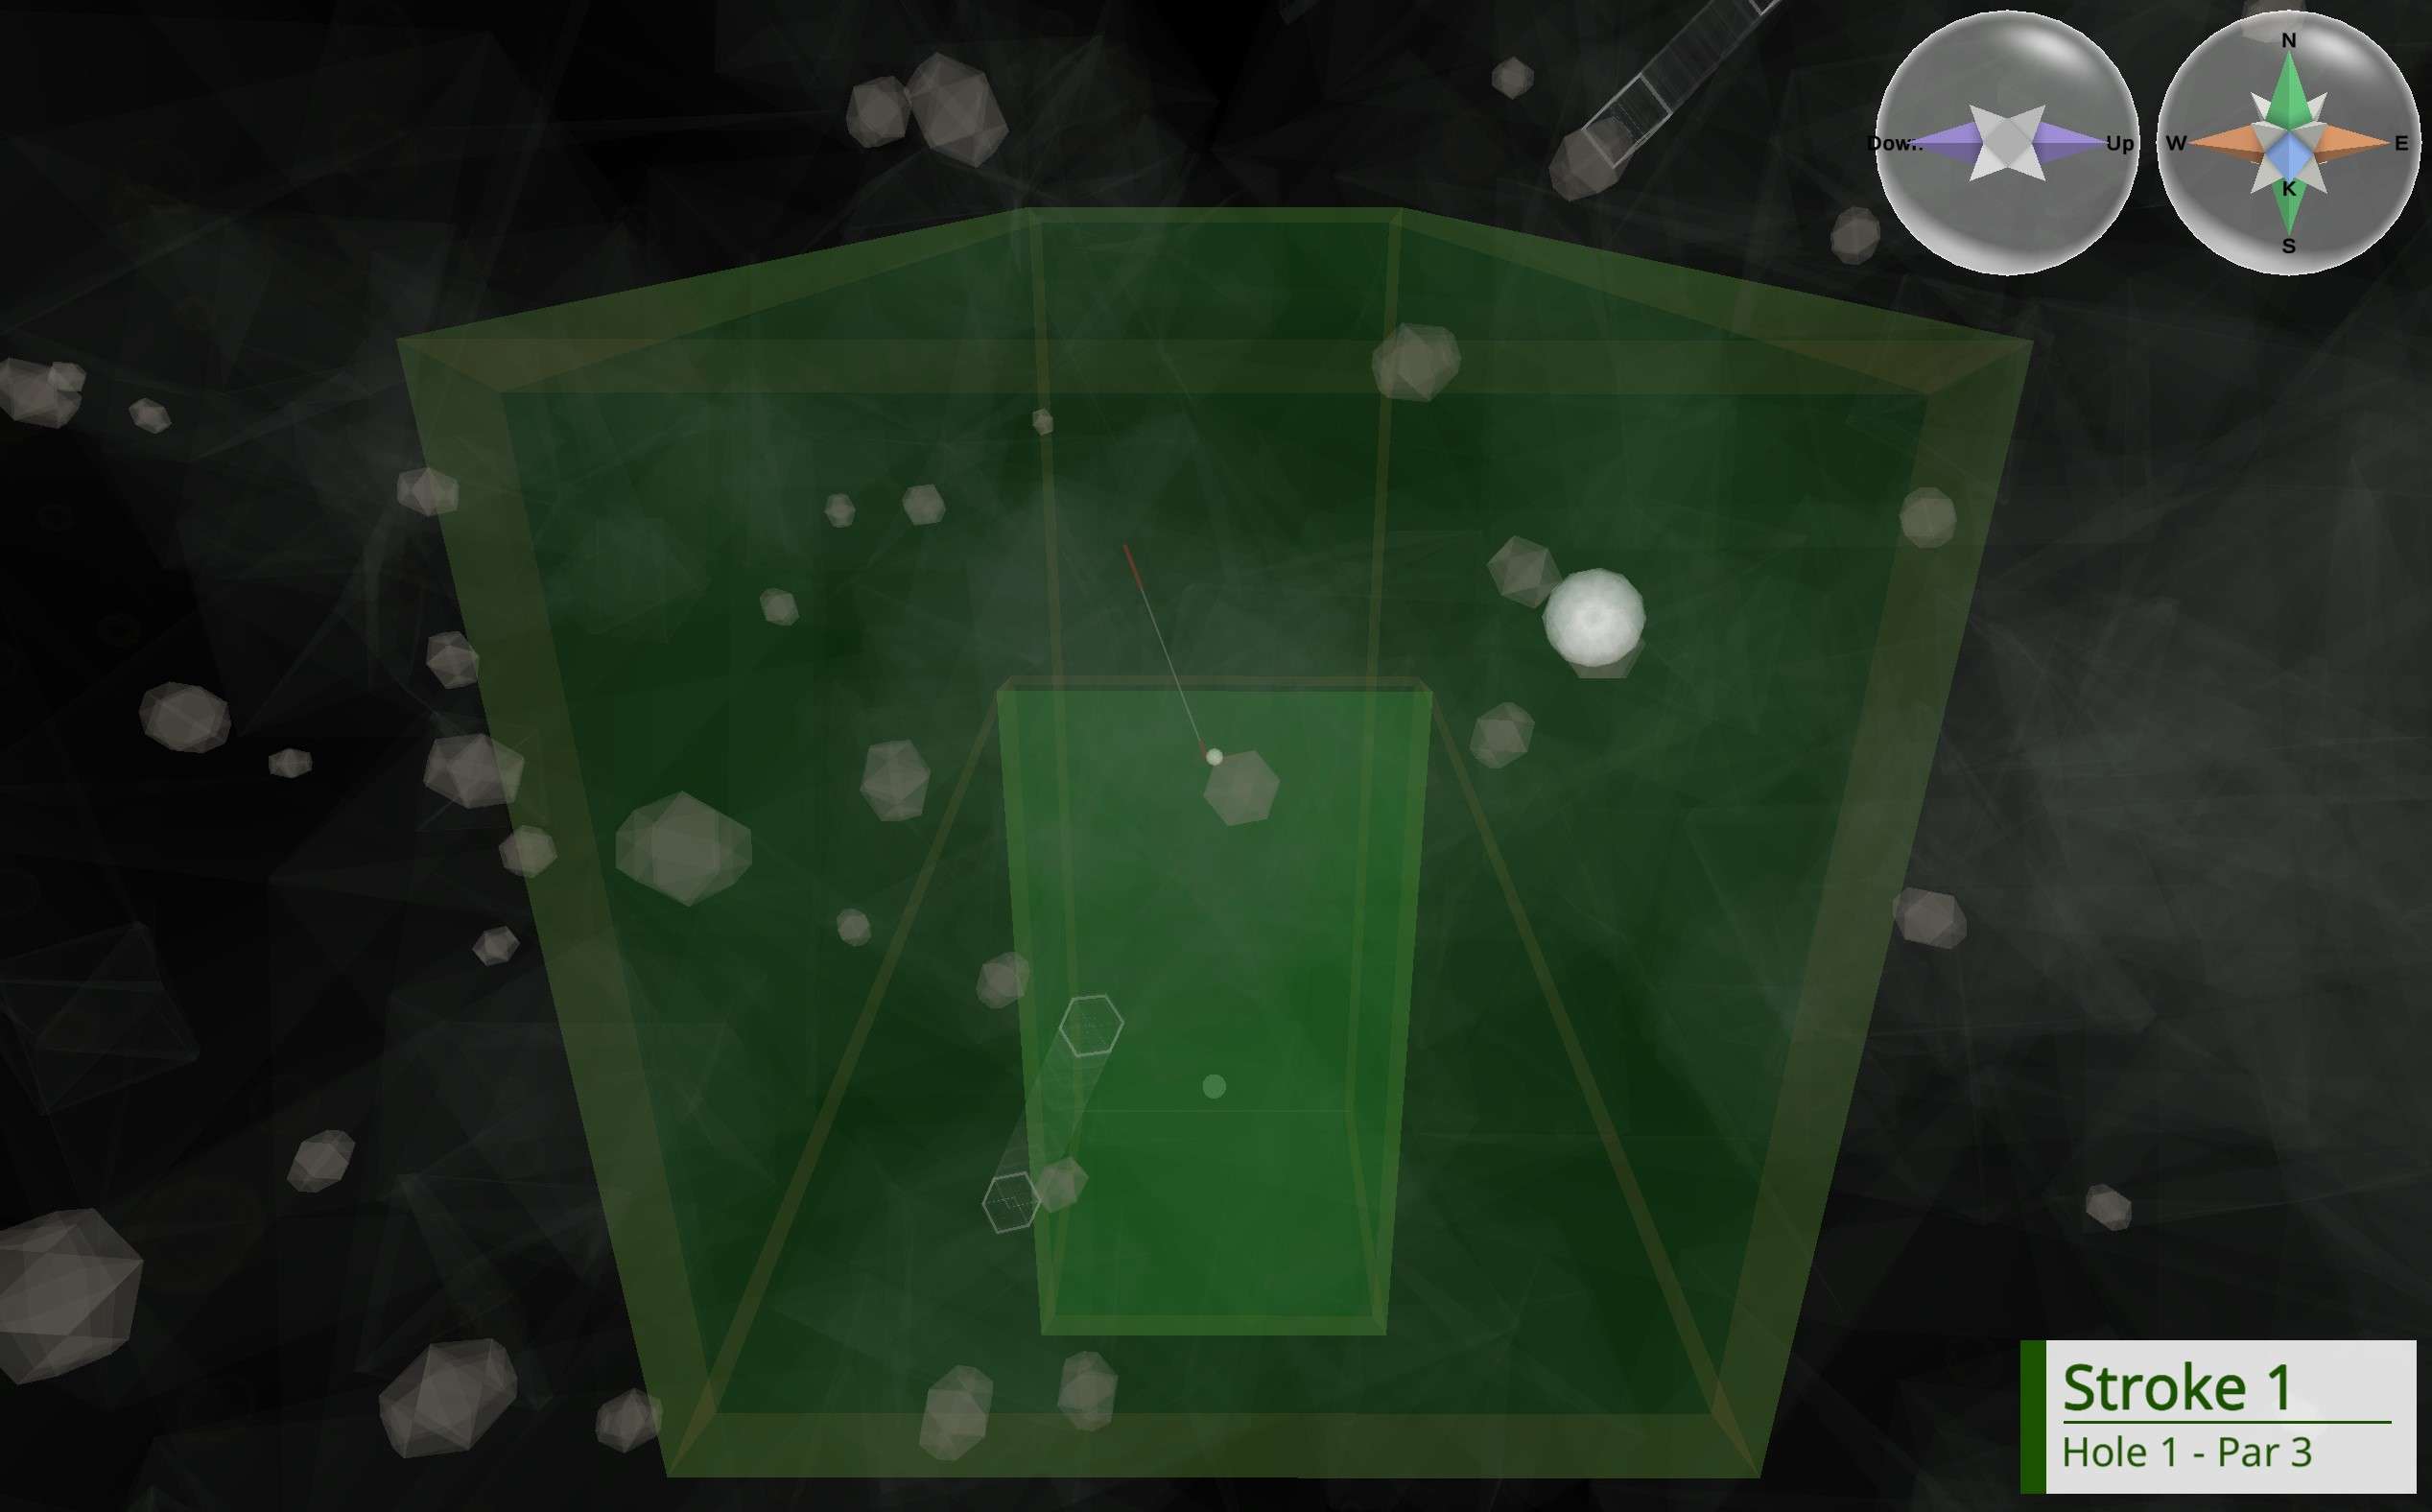
This is slice/default view (no keybinds needed):
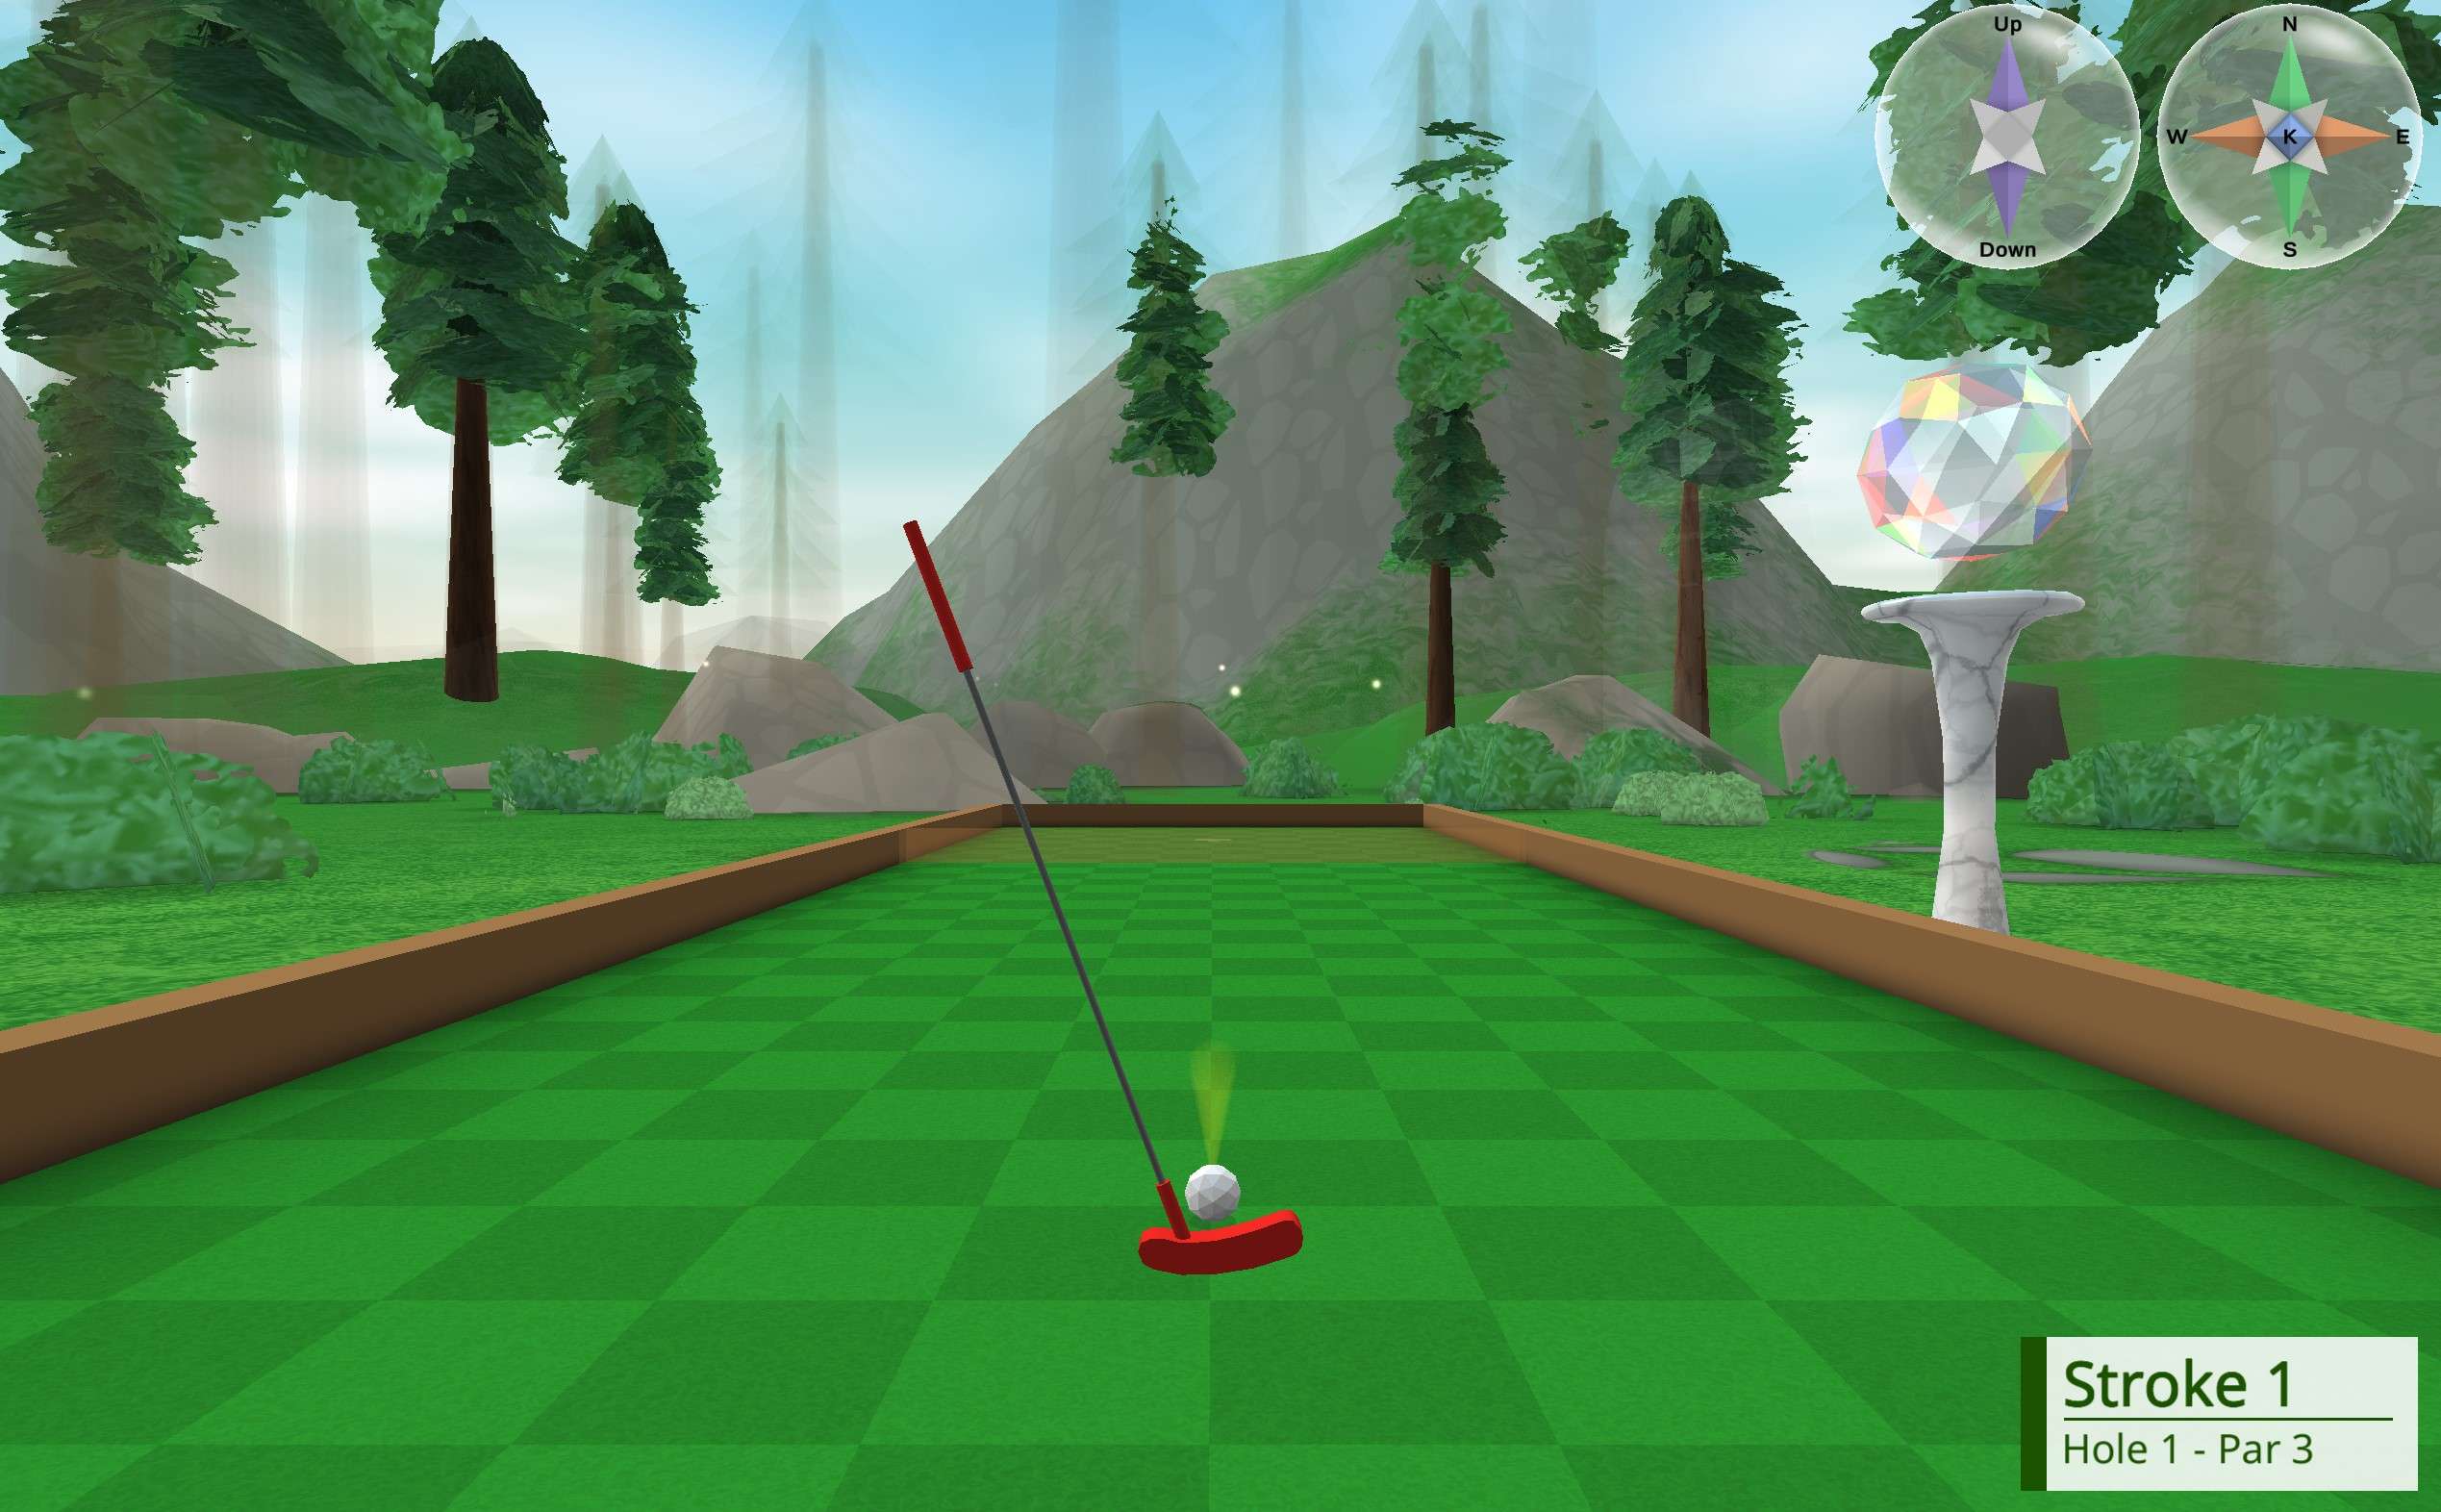
The first view is straight ahead through the first “tunnel” and the second view is directly from the ball to the hole.
Slice view is the default view of the game and arguably the most complex, despite looking the most natural. It is actually similar to a platformer game, as the up-down dimension is included but one lateral dimension (ana-kata) is not. This is why objects fly in and out of the screen in this view – we’re rotating a 3D slice through the 4D world, and only seeing objects that the slice touches (ones that have the same ana-kata value as our current position).
Slice view gives the least amount of useful information on flat areas, but is the only source of information for the up-down direction. It also is the easiest to judge distance in. Use it to detect elevation changes and to get a more intuitive feel for how hard to swing.
Recap
The views will now be displayed in pairs, with the 2D drawings of the 3D course above, and the 3D views of Evergreens Hole 2 below.
Here is the comparison for map view:

Here is the comparison for volume view:

Here is the comparison for slice/default view:


All three of these views work (to varying extents of usefulness) for any course in 4D Golf.
Putting It Together and Final Thoughts
Just like our 2D sheets of paper, all three of these views are individually quite incomplete, especially on a hole with slopes, but can piece together an approximation of what the 4D golf hole looks like. Since we have not learned to see in 4D (because we’re in a universe with 3 spatial dimensions), these 3D views are the best way to deduce the layout of a course.
To get good scores in 4D Golf, I recommend going into map view (“V” + “1”) before each stroke, and switching back to slice view (“V” + “1” again) to get a good visual on how hard to hit the ball. This is especially helpful on some of the trickier courses. Volume view can occasionally clear up confusion, but is not useful nearly as often.
I hope this guide saves at least a few people from giving up on the game due to confusion, as it is genuinely fun and very rewarding to “figure out” how 4D navigation works. So far, there appear to be few guides written on Steam Workshop for this game as of now (roughly a week after release), and hopefully if more people feel confident in what they see in-game the community may grow.
Be the first to comment