
How to beat the game on its hardest difficulty, using no cheats. (Save scrumming divine prayer counts as cheating). Details levels, builds and battle tactics.
Table of Contents
Rules for This Guide
This guide will follow the following rules, these are all for chosen not because they are the only way to win, but suite my play style. At the end of the day, how you want to play the game is best, however whether or not you can beat Space Whale is another matter entirely.
My way works, as you are reading this guide, you probably either already finished the game, have yet to start, or looked for a guide due to frustration. That’s okay, you are not stupid, you just need to get familiar.
Rule 1: We do not save scrum. What is the point of trying the challenge if you cheese it, you just are kidding yourself in my opinion but hey, if you want to be my guest.
Rule 2: We Ignore Divine Prayer. While this order is extremely powerful, it can and will punish you just as much as it rewards you. With Save scrum, it makes beating space whale pointless. Do yourself a favor and just turn on the assist mods.
Rule 3: My playstyle is aggression on crack, “There is no need to defend if everyone else is dead”. This is my motto for this game, and is arguably the fastest way to win. You are entitled to your opinion, but I don’t have to care about it.
Rule 4: War and Credits come as a pair. This game has no concept of leveling up units, the only way you get stronger is if you buy upgrades with money. Thus there is no point in saving it. Buying the wrong thing is the same as not buying anything at all. Do all the missions available, no exceptions. We go to war for money and spending money makes the next war easier.
Rule 5: Battle Doctrines are necessary, the order in which you execute actions is just as important as what actions you choose to do.
Now onto our builds.
The Assault Battle Doctrine
Right so as mentioned my play-style or battle doctrine is to kill as many units as possible. The reason why this is the best output is as follows. I call it the Assault Battle Doctrine.
- Killing enemies gives Order exp.
- Killing the enemies as fast as possible lessens the burdens of reinforcements.
- Dead enemies cannot counter attack.
If you leave too many enemies alive when your turn ends, they will come for you in the next. Balancing our upgrades on defense and offense is a waste. The Assault doctrine is heavily lopsided on offense, leaving defense to manipulated battle field conditions instead of increasing survival.
As such the Assault Doctrine can be summarized in the following points.
- Each unit will have only 1-2 functions, Upgrades will be focused on those core functions. Everything else is luxury. Do not waste spare change on useless upgrades.
Why: money is limited, we desire absolute results, wasting money on needless upgrades is pointless.
- Energy and Movement must be raised as quickly as possible in that order.
Why: More energy allows for more actions, upgrading a weapon is limited to attacking. EN can be used for both. Both make the temple levels easier.
- The Order gauge must never remain full.
Why: they will be refilled as you kill, why waste the Order exp.
- Hate (Aggro) must always be directed to the Vanguard. either the High Roller, Phoenix, or Paladin.
- The Rear guard (Dominator and Spellcaster) must always have empty or close to empty en, spam whatever skills necessary to do so.
- The Middle guard, must always be attacking or getting into position. Archangel must always be sieged and Maray should always be shooting.
- Evasion is preferable to tanking. High Roller and Phoenix both are built to evade not endure attacks. Paladin is the only exception. To upgrade evasion you only upgrade 1 stat. To increase defense you need to both increase armor and then HP.
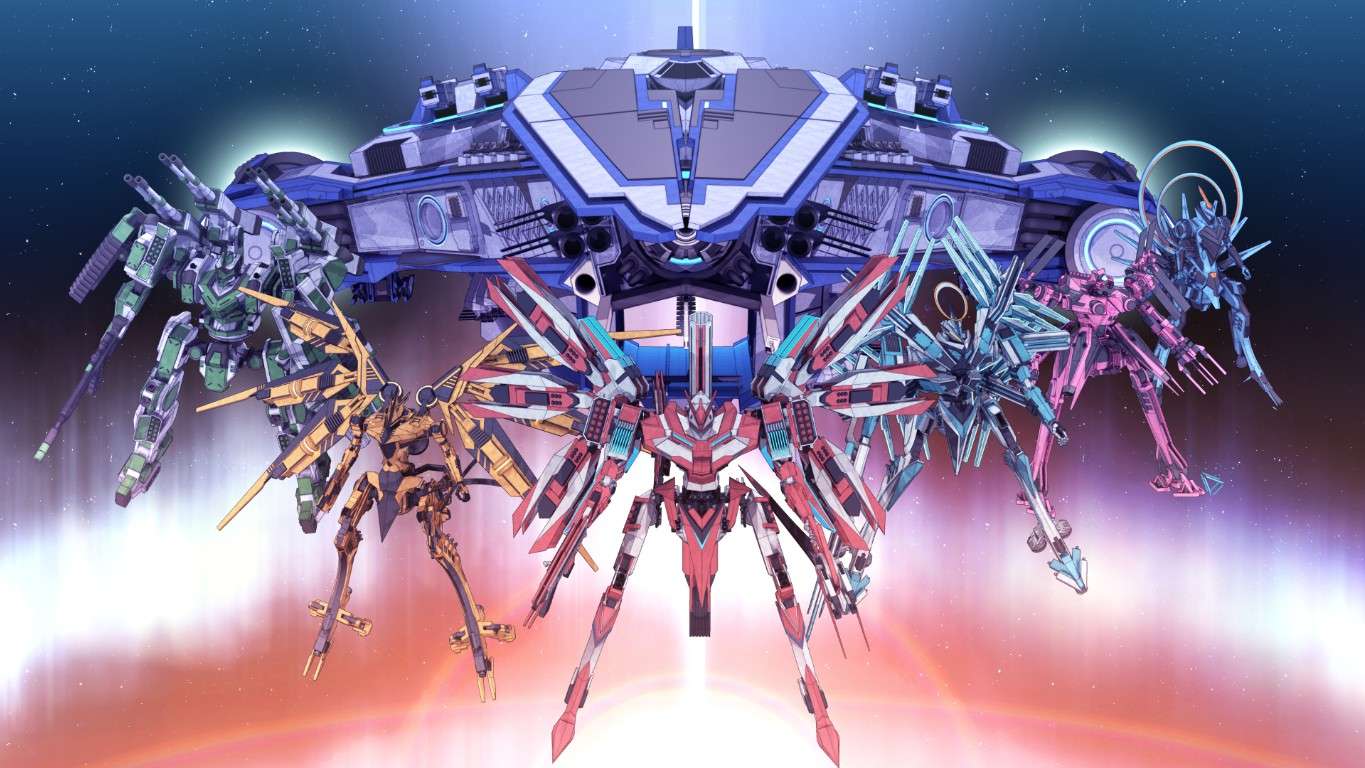
Your Battle Harem and Their Roles: The Vanguard
Right so you have seven units that will accompany you for the entirety of your campaign and a few Static guests or summons. I will ignore those as you can’t upgrade them. Making them entirely inconsequential in a playthrough. The battle is won or lost by the actions of your main battle harem.
The Vanguard are your frontliners. They are the one who get close and personal. whenever I say in the guide Vanguard I mean this three.
High Roller (Asaga) Position: Vanguard
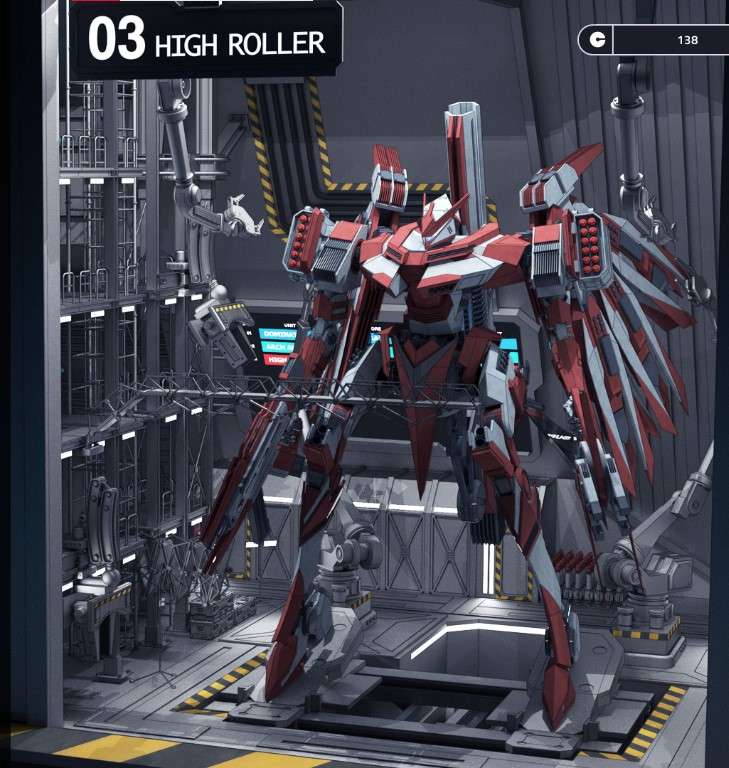
Our Playmaker, nicknamed HiRo. Can get into position and spam awakenings to maximize moves, can clear out an entire unit single highhandedly. Especially when she gets her awakening buff. if given enough evasion and hp, can move for up to more than 800 EN points before stopping (full 200 EN).
Weapons load-outs have powerful effects if invested enough in. has 2 armor load outs for either tanking or evasion. Builds I choose for her are Light for armor, Precision for Missile.
The reason for this build is simple, the High Roller is meant to take out as many targets as possible. to allow the middle guard to take down the capital ships. Thus, Lasers which have the highest damage to cost ratio is preferable. Awakening allows you to spam it excessively. There are other play styles, but for my purposes assault and pulse will be ignored entirely. at Max High Roller only has 160 EN allowing for 3 Lasers (Lowest EN cost 45).
However one of Asaga’s hearts grant extra 20 EN in the first turn only allowing for 180 or 4 Lasers. Together with the bonus to move speed in the first turn. Asaga is designed as a shocktrooper. Any additional EN is devoted to missiles which pack a punch at max levels.
I can add more info on the other weaponry but its pointless as we will never use them. High Roller in my guides does only 3 things Awaken, Laser, Missile that is it.
Pros
- Laser has good EN cost/damage ratio, long range and accuracy
- Precision Missiles allows for four targets to be taken out quickly in one EN Charge
- Light Armor allows for 70% evasion at max, coupled with Spell casters distract most would not even hit the High Roller.
Cons
- Built like tissue paper.
- Can be shut down by high armor, or overlapping laser shielding.
- Has a hard time taking down single boss targets.
- Repeated awakens needs healing otherwise High roller would die quickly.
Build: Light for Armor and Precision for Missiles
PlayStyle: using Lasers and Missiles would make the High Roller able to take out loads of weak enemies taking heat off the middle guards. Use awakenings offensively to clearout groups or high HP targets.
Phoenix (Icari) Position: Vanguard
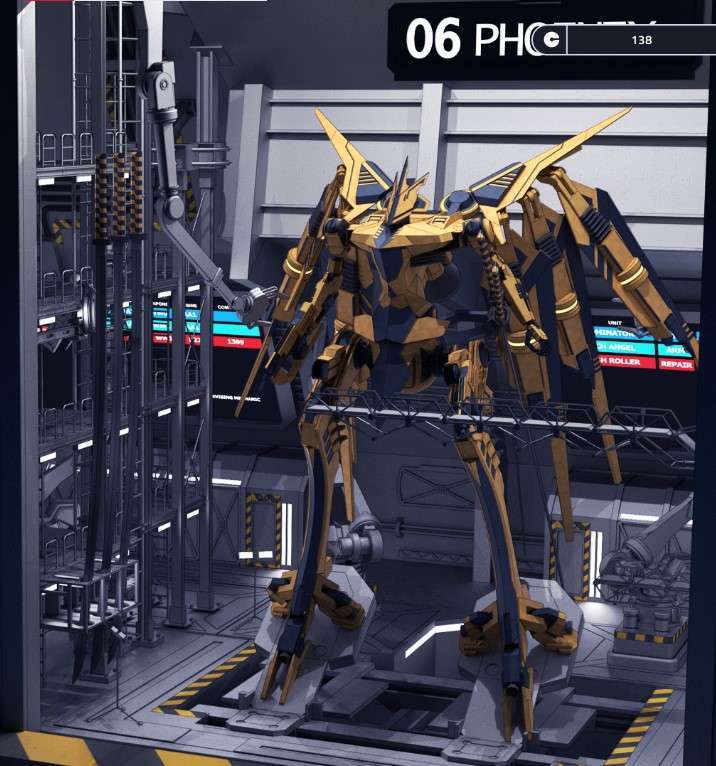
The Phoenix is the harem’s ryder assassin. It has only one role, take out anything with two arms and legs. for balance it is near useless abilities when fighting ships. It has the highest damage potential for a single action, as I once got a 14 hit combo from a single melee. The finals slash had over 3k in damage.
When Icari, gets hearts, the capabilities of the Phoenix sky rockets. A 2 digit combo requires full accuracy upgrades for melee, and managing the hate afterwards is difficult. Cloak does not help when you kill so many, running away or boosting evasion is better.
Together with the High Roller, The phoenix’s main goal is to thin out the herd for the middle guard. If used in tandem with the Spell casters Gravity gun, the Phoenix can repeatedly strike opponents even if its combos break.
The Phoenix has either the core battery load out which reinforces its strengths or a build that boosts its armor and secondary weapon. The disparity between the two is like night and day. boosting the assault of the Phoenix does not allow it to punch armor, so it is still lack luster in contrast to being able to dance on the field with melee combos.
Pros
- Insane damage potential against Ryders
- Usually one shots any ryder with Full Forward and Neural Assists.
- Takes out multiple groups if supported by spellcaster’s gravity gun
- Can handle hate due to high evasion Max at (90)
- Ryder type bosses like the wolf brigade or Ancient Ryders fear her.
Cons
- Built like tissue paper.
- Useless against ships
- Relies heavily on positioning, without Spellcaster can be shutdown if the enemies group up.
- Usually killed a single strike by bosses, missiles, torpedoes.
- Shutdown by armor.
- If ends action to anyone with ordinance dies as a certainty.Thus an exit strategy is always required at late game.
Build: Core Battery for Reactor
PlayStyle: Goes in and dances enemy ryders in a blade storm, succeeding combos will be carried out with Spellcaster either position the phoenix, or enemy ryders. requires an exit strategy if there are too many enemies left.
Paladin (Kryska) Position: Vanguard
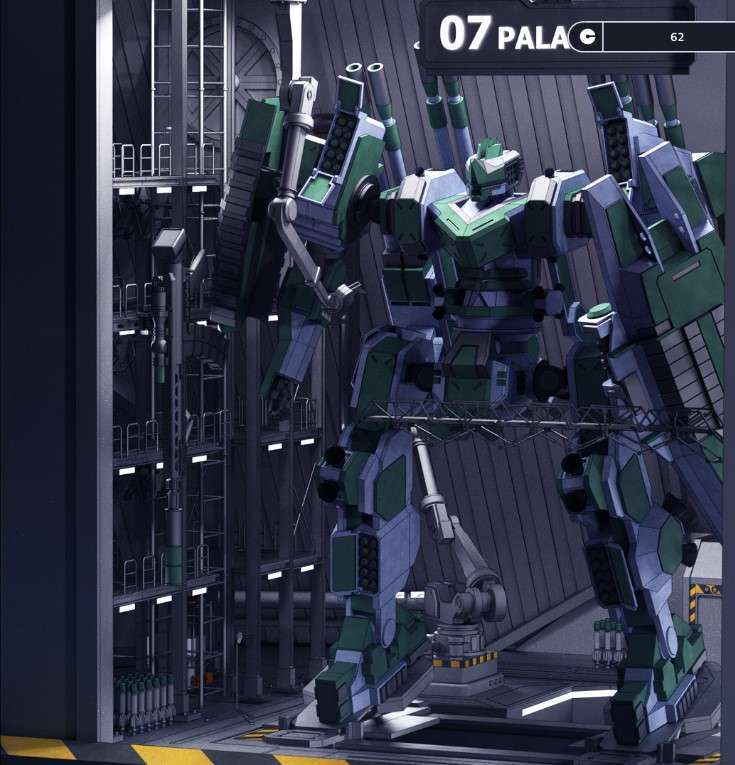
The Paladin is the last ryder to join but more than makes up for its tardiness. She is build like a brick. Hard to break and can dish out a lot of damage. Has the highest single attack damage in game. The only unit that can tank really well. Her heart perks further turn this titan in to an unkillable juggernaut. The only problem? she is build like a brick, even if you throw her, she won’t get very far. Her mobility becoming the biggest issue. The main dilemma when she fights is how to get her to where the action is.
This can be mitigated by Spellcasters gravity gun and the command All power to engines. Once she gets into the dogfights however she can down even capital ships in one blow. having armor she is extremely tough and it would need massive amounts of laser fire or ship level based weaponry to take her down. She has assault and missiles but her secondary purpose is guard. Guard generates hate and buffs Paladin’s armor to stupid multiplier.
Increasing her base armor fully turns her into wall few enemies can overcome. So long as she get into the heat of it, she will shine, But her limited mobility and high cost turning makes her behave more like a small ship than a ryder. If supported by Dominator and Spellcaster Paladin will cut through armored ships like a hot knife through butter.
Pros
- Extremely hard to kill
- Highest single damage in game.
- Can taunt enemies into attacking her. Armor and heart perks allow cockroach like survivability.
- If able to get into the thick of engagements will have the highest damage possible by a single unit in a single round (10,800) excluding a spam awaken HiRo.
Cons
- Extremely slow moving. If not supported, will reach the enemy just in time for the battle to end.
- If not upgraded will die once targeted by the enemy due to hate generation.
- Weapons has poor range.
- Turning is a ♥
PlayStyle: Guard and charge, then drift and kinetic. The further you are along the story the harder to kill she becomes. She is the only unit with a guaranteed second life. And the only one that will survive lethal blows at 1 hp. Her Kinetics allow her to take down most targets in one shot. Guard allows her armor to protect the harem. Requires help from rearguard for mobility and Accuracy.
Your Battle Harem and Their Roles: The Middle Guard
The middle guard are units that deal damage and support the vanguard but needs to be protected. They cannot deal with large number of enemies at once and are better at taking out special unit or capital ships.
Maray (Ava) Position: Middle Guard
Your main lifeline and your king in chess. The battle is lost if she dies, but keeping her in the rear is for chumps. Like everyone else, in this guide, there are no shields only swords.
The Maray role is a ship killer, there is no point in upgrading anything else. Her armor configuration will be Rogue and all upgrades will go to Kinetics, Torpedo and Missiles in that order. The other weapons are if you wish for Maray to take on Ryders. With the vanguard present what is needed is a capital ship killer not a half bake useless piece of crap.
Pros
- Broadside build is best build for it no questions asked.
- Torpedo and Missiles allows for devastating damage without aiming.
- Rogue build allows for raiding with good evasion and distance.
- Rips apart high HP bosses
- Warp order allows her to bypass most defenses.
Cons
- Built like a tissue paper, easiest build for game overs.
- Useless for long range warfare without support.
- Need vanguard protection or will be murdered at the first turn.
Play style: Early to mid – Use the first move to increase momentum, succeeding turns will be for shooting only, Momentum will be leverage as much as possible. Target lock anything that can be shot with the kinetics, for spare moves, fire missiles and torpedoes. Late game – Warp behind capital ships and unload ordinance and kinetics.
While I’m sure different builds exists, nothing can beat a Maray that gets in your face and shoots you point blank. With the Short warp order we even teleport behind enemy lines and wreak havoc with torpedoes and kinetics. The only reason the Maray is not a vanguard is because it is not meant to handle hate.
Build: Broadside for Kinetics and Rogue for Armor.
Archangel (Sola) Position: Middle guard
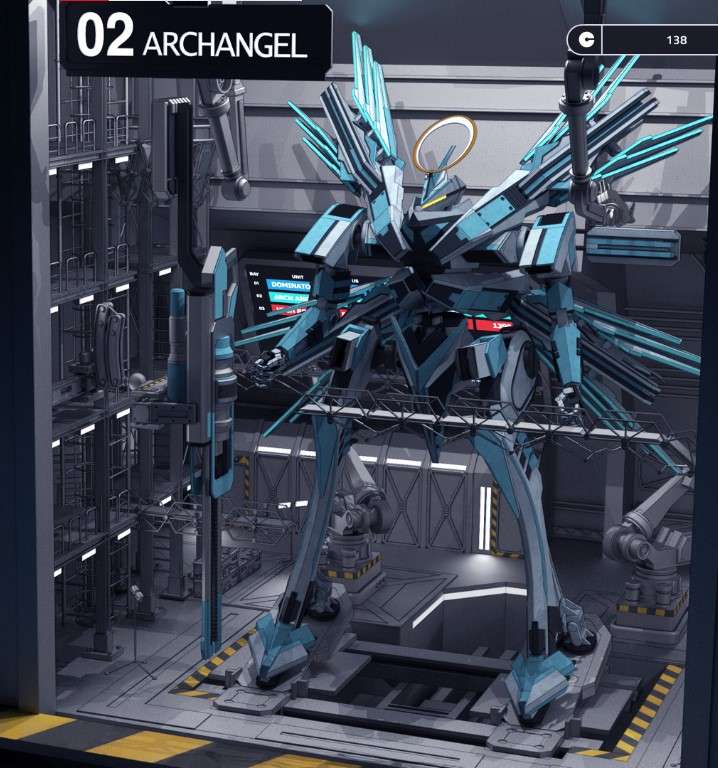
Archangel the next evolution of the Seraphim retains the same role, a long range sniper unit. Her main and only purpose is to take down targets from a nice long distance. Without Target lock can have difficulty aiming once beyond weapon range. Has awakening ability where she can deal more damage at a longer distance besieging the enemy. Has two builds Trebuchet or Assassin, the former allows quick changes between siege and unsiege modes while the later is for taking more shots.
Unfortunately a heart upgrade from Sola at late game renders the Trebuchet build completely moot, Trebuchet’s main selling point is reducing the awakening cost to 50 EN, allowing for changing modes while moving. Eventually Sola will get a heart upgrade that makes the awakening free if done at the beginning of the turn. Trebuchet allows a maximum of 3 shots while Assasin grants 4. By simple math the fourth shot makes a huge difference in damage potential.
Fully buffed and upgraded Archangel can one shot most capital ships, or focus fire to bring down even Pact Carriers alone. This allows her to dominate the battlefield if allowed to take aim and awaken. The problem is that once sieged, she can no longer move without a heavy cost. So a usual problem is that the enemies are too far away for her to do anything. Further heart perks make her even deadlier with bonuses like ignoring armor or draining EN.
The biggest problem is due to her high damage, she generates hate pretty quickly, forcing enemies to go for her. Without the vanguard blocking her, she will be taken down quickly. The balance between accuracy and safety is always at odds when the Archangel chooses her position.
Pros
- One of the highest single hit attacks in game.
- Has insane range.
- If upgraded correctly can snipe an entire group beyond range of counter attacks.
- Heart perks, enhance strengths
- Can one-shot most enemies if positioned correctly.
Cons
- Built like tissue paper. If enemy gets in close, Archangel is toast.
- Range when sieged quickly falls, and needs support both to kill and survive.
- Without heart perk, Awakening is extremely expensive and wastes an entire round.
- One of the highest hate generators in-game. Will quickly get swarmed if left alone.
Play style: Boss and Capital ship killer. Awakens to deal more damage from a longer distance. Can be supported by spellcaster’s gravity gun, once heart perk for free awakenings is earned. Archangel should be doing nothing but shooting. TargetLock and Gravitygun will be the ones to assist her. She must be protected by the Vanguard and Rearguard otherwise she wont be able to survive enemy assaults.
Build: Assassin for Kinetics
Your Battle Harem and Their Roles: The Rear Guard
The Rear guard in this case or my use of it are the supports. They all the battlefield to be controlled and change the conditions so drastically a lose can be turned into a win. At the expense of their damage output these girls are near useless offensively but allow the van and middle to do more than they would be able to otherwise.
Dominator (Lynn) Position: Rearguard
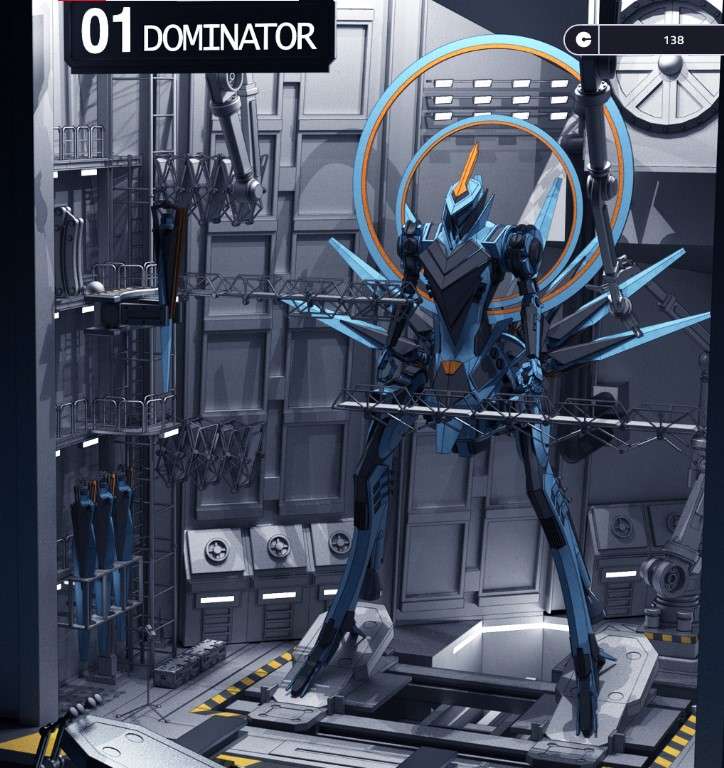
The Dominator is the Harems Debuffer/Healer. It has pathetic combat capabilities which balances its near mythical like support. With a range of skills that are designed to turn about battles, the Dom’s actions can make or break a round.
Its most useful skill is Target Lock, which grants a evasion debuff on enemies, at first it will be a single target but will be upgraded to an AOE effect. This buff allows the harem to have piss poor aim but still land hits like snipers.
Next use is its healing capabilities, as the only unit that can heal the harem, this allows the harem to survive the toughest battles. the assault doctrine shifts the focus of healing to be centered on supporting the High Rollers, Awakening frenzies. With Healing the High Roller and the Paladin can pin entire groups of enemies’ hate allowing the middle guard to wreck havok.
You can use the flier drones offensively but their damage is pitiful compared to losing the ability to heal. 2 Awakenings from High Roller would be loads better than using all Dominators EN for flier storms.
The RTN2SNDR a missile and later torpedo canceler, the overload a shield stripper, and Disable for locking down an enemy are all situational but are still useful. Upgrading them is not as important as upgrading target lock. But together they ensure the Harems battle output.
Pros
- Controls the battle field with skills
- Disables high priority enemies
- Allows harem to land hits with Target Lock.
- Overload takes down shields
- Can heal units
- Can reduce missile, torpedo barrages
Cons
- Built like tissue paper.
- Without an attacker, is useless
- low EN pool at beginning, expensive skills
- Repair build removes ability to cause damage.
Build: Repair for Flier Drones
Playstyle: Cast Target lock and use skills as needed. heal, disable, and deny missiles depending on situation. As a rear guard, its position on the battle field is meaningless. due to none of its skill having range limits.
Spellcaster (Claude) Position: Rearguard
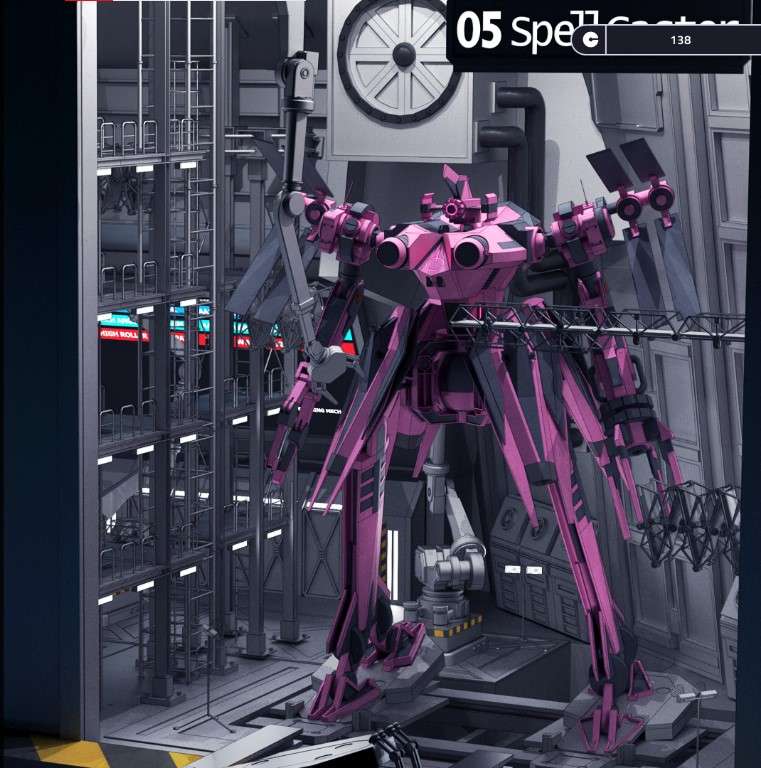
Spellcaster is like Claude, seemingly useless but is actually the main driving force behind the scenes. Spellcasters strength lies in her Neural Assist which boosts an allies damage output to 50% at max level. (This is cheaper than upgrades).
Secondly she also has the Gravity gun which can be used to position allies for attacks, pull them back to safety, or yank specific units from enemy lines. With enough heart upgrades, you will be able to pull ships and eventually even ordinance.
Her other usefull skills are situational. They are Distract which lowers the accuracy of enemies, SHD Emitter which plants a shield anywhere on the map and Restore used to remove debuffs.
Offensively she has two boobie torpedoes that deal decent damage but are hard to use. This is because using the gravity gun or skills is a way better use of EN than firing torpedoes. Neural Assist and the Gravity gun are the first thing to max for her, everything else is a luxury.
Pros
- Neural Assist can boost Van and middle guard’s damage by 50%
- Gravitygun allows battle field control.
- Distract can aid vanguard by lowering enemy accuracy.
- SHD Emitter while situation can protect vanguard and middle from Laser fire
- Restore can remove debuffs.
- All skills have no range removing requirement to join in assaults.
Cons
- Needs a large EN pool to be useful.
- If not used correctly will become more of a liability.
- Due to wide variety of skills normally run out of EN
PlayStyle: Spellcaster is a support unit, thus her role is purely boosting damage, distracting enemies and yanking friend and enemy around as a battle field controller. All her EN is to be used for that effect, normally we never have enough.
Terminologies and Mechanics
For the Rest of this guide PT2 I will be using abbreviations for easier writing.
Unit Nicknames
- MaRay or Ray
- High Roller or HiRo.
- Dominator or Dom
- Archangel or Arc
- PhoeNix or Nix
- SpellCaster or Cas
- Paladin or Pal
Skill Abbreviations/ Terms.
- Target Lock or Lock
- Neural Assist or Ast
- Gravity Gun or Vacuum
- Sola’s Awakening or Siege mode
- Full charge – Using the units entire EN for movement.
- Half charge – Using the units Half EN for movement.
- Distract or Dis
- Laser Awaken – Term used for HiRo to use Lasers until she runs out of energy, Awaken then repeat the process.
- Salvo – term used for a complete clip of a units EN for her weapon. Ie. If I say Arc’s salvo, I meant have Archangel keep shooting until she runs out of EN.
- Flier Drone Repair or Heal
- Drift or drifting – Riding a units previous momentum to move for free.
How to describe groups.
Due to fighting on multiple fronts, normally the enemies are divided into groups. my descriptions would always follow their original positions on the map. If the unit started out from the upper left of the screen. Unless there is a bottom left group. left group would refer to those on the upper left, even if they are already at the middle.
Rs
While the game calls it Phases I call it rounds. R1, R2, R3 are representing what you are to do in Round 1, Round 2, Round 3.
Hate, Momentum, Collision
Finally we have the two system most players do not use. Hate refers to the games numerical representation of aggression in game. Except movement, any an all action by the harem will generate hate. This Hate is represented by the bar at the units reticule.
Each red bar represents I think 200 points of Hate, so to check who among your harem will get targeted refer to the one who has a full hate bar. Note that the game places different weight on actions. For example, bringing down a capital ship gets more hate from taking out 4 to 5 cruisers or ryders.
Momentum
Momentum is a nifty new addition to the game and makes combat refreshing and unique. Essentially if a unit moves in a particular direction the unit generates momentum.
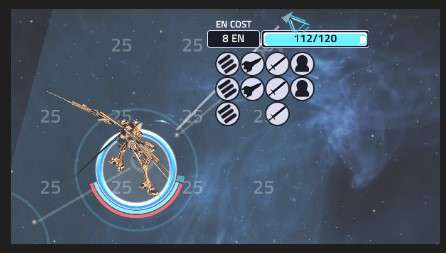
The blue bars represent how hard you are going in that direction.

Increasing the EN used to movement generates more momentum. The momentum is saved for the next turn. meaning if you keep drifting in a particular direction the momentum disappears the next round.
The effects of this is that If Phoenix for example gathers four bars or momentum going to the right. To go to the left, the EN needed is multiplied by 4 just to stop. This makes changing directions Immediately in the next turn very expensive. At her EN the best she could do is slow down by moving a shorter distance at the expense of braking (multiplied EN)
The Only actions that can cancel or change momentum are Melee attacks, Warping and Archangels Awakening. In my Walkthrough, the normal actions would be charging in a particular direction and removing the momentum by drifting in the next turn. As we will hardly have battles that go beyond 3 rounds, momentum cannot be ignored.
With that I have covered everything. Now we get into the battles themselves. See you in Part 2!
Be the first to comment