This guide provides strategies for effective placement of boosters to maximize the production of building materials and B components.
Maximizing Resource Production with Optimal Booster Placement
Boosters
Boosters are powerful for creating building materials and B components. Generally, boosters become more productive than generators alone after reaching upgrade level 6 (around x1.73). Before that, focus on producing building materials to reach level 5.
Once boosters reach level 6, follow this guide for placement. You can prioritize building materials or B components based on your goals (multiplicative upgrades are powerful).
Perform a reset every 3-5 times the initial multiplier. Withholding the bonus will hinder progress. Reset as needed, but check your multiplier to determine if a reset is beneficial.
If not upgrading base production, prioritize B component income while maintaining positive building material income.
For building materials, place all building material generators. For damage and max shield, use B components, leaving enough building material income for a positive increase. (See the “Placement for Building Materials and B Components” section).
Before booster level 6, follow the “Placement for Building Materials and B Components” section for optimal placement.

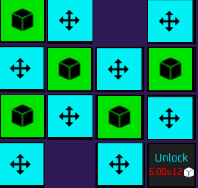

Placement for Building Materials and Components
This section explains how to place building material and B component generators for maximum earnings.
To focus on one type, hover over the production amounts and find the best boosted spot.
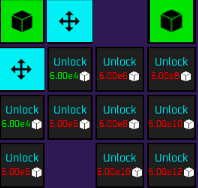
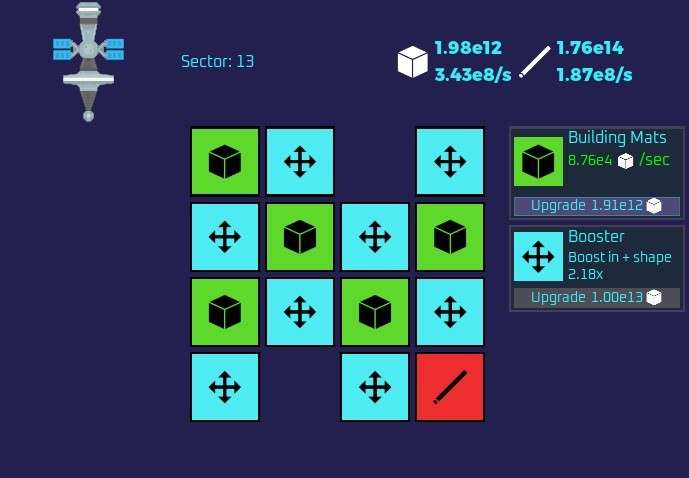
The example shows prioritizing B components while still earning some building materials:
- B components use only 2 slots but earn more than 4 building material slots
- This is because B components are placed in highly boosted areas
- Use this strategy to farm both resources simultaneously

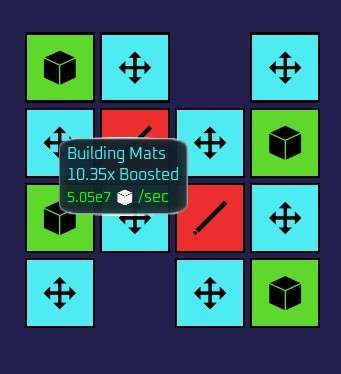
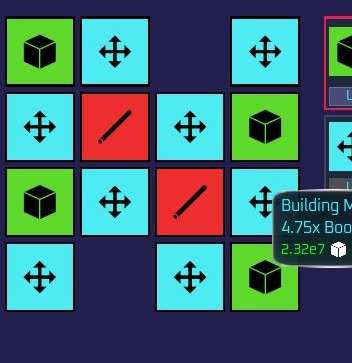
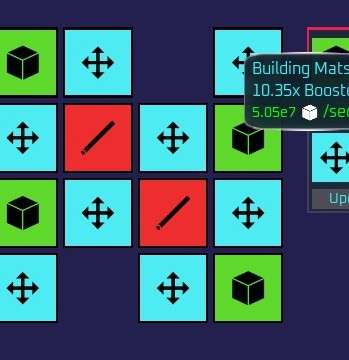
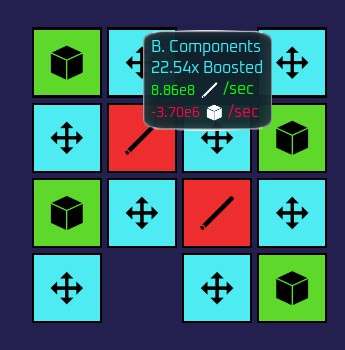
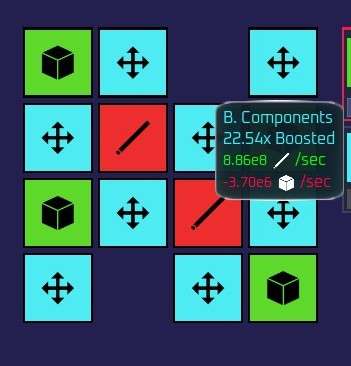
Remember, B components require building materials, so account for that cost when farming together.
As you upgrade, keep checking the boosted income levels to maximize your preferred production type.
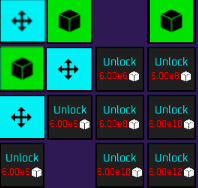
Another example focuses mainly on building materials with lower B component production:
- B components are placed in lowest boosted areas
- This provides a small bonus without hindering building materials much
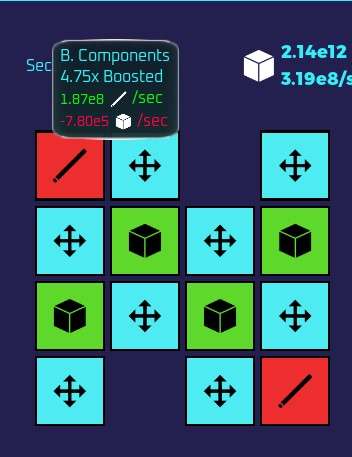
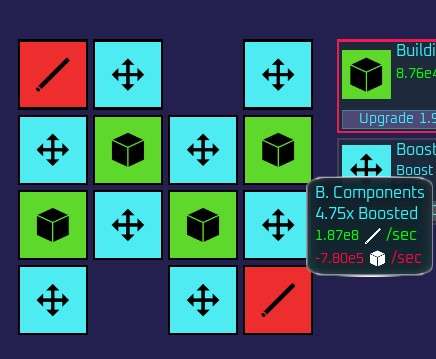
You can take it further by using just a single production generator type.
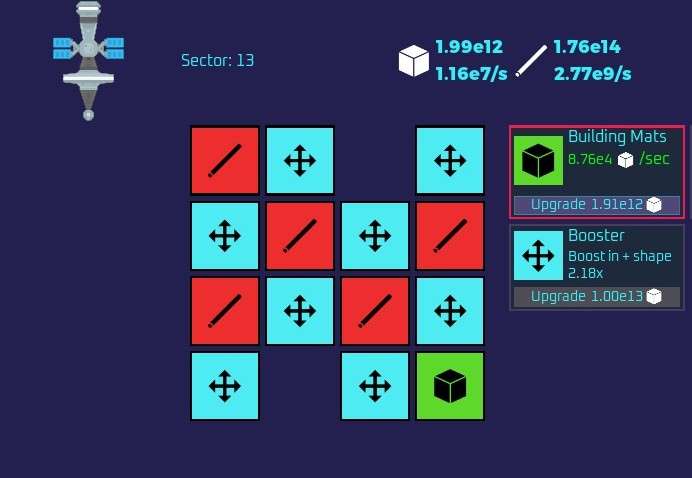
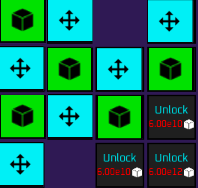
Late in a prestige cycle, the strategy is to farm 100% B components:
- This maximizes the bonus for the next prestige run
- Not focused on upgrades, just the prestige bonus
- Run this until prestige, then go back to normal farming
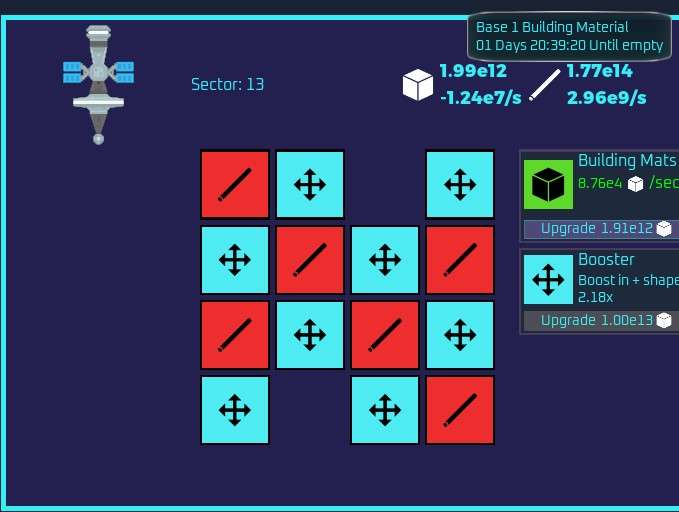
The key points are monitoring boosted incomes, placing generators accordingly, and adjusting strategy based on prestige cycle and resource priorities.


I’m not sure how to reset and make the slots available for use.
Each position must be unlocked by accumulating enough materials.
It is quite inefficient to combine the creation of building mats with b-comp upgrades during normal play, particularly if you are autobuying b-comp upgrades.
If you concentrate on creating mats the entire time and only transition to producing B-comps in the final 15-20% of your run, you will be miles ahead of the competition.