
Locations of all the memories to unlock new areas in the Main Mission.
Table of Contents
Intro
Note: Credit goes to Warloocy
This guide will cover the first step about completing the game : Finding all of the memories.
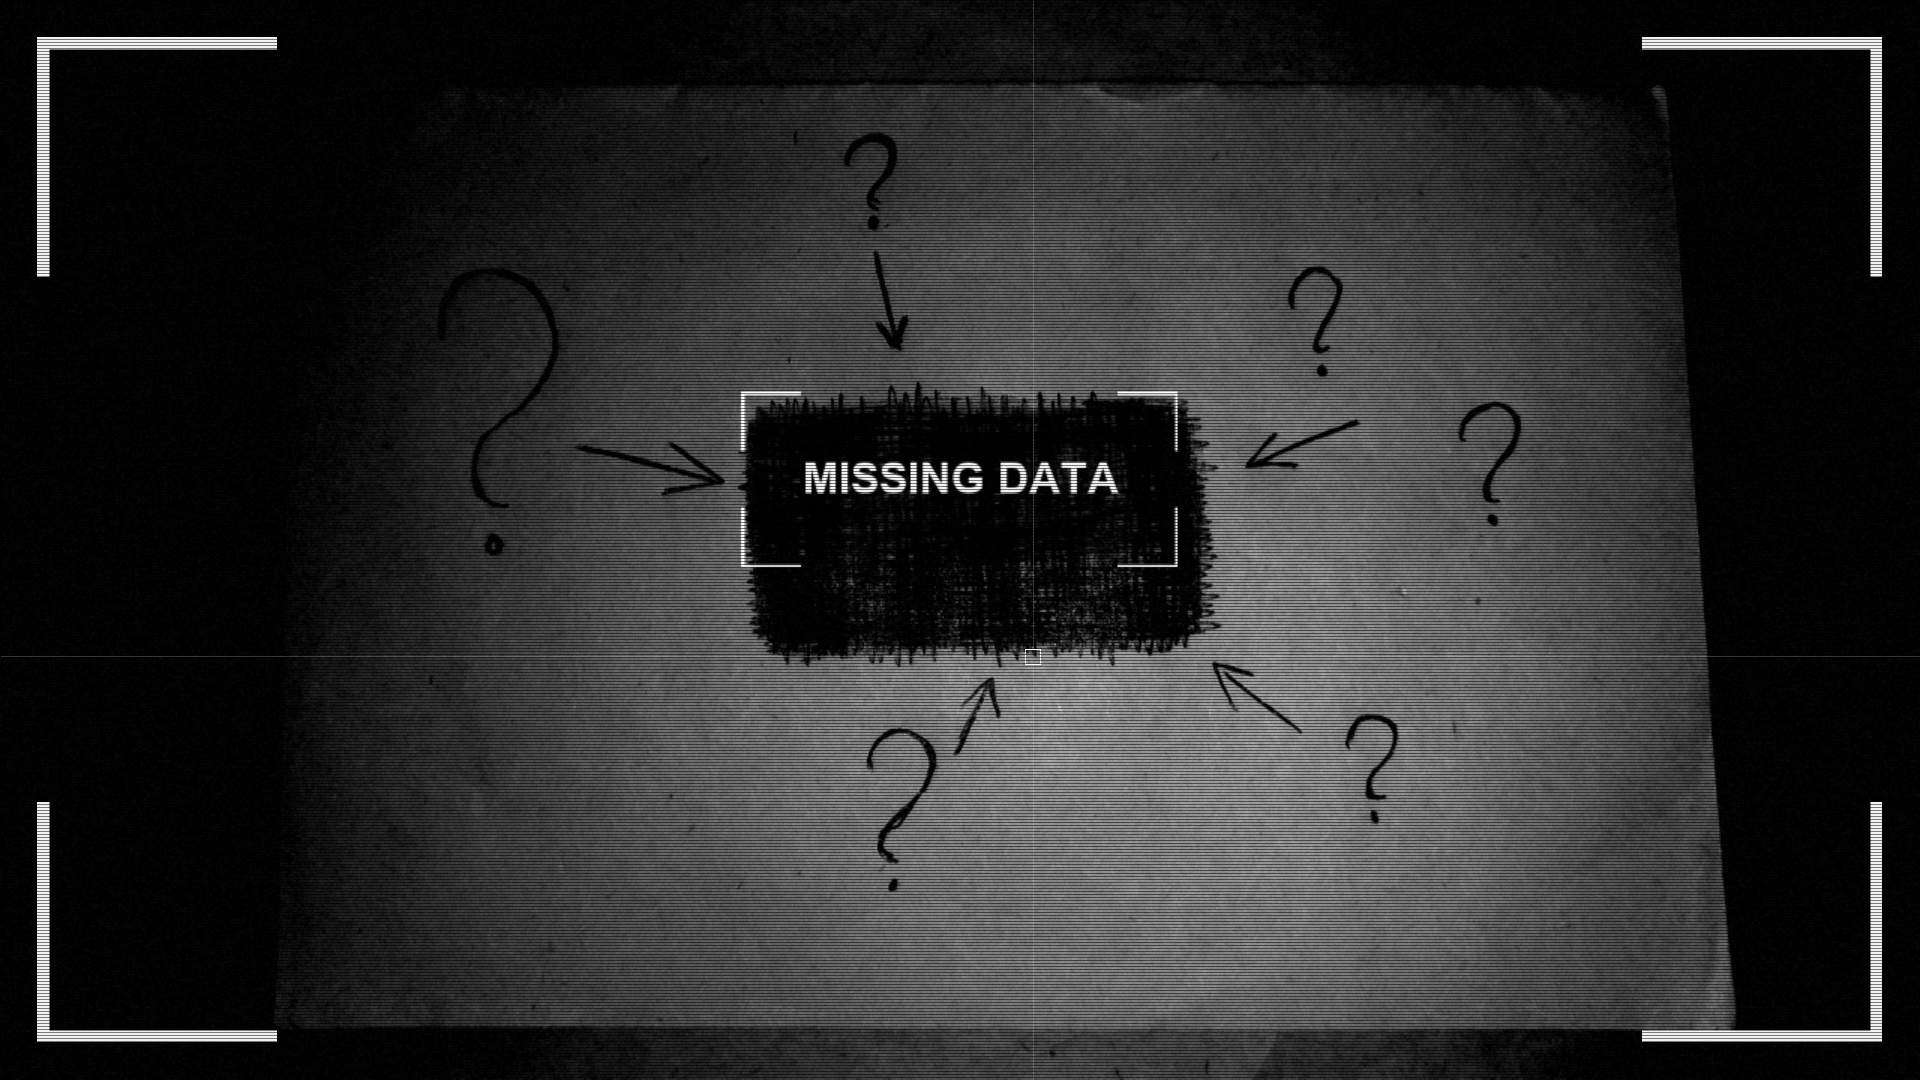
If you have encountered this screen during your playthrough of the Main Mission, you will be able to unlock the area behind it after unlocking all of the memories.
There are a lot of secrets and optional paths in the areas explored in this guide that I will not cover here, but I recommend you look for them in your own playthroughs as some of them will be crutial to solve some puzzles later on.
When exploring some areas in the Main Mission, you may at some points unlock shortcuts or find some codes, that you can save by zooming in them with right click and access later in Menu > System > Advanced (If you have found any codes they will show under Codes on the right side).
The shortcuts are usually accessible in the Hub area near the start of the mission, and the codes can be entered in the keypad right before the “Marker/Tape/Scissors” area. They will both take you to areas you have been to before, or sometimes to new secret locations.
You should keep them in mind as some of the areas you can unlock later could take near 5 minute of clearing the same areas each time when it would take you seconds with a code (And trust me you want to explore those later areas a lot).
The Map
Here is a map of where all of the combinations of “Marker”, “Tape”, “Scissors” in the Hub area will lead. There are so much areas to explore and it can be easy to get lost, especially early on when you are learning the paths.

Memory Locations
Here is a playthrough of me getting all the memories.
Each mission I visit the cardboard wall with the drawing of “Her”, Inspecting it will tell you a random memory you are still missing or unlock new areas if you found all of your memories.
Note that you can also find the “Eyes” memory by exploring the area next to the “Love” memory in the “Sickness” zone, and that there are multiple paths to getting the “Face” memory in the paper world.
If you are looking for a specific memory, they have all been timestamped into the video.
There is a total of 7 memories to collect:
- 0:00 Eyes memory (bldm variable will appear)
- 8:33 Face memory (mism variable will appear)
- 12:35 Smile memory (pxtm variable will appear)
- 16:47 Voice memory (viem variable will appear)
- 19:45 Kindness memory (bndm variable will appear)
- 24:02 Happy memory (enem variable will appear)
- 28:32 Love memory (hstm variable will appear)
When all the memories have been found and you have investigated what was behind the cardboard drawing. The variable (depm) will appear in your Advanced menu and you will be able to access the locked areas mentionned above.
Be the first to comment