
What is the meta for Modern Warfare II’s beta? Consider this a good introduction – see why the default loadouts can be great starting points, as well as our developer-approved recommendations for the beta.
Table of Contents
Weapons Guide: Loadouts
Most Effective Tactics Available.
Knowing the Meta is what every Operator wants, but may not be the silver bullet they seek for winning every match. Because just knowing the Meta is enough to create a loadout – learning the Most Effective Tactics Available and putting them to practice is another story.
This guide is not to rival your preferred method of gaining knowledge of “the meta,” whether it’s from a social media website, an influencer, your friend, or from your own intuition. We are not saying that one weapon, Perk, or Field Upgrade is better than the other, nor are we calling others useless.
Every item in a Call of Duty: Modern Warfare II loadout has its purpose; it is up to you to find it, using this chapter as a starting guidepost for thinking for yourself and your own personal meta.
Could you use these Loadouts verbatim? Yes, although we encourage experimentation, modification, and complete overhauls to have these recommended Loadouts fit your playstyle…
But then again, our old Warzone guide predicted the Crossbow as part of “the meta” on day one, and for most of its lifespan, it surpassed its expectations in the community especially in Solo game modes.
So, remove all doubt and prepare to dive deep into our library of Loadouts:
Perk Package and Default Loadout Strategies
There are six Default Perk Packages, and all of them can be great to use right out of the box or as an inspiration for a Custom Package.
Default Perk Packages are not only important to talk about when using Default Classes – these Perk Packages are also fully usable Custom Loadouts at Level 4, with the caveat that they cannot be edited in any way.
These Packages can be used regardless of level with whatever other Primary and Secondary Weapons, Lethal and Tactical Equipment, and Field Upgrades you unlocked.
Assault (Rusher)
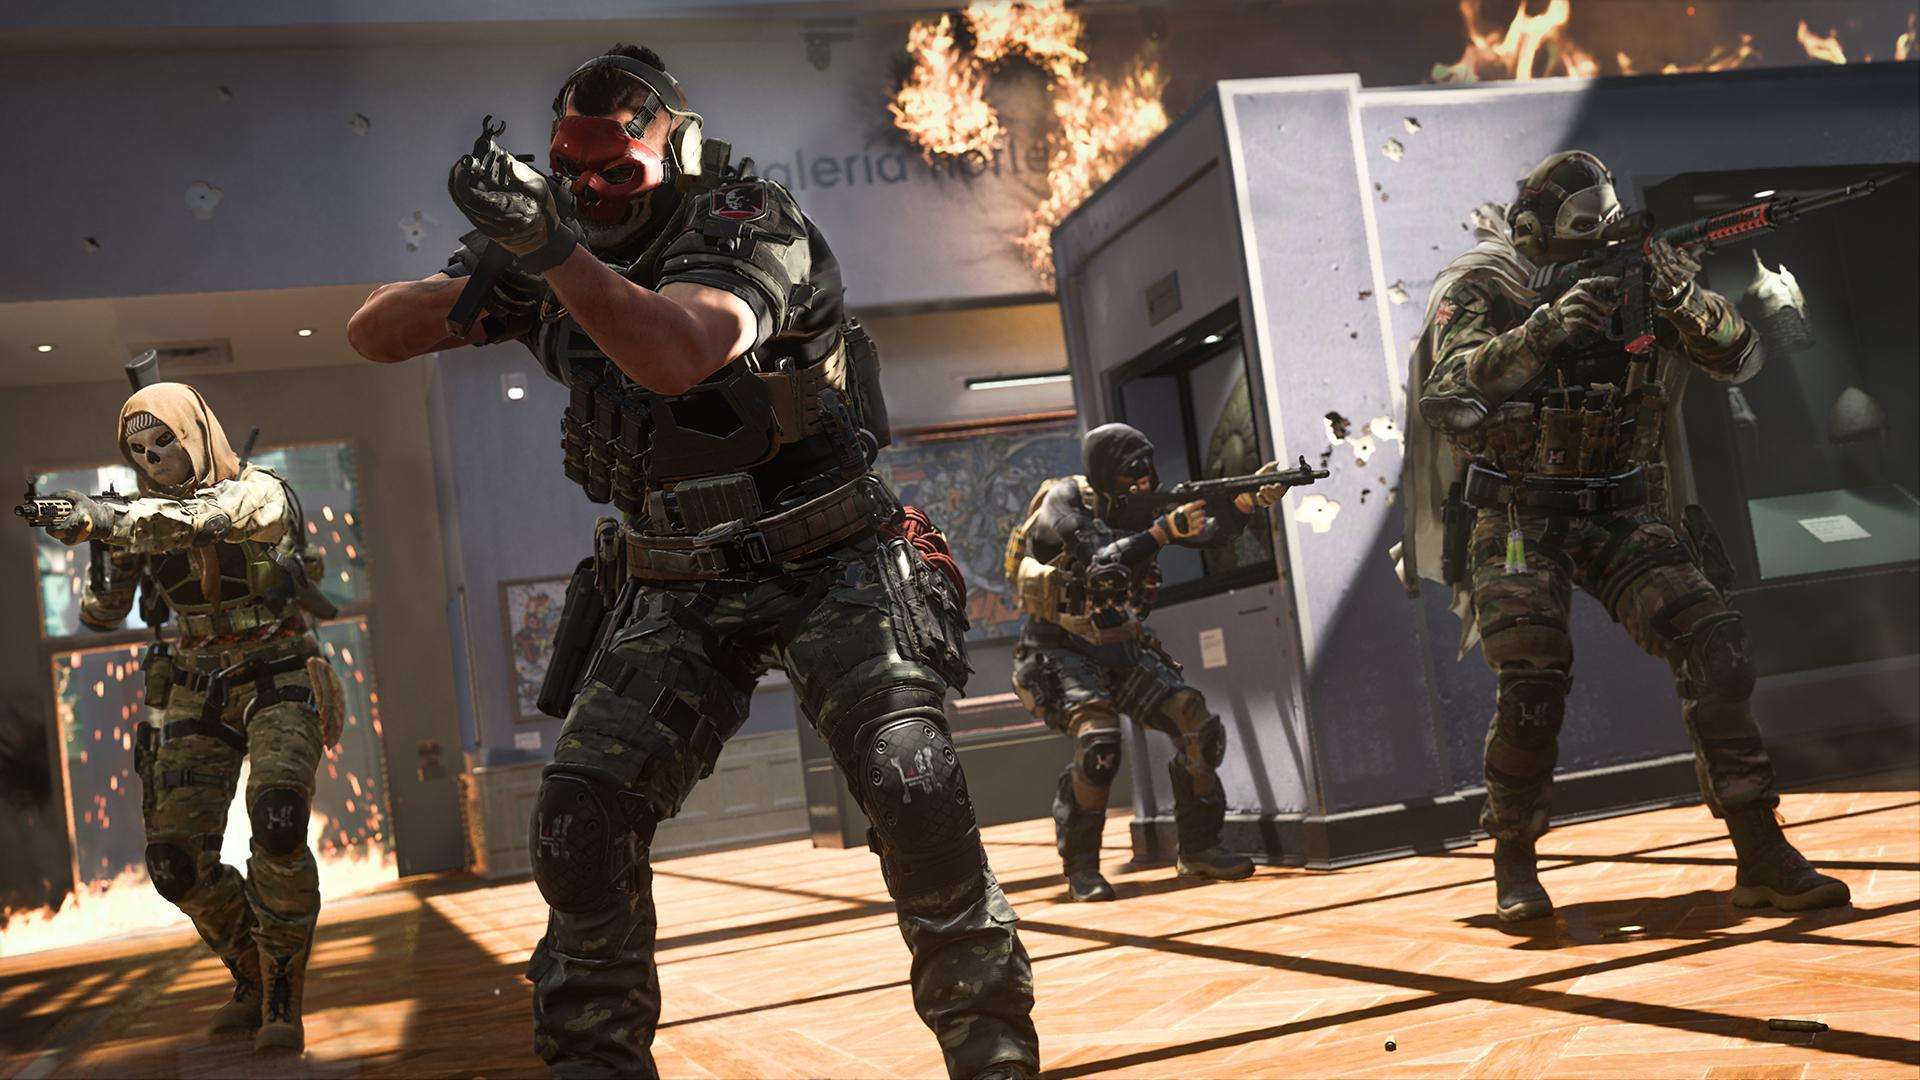
The Assault Package player is built for smashmouth players – two keys to success with this package is to charge head-first into combat, and making sure they get full value from their two primary weapons.
As the Default Loadout suggests, this package is best used with weapons that fit two different scenarios: a fast-firing Assault Rifle for mid-range and a Shotgun for up-close.
Those weapons will eat ammo, making Scavenger a necessary pick-up. Switching between the two will also take longer than switching to a regular Secondary, which is why Fast Hands are here as the Bonus Perk.
Hardline is here to make earning Killstreaks easier; with all the firepower from Overkill and the means to keep it stocked with Scavenger, having to do less to earn more is a welcome sight for players of all skill levels.
Phantom (Rusher)
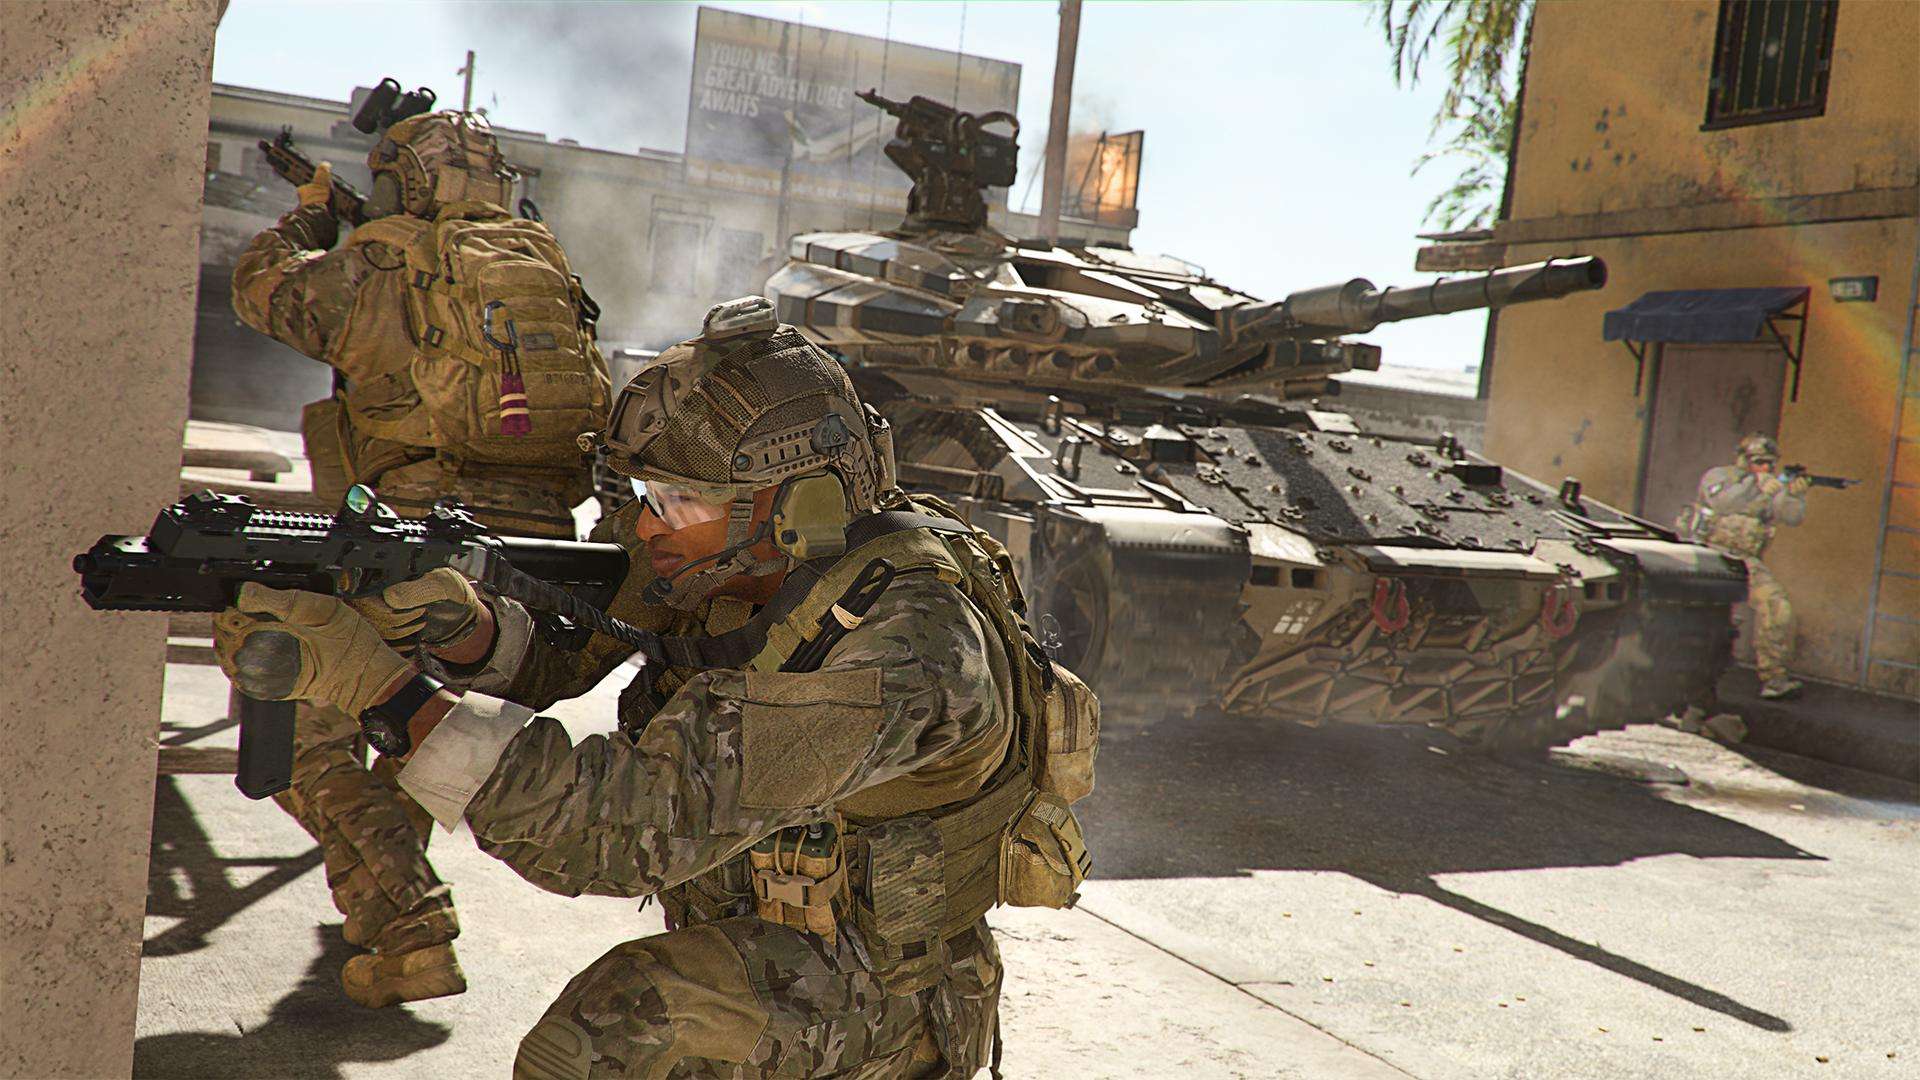
Infinity Ward knew what stealthy players will go towards in a Perk Package, so they made the Phantom, which puts every option that keeps you under the radar in one bundle.
The Base Perks are here for their secondary benefits: Battle Hardened is for Snapshot Grenade immunity so enemies cannot gain intel that way, while the crouch movement increase with Double Time is great for moving quicker with that stealthier movement method.
This Package only gets deadlier over time with the Cold-Blooded Bonus Perk and Ghost Ultimate Perk. When both of these are available, the enemy can’t really use much to spot you.
The Default Loadout here compliments this package well: two silenced weapons can keep you under the radar, the Throwing Knife is great for subduing enemies up close or silently at range, the Shock Stick can be thrown in path openings to deter enemy movements, and Dead Silence… Well, it would not be a stealth Loadout without this Field Upgrade, right?
Hunter (Stalker)

Ready to make some callouts?
This package is built for those who find their stride in being a team player.
Use Strong Arm to chuck equipment, like the Snapshot Grenades in the Default Class, to help spot enemies. Tracker’s footprint trails and enemy death markers also can be used to let squadmates know of nearby hostiles.
Once it is unlocked, Spotter can be used to seek, call-out, and destroy enemy equipment, using the Default Loadout’s Launcher whenever possible.
Overclock is here to take advantage of whatever Field Upgrade that fits your playstyle best. As part of the default class, the DDOS is a slow-charging upgrade that gets significantly boosted when Overclocked, and is even more useful with Spotter’s ability to highlight all that technology.
In using it for a Custom Loadout, consider using Field Upgrades like the Tactical Camera, Recon Drone, and other intel-gathering tools. Overclock and Spotter only make these Field Upgrades better, and it fits the theme of being an informant and hunter on the field of battle.
Deadeye (Stalker)

Those who want to feel like a gunslinging, equipment chuckin’ vaquero will find their home in the Deadeye Package.
First, like our Assault Package, take advantage of Overkill to use two Primary Weapons with different ideal ranges. For the default class, the MK2 Carbine cowboy rifle fits the bill for the primary, with an SMG complete with subsonic bullets rounding it out as a silent secondary.
The other Basic Perk – Strong Arm – will come in handy for throwing Sticky and Gas Grenades further and seeing their trajectory in real time.
The Bonus and Ultimate Perks make your Operator go from the regular joe to action hero – Quick Fix supercharges regeneration in high-intensity situations, while High Alert grants superhuman-like awareness with those vision pulses. In practice, these Perks should make you confident to jump into squadfights and come out as the lone ranger.
As for the Field Upgrade in the Default Loadout, the Tactical Camera is great for recording Killcams… We’re kidding, of course; those are captured automatically. Use that Field Upgrade to scout ahead and be alerted when enemies start pooling around key chokepoints.
Support (Sentinel)
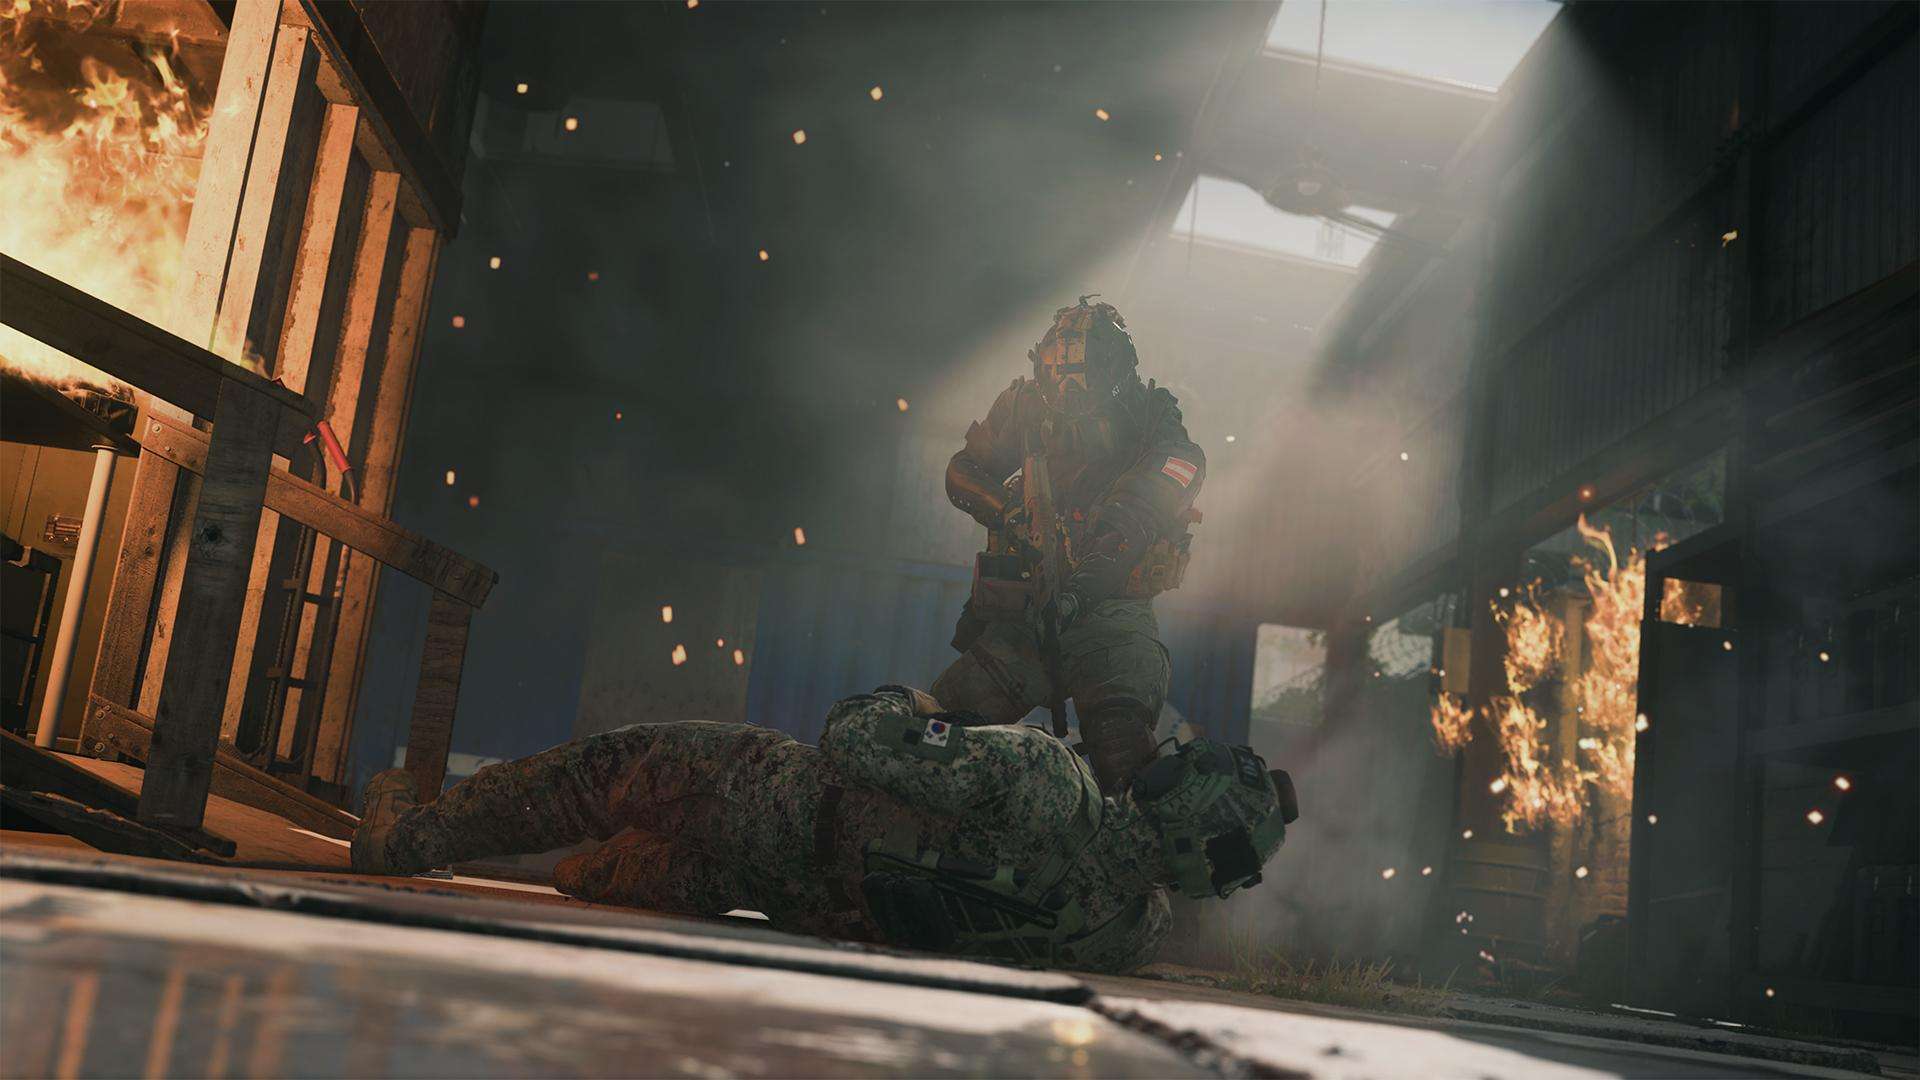
This Perk Package – and the Default Loadout – is all about survival: those who have trouble staying alive or want to have every option in the Perk pool around longevity available.
E.O.D. and Battle Hardened helps reduce the effectiveness of most equipment pieces that enemies will use to gain an advantage. The Ultimate Perk, Survivor, will make you a notoriously difficult target. Remember to self-revive once dropping down to zero, and callout to squadmates for the faster revive.
The Bonus Perk, Resupply, is useful in tandem with the Default Loadout’s Medical Syringe Tactical Equipment, which instantly begins the health regeneration process. Even with a different Lethal and Tactical, Resupply’s ability to recharge equipment will ensure you’re rarely left dry with items that can help win engagements before they begin.
The Field Upgrade in the Default Loadout – the Suppression Mine – is handy when blocking off areas behind you, especially if you plan to mount the Loadout’s included LMG on a windowsill over a strong overwatch point.
Sniper (Sentinel)

This Package is meant to be built for long-range weapon users who want to conceal movement from position to position before gaining incredible Focus and reconnaissance abilities.
Double Time’s Tactical Sprint duration doubling and its crouch-walk speed increase are great for fast and slow repositioning respectively. The Extra Tactical can be great as a utility; in the Default Loadout (relabeled Lone Survivor), the Smoke Grenade can break up long sightlines. Alternatively, in a Custom Loadout, this Perk can be used for Tactical Syringes for healing between engagements, or Snapshot Grenades for spotting enemies holed up in other sniping positions.
Where this package starts to shine is in its in-match earned Perks:
Focus reducing flinch and extending Hold Breath is built for snipers, such as the one included in the Default Loadout. It will be obvious how much this Perk helps once you get into a sniping battle and can better lock in for the elimination.
The Ultimate Perk, Bird’s Eye, is great for spotting enemies at long distances and their directions on the mini-map, especially on larger maps like on Ground War. Combined with the ever-useful UAV, the Sniper Package can start picking apart squads with ease once Bird’s Eye is available.
Meta Multiplayer Loadouts – Beta Tactics

Once you get past the Default Classes, now we begin to talk about the Meta…
Or do we?
Again, outside of those Beta Rewards, the Modern Warfare II Beta does not have its progression carry over to the main game. So, the meta for the Beta is as follows:
Treat this like a testing ground, because the Beta is one in its very nature.
This is your ultimate chance to try out the game, see what works, and strategize for the full game without breaking that sweet K/D ratio or any of those other precious stats.
For that reason, we are also going to not recommend any Custom Packages; because some Perks unlock later than others, these Packages are great to get used to when levelling up. Still, we encourage you to see the personal gaps in the Default Packages, as well within the loadouts at large, and fine tune them to make them your own meta-ready builds.
For the full game, expect insights on Custom Packages, early level recommendations, and recommendations for when you have the entire arsenal at your disposal.
Meta Multiplayer Loadouts – Recruit
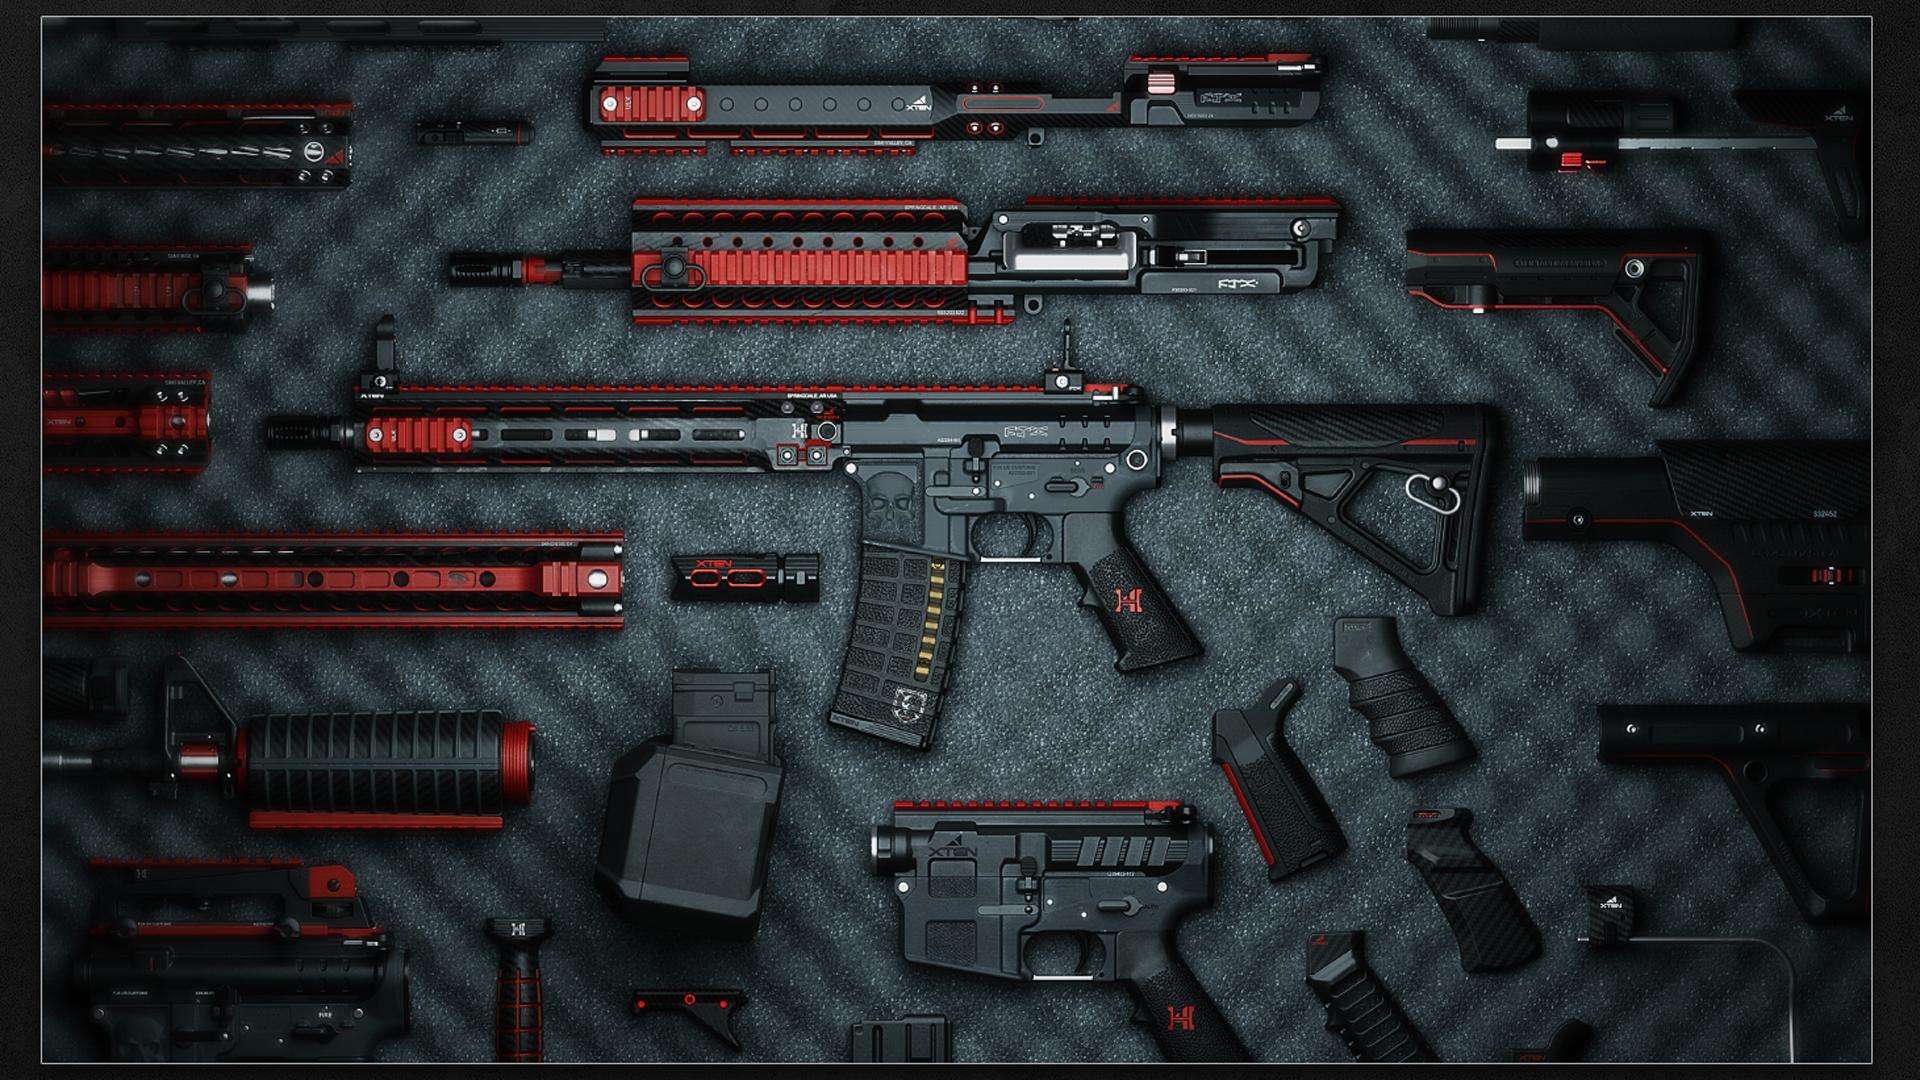
General Advice: Use the Default Loadouts
At least in the Beta, there is no need to jump into full-on customization right when you unlock Custom Loadouts.
Because progression does not carry over into the full game outside of Beta Rewards, the Modern Warfare II Beta is your opportunity to see what Call of Duty is like. And the six Default Loadouts are built for a cross-section of best practices for each of the six Perk Packages.
In fact, some of these Loadouts – especially the Lone Survivor – Sentinel and Deadeye – Stalker – use weapons from Weekend 2 and others with no unlockable Gunsmith attachments for the Beta. That means they are the best versions of these weapons to use in the Beta, with no customization necessary.
Use these Default Loadouts to learn what your playstyle is – we recommend these three for those just starting out:
- Assault-Rusher – This is the first Loadout you can select for a reason. Ideal for short-to-mid range engagements, which are the most common in the game, using an M4, which is easy to use after learning its recoil pattern, and a Shotgun. Hardline is here to make Killstreak earning easier, and Battle Rage should be used before an engagement to potentially stay alive.
- Support-Sentinel. It’s built for players who have a tough time staying alive in FPS games. The LMG has tons of ammunition and is incredibly easy to control recoil wise. The mines are great for protecting yourself, and the Perk Package makes you extremely hard to put down. Don’t be afraid to try out the JOKR and Tactical Camera – they may take time to learn, but show how much doing actions outside of the traditional point-and-shoot can open up tons of cool strategies.
- Deadeye-Stalker. If we could recommend it to all skill levels, we would. Using the Lockwood MK2 and Fennec 45, not available until Weekend 2 where it can’t even use attachments in Custom Loadouts anyways, is an absolute blast. The Perk Package is incredibly for new players too, as Strong Arm shows equipment paths, Quick Fix regenerate health quickly, and High Alert is superb for players who may not have perfect awareness right away.
And, whether it’s in the Beta or the Full Game, take your time to eventually come into the Multiplayer Loadouts screen ready to build these beats:
#1 – Your First Loadout

Primary Weapon: Cinder M4 (Assault Rifle) –Tempus Hightower 20” Barrel, SZ Reflex Optic, Corio Precio Factory, Sakin ZX Grip, 45-Round Mag
Secondary Weapon: Expedite 12 (Shotgun)
Lethal/Tactical: Frag Grenade / Flash Grenade
Perk Package: Deadeye
Field Upgrade: Munitions Box
This is a perfect first loadout for first-time players, as it closely mirrors the first Default Loadout for an incredibly easy build.
The only thing you need to unlock is the SZ Reflex Optic, which is the first level up for this Platform. Everything else is pretty much ready to go with the FJX Cinder, or already unlocked at Level 4.
Our goal is to give you as little recoil as possible with the Primary Weapon – you can learn how to control this weapon’s recoil by adjusting aim downwards when it kicks up – and as little barrier to entry when seeing the enemy. You may find it easier to fire than the M4 in the Default Loadout, albeit with slower handling.
Just like the Default Loadout, you can use the Expedite 12 to get out of jams at short ranges.
As we get to the rest of the Loadout, we start changing things up: the Frag Grenade and Flash Grenade are gold standards for equipment. Learning how to use these two with the Deadeye’s Strong Arm Perk, which shows their trajectory when thrown, is learning the fundamentals of the game.
Speaking of Deadeye, this Perk Package is great for new players who stay in a match long enough to get its Bonus and Ultimate Perks. Having better healing capabilities and a “sixth sense” with High Alert can be great for longevity, as well as learning two crucial lessons: fully heal whenever possible, and keep that head on a swivel for enemies.
The Field Upgrade is great for when you run out of ammo, or to assist a fellow squadmate who needs some. Remember to drop it in a safe place, lest it blow up and cost you a life!
This gives a great introduction to creating a Multiplayer Loadout. From here, you can experiment with the FJX Cinder Platform. Want something more accurate? Go for the M16 or FTac Recon. Fancy close-quarters play? Unlock the FSS Hurricane and wreck havoc with that SMG.
#2 – Your Second Loadout
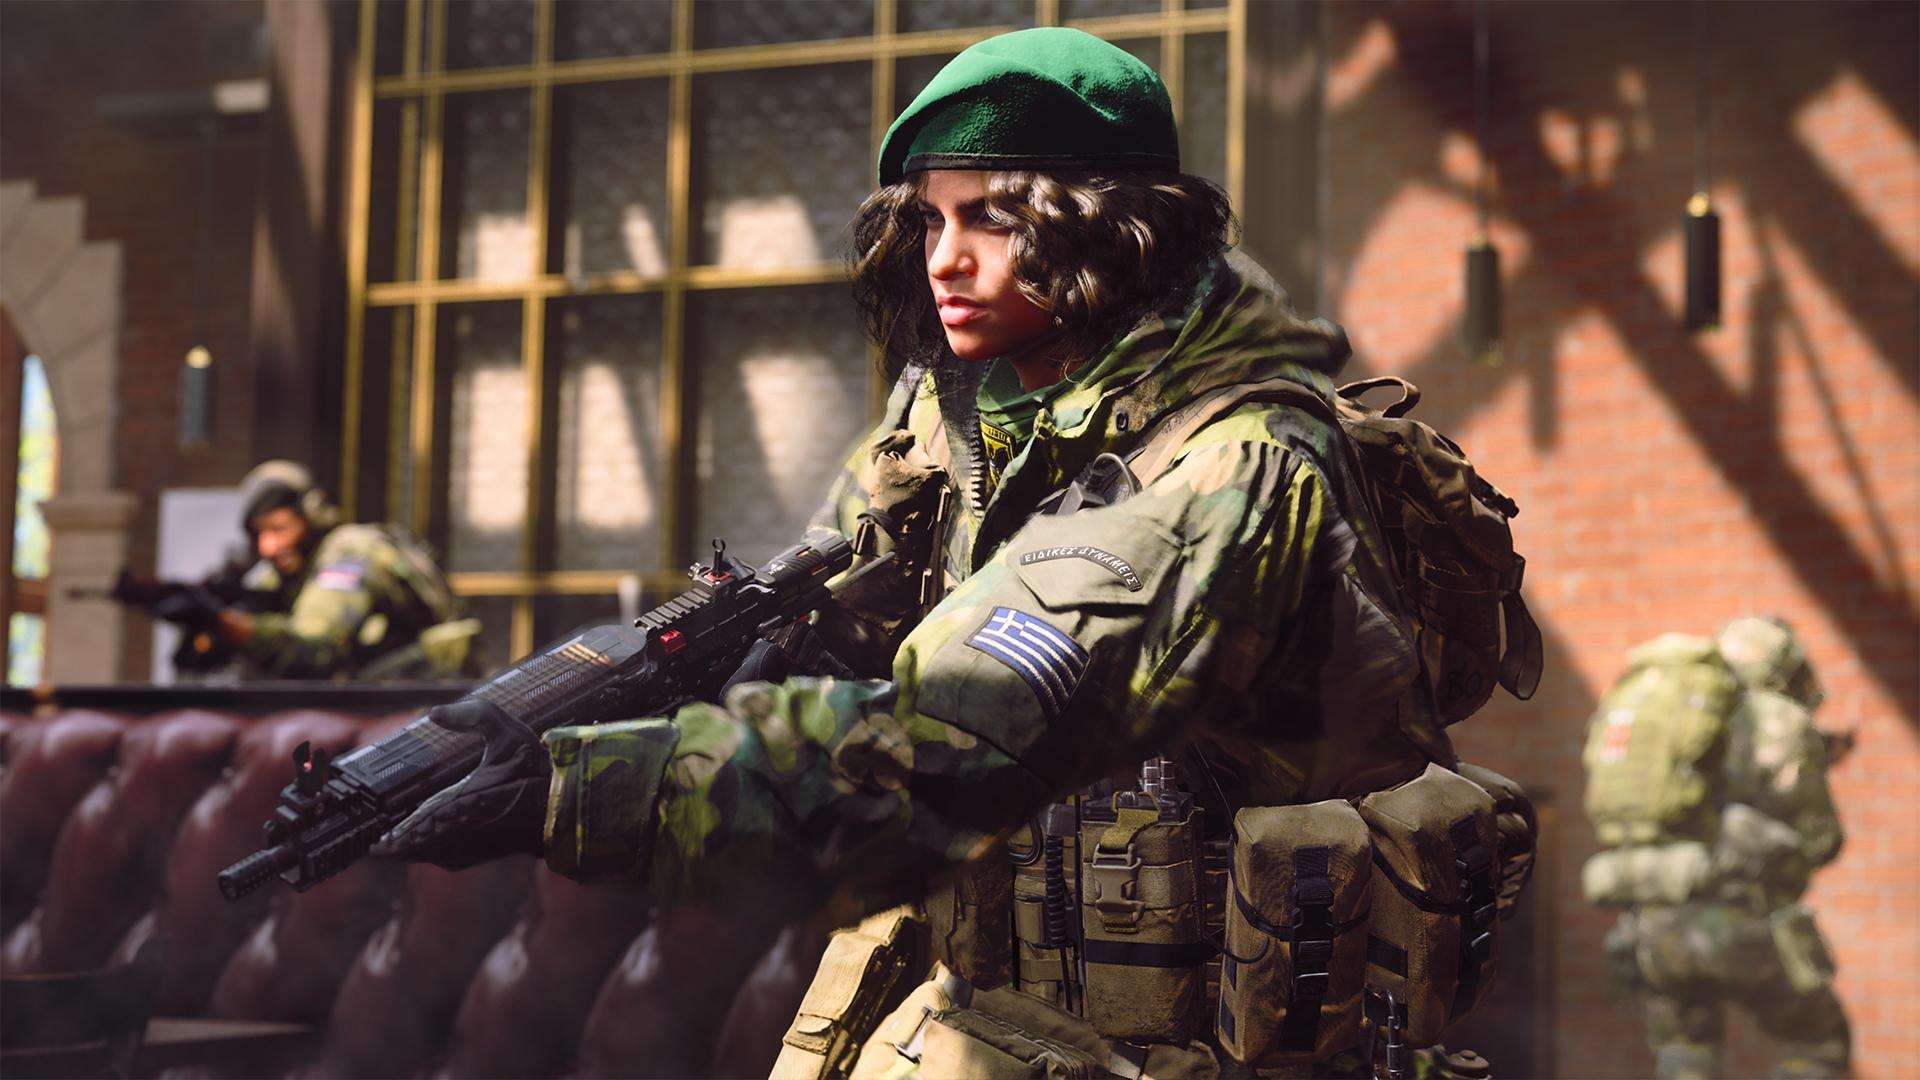
Primary Weapon: Cinder M4 (Assault Rifle) – Tempus Hightower 20” Barrel, Demo Precision Elite Factory, Sakin ZK Grip, 60-Round Mag, 5.56 Armor Piercing
Secondary Weapon: PILA (Launcher)
Lethal/Tactical: Claymore / Stim
Perk Package: Deadeye
Field Upgrade: Anti-Armor Rounds
Over time, your Multiplayer Loadout will have more customization options.
So, after getting used to building a loadout while levelling up, why not be a more helpful member to the squad while still using manageable weapons?
By now, you should get comfortable with the M4’s iron sights and may be able to swap attachments, such as the Stock, to something a bit less bulky. Learning how to better use the M4 over time and control its recoil allows you to use attachments that grant utility like the Armor Piercing Ammunition. It can be helpful against Killstreaks and Vehicles, and it only becomes better when you get those Anti-Armor Rounds from the Field Upgrade.
Another anti-technology weapon is the PILA, which is a launcher that locks-on to Killstreaks and Vehicles if you aim with it long enough over them. After firing, it will automatically track towards them, most often blowing them up.
All the above is helpful across all modes, as being a squadmate that takes out Killstreaks means levelling the playing field for the rest of the squad. It’s also awesome in Ground War: if you struggled against non-infantry threats there, what this Loadout does is give you multiple options at countering them.
The rest of the Loadout is about survival: the Stim is great for healing quickly after taking damage, the Claymore is good against vehicles in the road or in a doorway to watch your back, and the Perk Package is awesome for longevity.
Meta Multiplayer Loadouts – Veteran
#1 – Will-o’-the-Wisp

Primary Weapon: Cinder Hurricane (SMG) – FSS-X7 Barrel, Forge-Tac Ripper 56, 4Mw Laser Box, 5.7x28mm Hollow Point, Demo Quicksilver Collapsed Stock
Secondary Weapon: X12
Lethal/Tactical: Frag Grenade / Shock Stick
Perk Package: Phantom
Field Upgrade: Battle Rage
Ready to go stealth? While the first weekend and early levels do not have as many options, we can still put together an incredibly Loadout thanks to the FJX Cinder and its SMG configuration.
The above 50-Round SMG is outfitted for stealth CQB combat, with the FSS-X7 Barrel having an integrated silencer to keep your sound signatures off the radar. The other attachments make it nimble and extremely accurate when hip-fired; in addition to dealing with threats at mid-range, this weapon is perfect for clearing out rooms.
After doing so, feel free to swap the X12 out for a better secondary. Alternatively, once you unlock the special “Side Impact” Handgun in during Weekend 1, chuck it in this class for a solid backup plan if that first engagement goes loud.
Other than the Phantom Perk Package, everything else is a fairly generic CQB Loadout for versatility, right down to Battle Rage for giving that sweet adrenaline rush.
Feel free to change this Loadout out with the Lacchman Sub, by the way. That one has a barrel with a built-in suppressor and might be a competitive favorite in general, barring any gentleman’s agreements.
#2 – So-Called “Sniper Package”
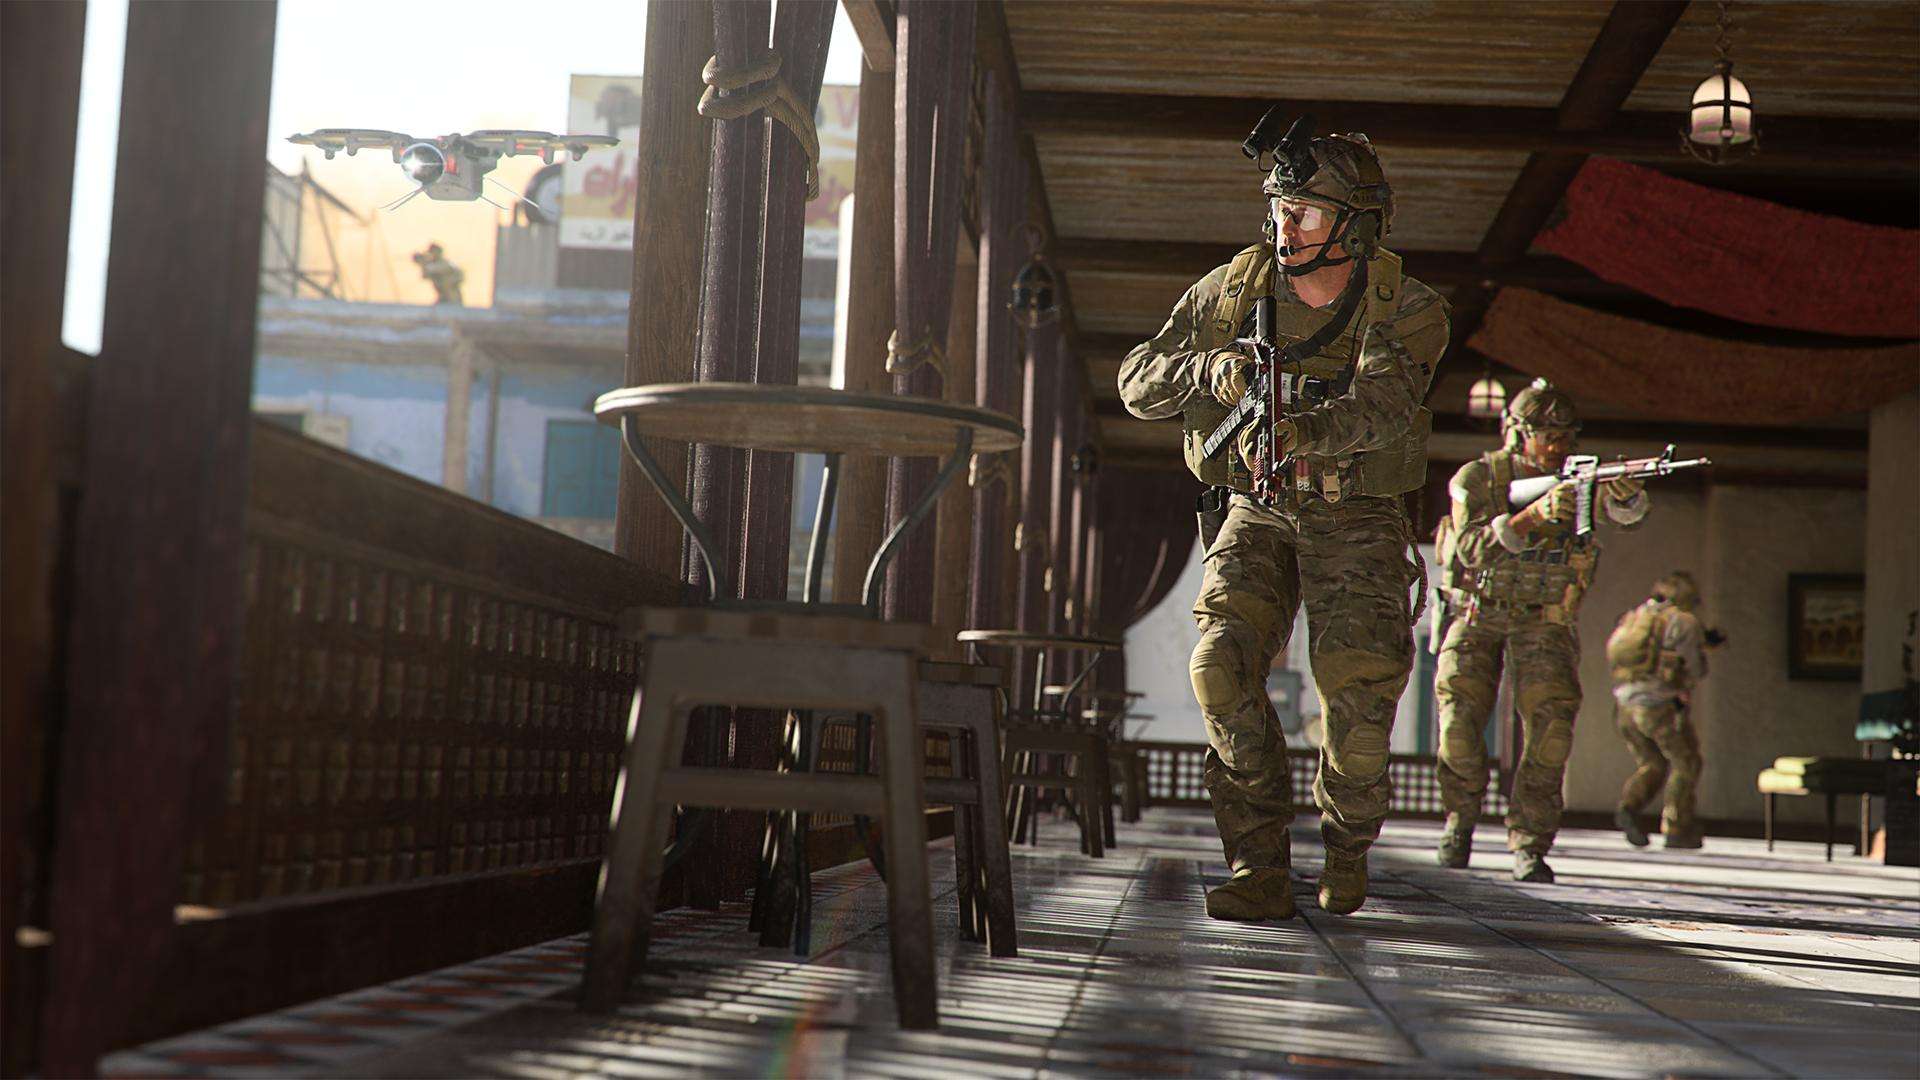
Primary Weapon: Cinder Recon – Forge-Tac Dreadnaught Suppressor, Bull Rider 16.5” Barrel, Schlager 4X, Ordnance Ravage-8, XTen Grip
Secondary Weapon: X13
Lethal/Tactical: Thermite / Decoy Grenade
Perk Package: Sniper
Field Upgrade: Tactical Insertion
Another strong member of the FJX Cinder family is its Battle Rifle, a weapon that can one-shot headshot enemies easily or take them down within two well-placed chest shots.
This configuration maintains some semblance of mobility while mitigating the weapon’s otherwise unruly recoil. An Operator could hang back and look for headshots, but we’re going against the “Sniper Package” designation and encouraging aggressive play.
Use Double Time to get into positions quicker, the Extra Tactical to chuck those with ease, then reap the rewards of less flinch with Focus and an extended mini-map with Bird’s Eye. We wanted a Loadout that only gets stronger as the match progresses, and since some players don’t expect to face such a versatile Battle Rifle at the beginning of matches, this entire Loadout is built to shock and awe.
The other Loadout piece of note is the Tactical Insertion, which requires some map knowledge to use effectively. Dropping it far beyond enemy lines, especially on a big map like Valderas Museum or in Ground War, can allow you to truly command the battlegrounds with an unexpected spawn point.
As for the Secondary, like the other Loadout, we recommend dropping it for an enemy’s weapon as soon as possible.
And for the Thermite, its utility around objectives, against vehicles, or being put on an enemy player make it a strong choice no matter the loadout for a bit of utility.
#3 – Becoming the Ideal Squadmate
Primary Weapon: Cinder Icarus – Forge-Tac Castle Comp, FTAC Coldforge 16” Barrel, 5.56 Armor Piercing Rounds, 100-Round Box Mag, XTen Grip
Secondary Weapon: JOKR
Lethal/Tactical: C4 / Shock Stick
Perk Package: Hunter
Field Upgrade: Trophy System
So, you’re ready to step up to a higher caliber of helping the squad.
Using the FJX Cinder’s LMG variant, which uses 5.56 ammunition for a fast-firing, low recoil weapon, you can engage against a variety of enemy threats rather than just infantry.
You can also swap that LMG out for the Lachmaan platform’s LMG, which is of a higher caliber. That makes it better against vehicles, but as a result, it has a slower rate of fire.
The JOKR is similar: this rocket launcher can either target a specific point to eliminate multiple enemies at once, or lock on to a Vehicle or Killstreak to attack them directly.
The equipment pieces and Field Upgrade are also selected to handle a variety of combat scenarios. For the C4, it can be tosses towards an enemy or planted on a wall for them to eventually run past. Alternatively, it can be stuck onto an enemy vehicle – preferably, somewhere out of plain sight – as a trap.
As for the Shock Stick, it does well against enemies or can fry their vehicles for a few seconds. The latter is useful when they are speeding past and about to hit a trap, such as a C4, or a wall, which could cause their aim to be thrown off.
Then, once charged, the Field Upgrade can be a difference-maker in squad or vehicle protection. In small rooms or near objectives, it can block equipment pieces used to start engagements. And when placed on a vehicle, it can act as a buffer against anti-vehicle lethal equipment or even Operator-launched rockets.
The Hunter Perk Package is the closest to what our ideal anti-vehicle and Killstreak set-up is for Perks, hence our recommendation.
No matter the game mode, this Loadout can find its role, but it can be especially useful in Ground War. With so many ways to take out vehicles and Killstreaks, it can be a true difference maker for score in Invasion, or around objectives in traditional Ground War.
Meta Multiplayer Loadouts – Prestige
#1 – Beta Master Loadout
Primary Weapon:
Frontal Impact Weapon Blueprint (Assault Rifle)
Secondary Weapon:
Side Impact Weapon Blueprint (Sidearm)
Lethal/Tactical: Sticky Grenade / Stim
Perk Package: Deadeye
Field Upgrade: Tactical Camera
As a top Call of Duty® player, you will probably reach Level 30 in the Beta mid-way through Weekend 2. After putting countless hours and levelling up the two main weapon platforms of the Beta – the powers of which you’ll learn easily – you are counting down the days to Campaign Early Access and the launch of Modern Warfare II.
Instead of waiting around, we invite you, through these last three Loadouts, to get a head start of what could be the meta of tomorrow.
For completing the Beta progression track, you unlock the Side Impact Sidearm Blueprint (at Level 15) and the Frontal Impact Assault Rifle Blueprint (at Level 30).
Neither of these weapons are Gunsmithable in the Beta, but of course, they are going to be available in the full game, and these Weapon Blueprints give a great head start on how to use the Weapon Platform they are related to once you unlock them.
The Assault Rifle is a great mid-range weapon. Its fast fire rate makes misses forgivable and multiple direct hits a quick way to down groups of enemies. The Sidearm is a gold (or in this case, green) standard for close-quarters situations. Use it when rounding corners or in tight spaces where even the fast-firing rifle can be uncomfortable.
When it comes to the Field Upgrade, the Tactical Camera is one of three “easy to use, incredible when mastered” choices that may take time to find its full potential. After running through these maps dozens upon dozens of times, you’ll begin to find the spaces where a Tactical Camera placement can cover several lanes or constantly target enemies while remaining relatively out of plain sight.
The rest of the Loadout is the writer’s personal preference for equipment; the sticky grenade has its use as a throw-and-forget bomb against enemies, while the Stim re-invigorates your Operator for a more fast-paced style of play.
#2 – Phantom Ready for Launch
Primary Weapon:
Fennec 45
Secondary Weapon:
X12
Lethal/Tactical: Throwing Knife /Stun Grenade
Perk Package: Phantom
Field Upgrade: Smoke Airdrop
These final two Loadouts are for those players asking, “what’s next?”
Already, this Beta should have taught you the power of two of the game’s largest platforms (the M4 and Lachmann). During the second Weekend, everyone will have an idea of the Day One Meta being on those two weapons, plus the Beta Rewards.
But you, the Operator always striving for Prestige, are willing to sacrifice a bit of pride – that Beta K/D doesn’t count towards the full game anyways – to start seeing where you can zig where others zag.
If you fell in love with the Deadeye-Stalker Loadout, you may already be eying the Fennec 45 with its built-ability to hide enemy skull markers from kills. Strip away its attachments, however, and you’ll be working with its absolute basics.
Learning its core strengths and weaknesses – its rate of fire, damage drop-offs, handling properties, reload times, and dozens of other stats – is crucial to seeing where it can be improved. Those improvements are also totally up to the user; if its base recoil is manageable in your opinion with your skillset, then it may not be worth putting on a ton of recoil-reducing attachments down the line unless its meant to manage other attachments that add more recoil.
And with a couple alterations to the Phantom Perk Package, the one we recommend as a starting point, you can start to see how this weapon was basically built for keeping a low profile.
The experimentation with the Fennec 45 also applies to the X12. Nothing can be put on it now, but knowing how it works as its absolute base will be essential to knowing what can be improved with attachments.
For equipment, we encourage you to get used to using the Throwing Knife. As a one-hit kill in Multiplayer, it can be an unexpected way to get eliminations from a distance. However, it takes time to learn how it arcs when thrown, making the Beta a great testing ground for it.
Otherwise, we have the Stun Grenade for you to see how it can be used in different situations compared to the Flash Grenade. There is a tactical difference between blinding and deafening vs. slowing and disorienting – you may want the latter when the enemy’s back is turned or is moving quickly.
We also want you to try out the Smoke Airdrop; it has a steep learning curve, given that it can hurt your allies’ visibility just as much as your enemies, but when used effectively can be an absolute game-changer.
Again, we chose the Fennec 45 due to its unique properties. In terms of non-Gunsmithable weapons, we could have also directed you to the Kastov-74u, but we have a feeling you’ll have plenty of time to get to know that platform with a half dozen Receivers to its name in the full game.
#3 – Cowboy Sniper Ready for Launch
Primary Weapon:
Lockwood MK2
Secondary Weapon:
JOKR
Lethal/Tactical: Dealer’s Choice
Perk Package: Deadeye
Field Upgrade: Inflatable Decoy
Like the previous Loadout, we’re taking a part of the default Deadeye-Stalker – this time the MK2 – and preparing you to use it well once the full game is out.
The Lockwood MK2 is an internal favorite; quick to the draw and highly capable of one-shot kills, it can be a hard force to stop in the right hands. Its ability to make quick follow up shots is strong against groups of enemies, or against those who have more health like a Juggernaut.
The other sniper rifle, the Signal .50, is also worth looking at… But the MK2 is an introduction to the fast one-shot rifles in Modern Warfare II, which some keen-eye community members are excited about.
To that point, we’ll let you simmer on this thought: imagine a Weapon Platform that encompasses four individual bolt-action rifles. You might just have a new favorite to define your Modern Warfare II quickscoping dreams.
The rest of the loadout is up to your discretion outside of the JOKR and Inflatable Decoy, which we highly recommend getting ample amounts of time with to understand how powerful they are.
For the JOKR, it is by far the most complex launcher in the game. Learning the time it takes for it to be fired and make landfall is to understand how to pilot a multi-elimination missile without even needing to earn a Killstreak. Forget trying it against vehicles or Killstreaks, and do the entire squad a favor by figuring out how to pilot it up to every sniping spot in Modern Warfare II to smoke out those who claim to rule the lobbies.
Then there is the Inflatable Decoy – because it can be manually triggered, you can figure out how to deploy it in a way to throw off enemy fire. Over time, you’ll learn where an enemy is more likely to take those additional milliseconds to check and see if that soldier is real or a decoy. Once you do that, you are thinking on a prestigious level of top-tier, high-IQ Call of Duty…


Be the first to comment