
Hey achievement hunters, you managed to get all but one only to realize it requires multiplayer? Well no problem for most people, just get one of your friends to hop on and earn it really quick. That is unless you’re the only one of your friends with a copy, or your friends don’t really want to set aside time to help you out, or maybe you just ain’t got no friends. Worry not, contrary to what a lot of guides will say it is actually possible to get the achievement “TRUSTED” without a second copy of the game.
Trusted Achievement Guide (Single Playthrough)
Installing the Dedicated Server
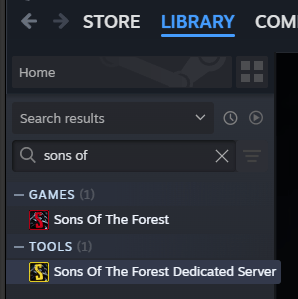
First, we gotta install the “Sons Of The Forest Dedicated Server” tool. Don’t worry, it came with your copy of the game (that is unless you have the oldest copy known to man…) Just search for it in your library:
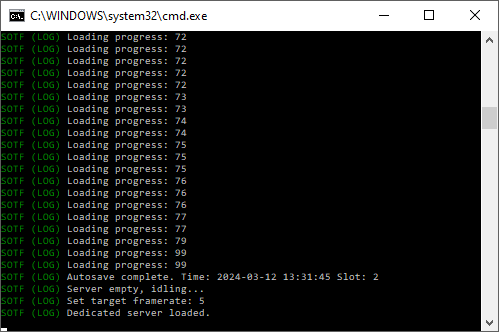
After installing, launch it. You’ll probably have to restart it a few times while it installs files and asks for internet permissions. You’ll know when its good to go when you get the message “Dedicated server loaded.”:
Configuring the Settings
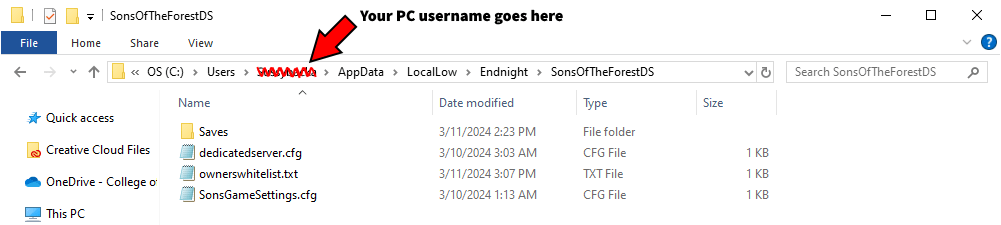
Now that it’s installed and working, we need to configure a few settings. We’re going to head over to where the server installed those files at
- C:\Users(yourPCusername)\AppData\LocalLow\Endnight\SonsOfTheForestDS:
Open the “ownerswhitelist” file and add in your steam user ID:
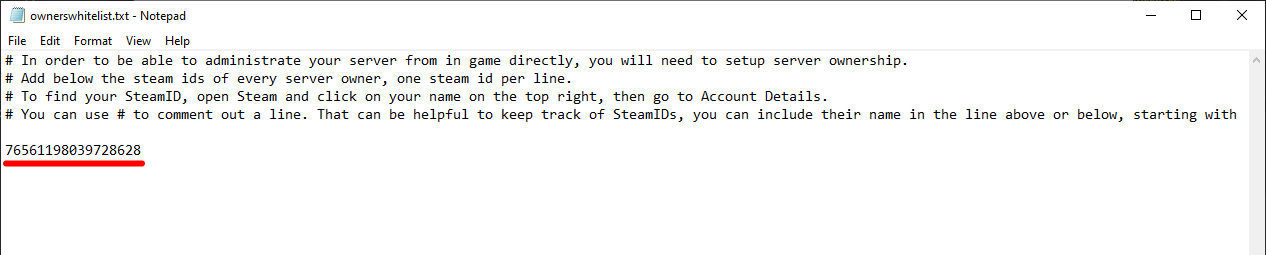
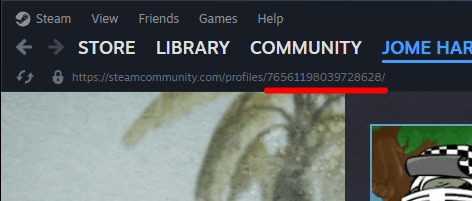
If you don’t know what your user ID is, you can find it in the URL of your steam profile (unless you set it to have a custom URL):
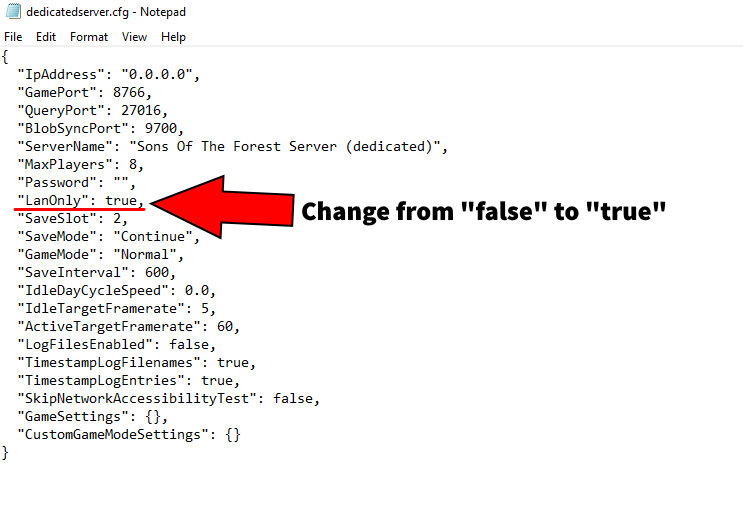
For convenience, and so we don’t have to get into port forwarding, we’ll set the server to be a LAN server. In the same folder that the “ownerswhitelist” file was in, there’s a “dedicatedserver” file. Open it and change where it says “LanOnly” to ture:
Joining the Server
While running the server tool, launch the game and select “join” under “multiplayer”. Switch the source over to “LAN” and you should see that your server is the only one:

Go ahead and join it now.
Making Yourself Admin
Boom, easy enough, right? WRONG.
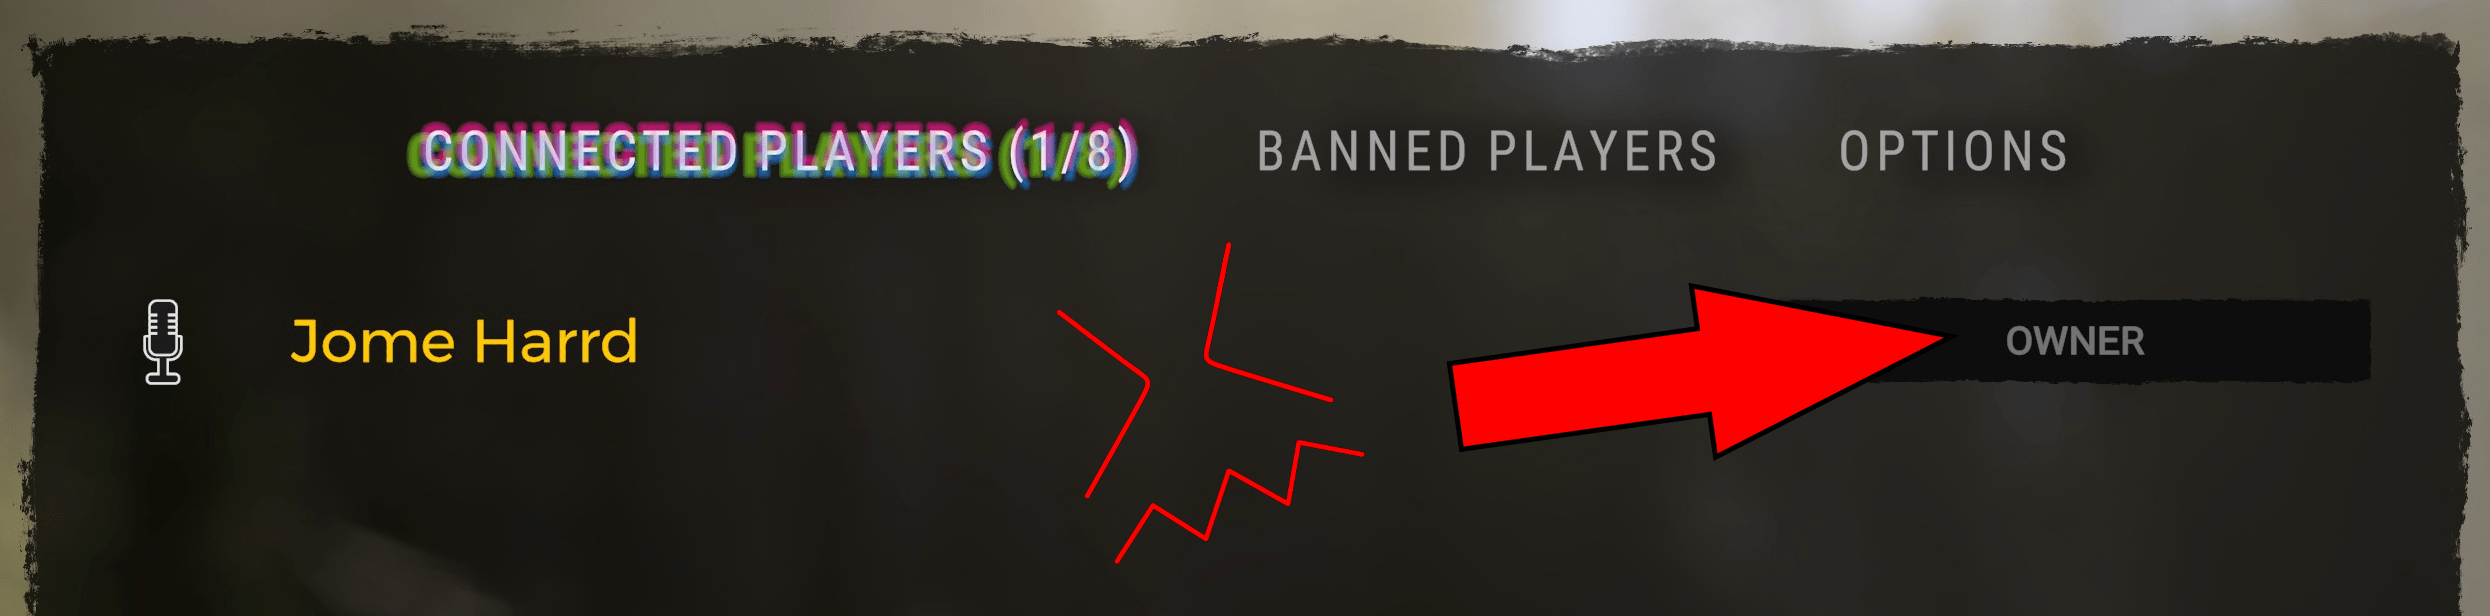
Right now you’re an owner, not an admin, it’s the same as just hosing a game. What we need to do is close out the game and the server, and then remove your steam ID from the “ownerswhitelist” file. The server will remember that you have have privileges but aren’t an owner, making you an admin.
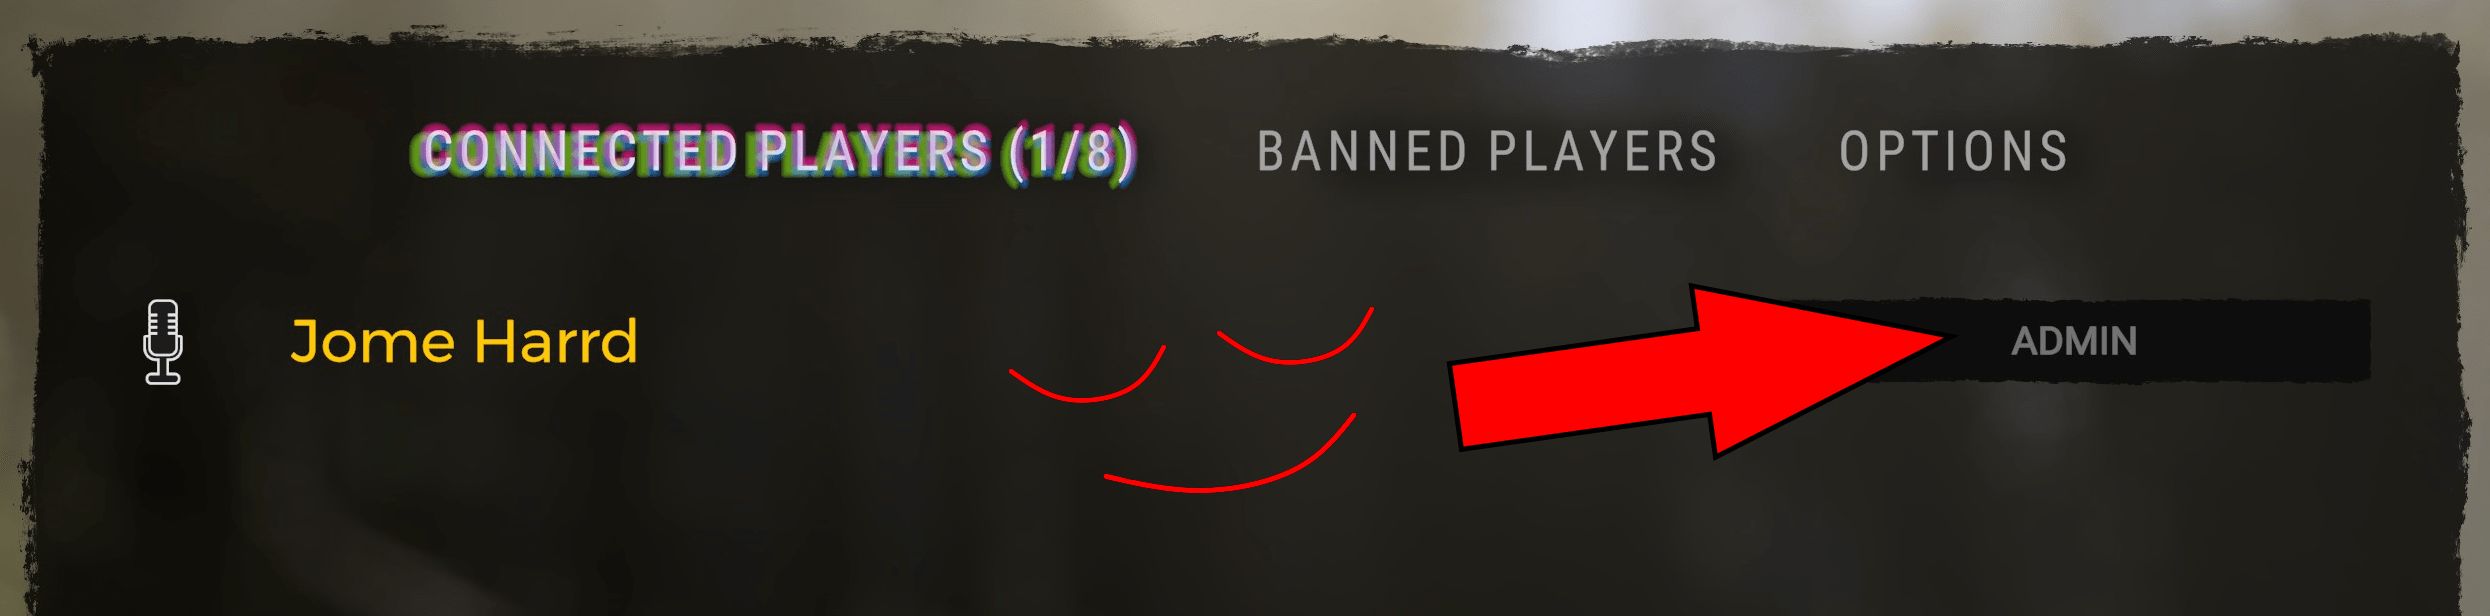
Launch the server again, join it, and bada bing bata boom you’re an admin. Which means you should have gotten the achievement the second you joined.
In Conclusion
If you followed the directions correctly (and if I actually explained them right), then you are now get it, congratulations.


Does it have a bug? It didn’t work for me, even though I have the trusted status and received the achievement.
It is possible; for two achievements, at least, you have to confirm the integrity of the files and then pick up a stick in the game. You could try attempting that on the server. As I did update a step, you might want to think about erasing everything in the “SonsOfTheForestDS” folder and beginning the guide anew. This could potentially help explain some of the issues you’re experiencing.
Simple to follow; I appreciate the tutorial. I had to edit the dedicatedserver file even though the port forwarding issue surfaced before the server installation was complete.