
You ever spend hours watching gravy seals teach impressionable young minds CQB tactics through shortform youtube videos? You ever take what they said to heart and try and apply it to your gameplay with middling results? Not your fault. Games fault. Let me tell you why.
Crack Theory on How the Game Works
Note: Credit goes to Gulp
Alright so you’re dropped in a map. Gun in one hand, stinger in the other. Throbbing, red-faced, and rearing to go. You breach the seal, pie the room, miss nothing and see everything. Then you get decapitated by 7.62×51. Why?
My theory is that upon loading a map each enemy is given a random accuracy value which is persistent and unchanging, within a limit. This value goes from Dope Head to Meth Head to Crack head. Certain enemies like Voll with always have a Dope Head value. At least. I’ve never had him alive long enough to check. But every time he catches me off guard he never hits me.
The first few enemies you see in the map will be caught off guard, they’ll stumble and hesitate. After you’ve shot them all the other enemies get a clue and take positions. You step through a door and your fate is decided by which accuracy value the enemy has been assigned.
You can try and augment this by using grenades and C2 but more often than not they will have little effect and you will get shot anyways.
The game is essentially a series of dice rolls. Enemies do not need to point their weapons at you to hit you, enemies do not need to see you to hit you or know your pinpoint location. Enemies in pain states can still hit you with accuracy dependent on their assigned accuracy value. Enemy animations and models are a pantomime. Imagine an enemy as a pair of eyes and mouth that can see through walls and launch bullets from their mouths. Only then will you understand what an enemy is. Mechanics like door opening and weapon compression do not apply to them. Don’t even get me started on the player damage model.
So what do you do?
How to Rout the Enemy
As mentioned before grenades and C2 will have some but little effect on the enemy. An enemy has to be directly on a grenade in order for it to take effect, but only sometimes. I’ve had terminators eat grenades to the face like sparks on the exposed eye of an experienced welder. C2 will vary from making every enemy in the room fake death to a light jumpscare.
You ever see those videos of those high speed gamer operators tear down a map like they’re God’s gift to the special forces? What they don’t show is all the attempts that didn’t go so well. The only tactics from them you really need are pie slicing and corner checking. The former just to limit how many bullets fly into your vitals.
There is only one tactic that will increase your odds tenfold. Just one. All that other crap you know and practice? Fake. Isn’t real. Tactical placebo.
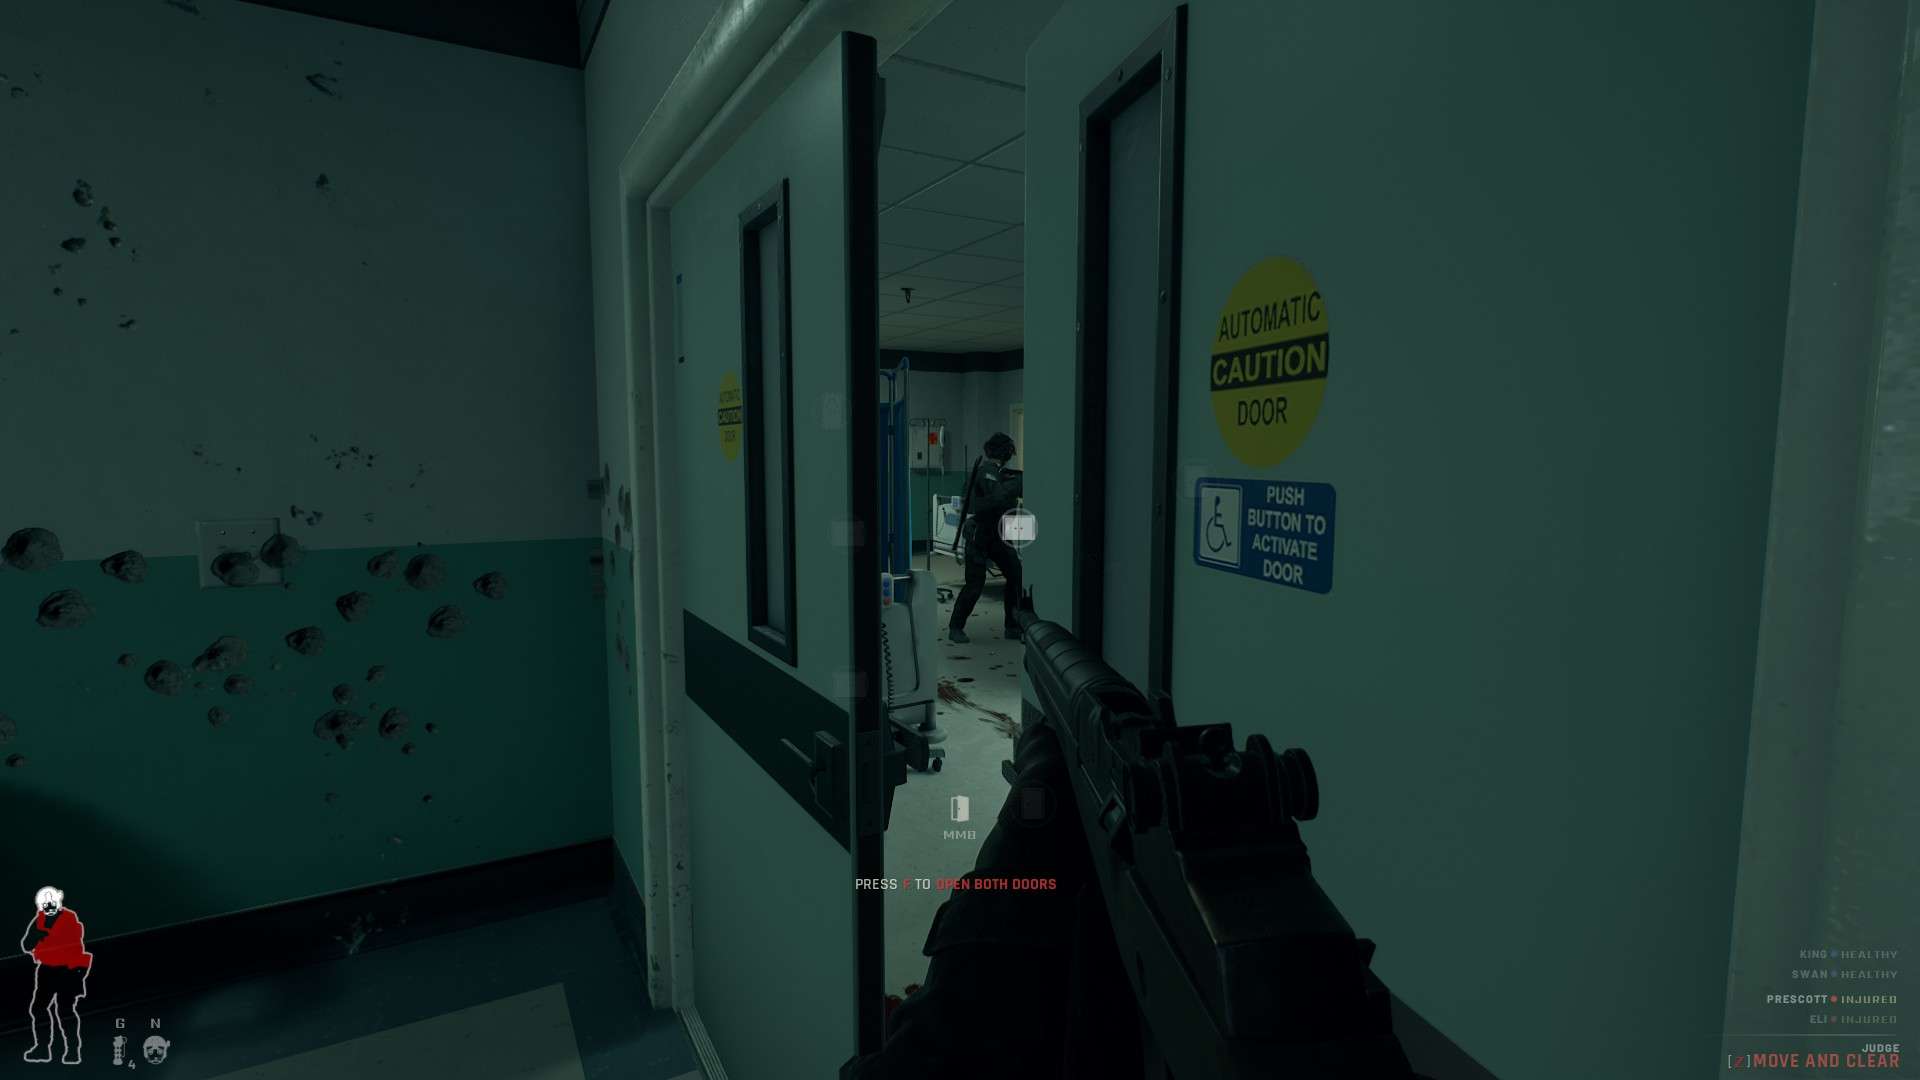
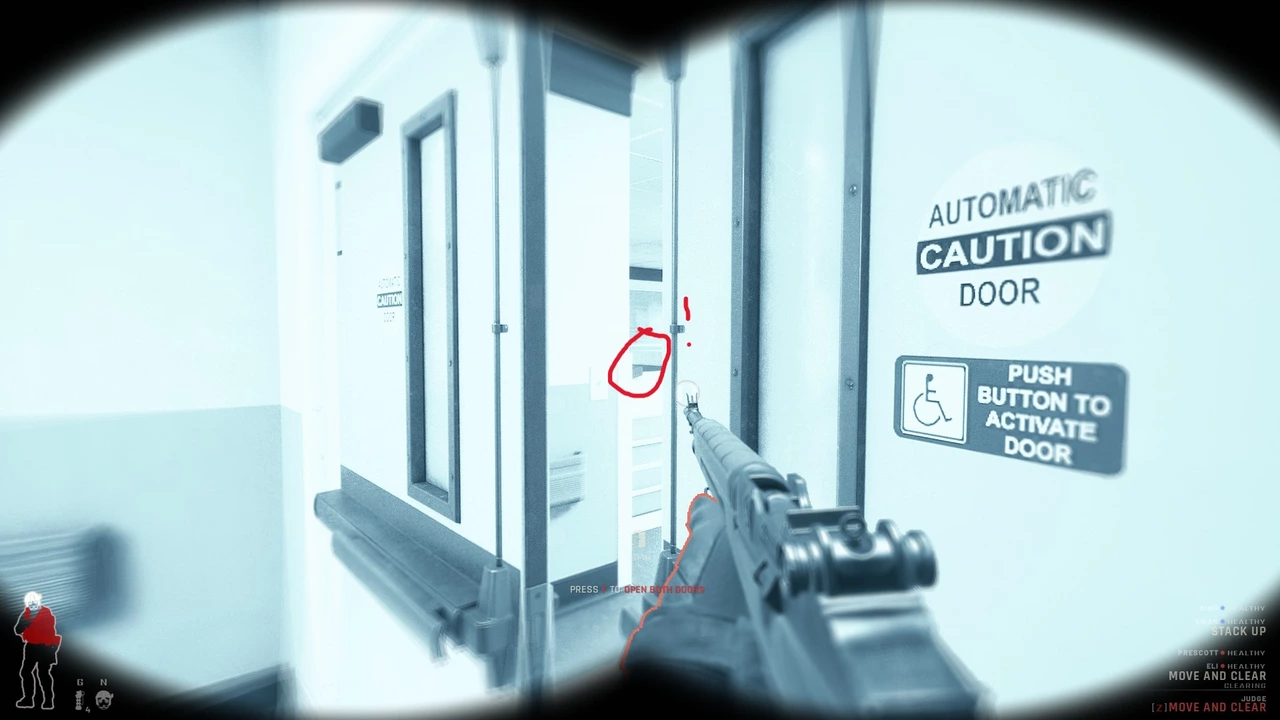
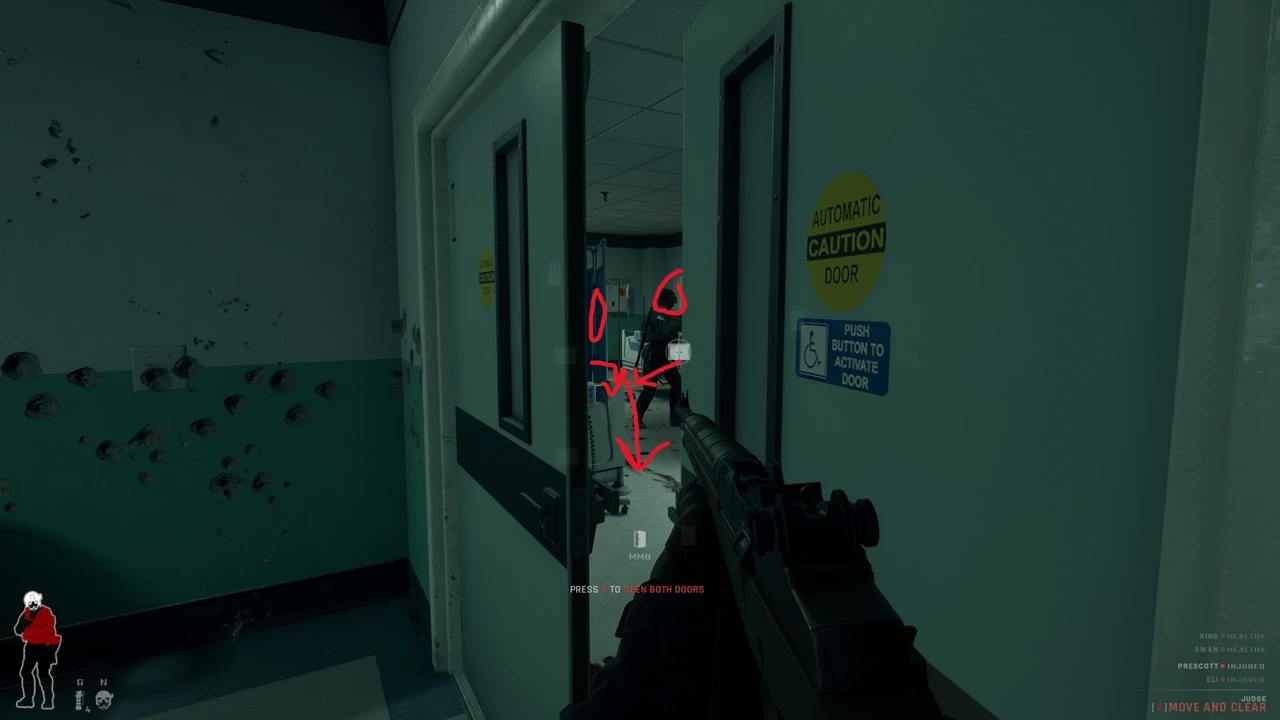
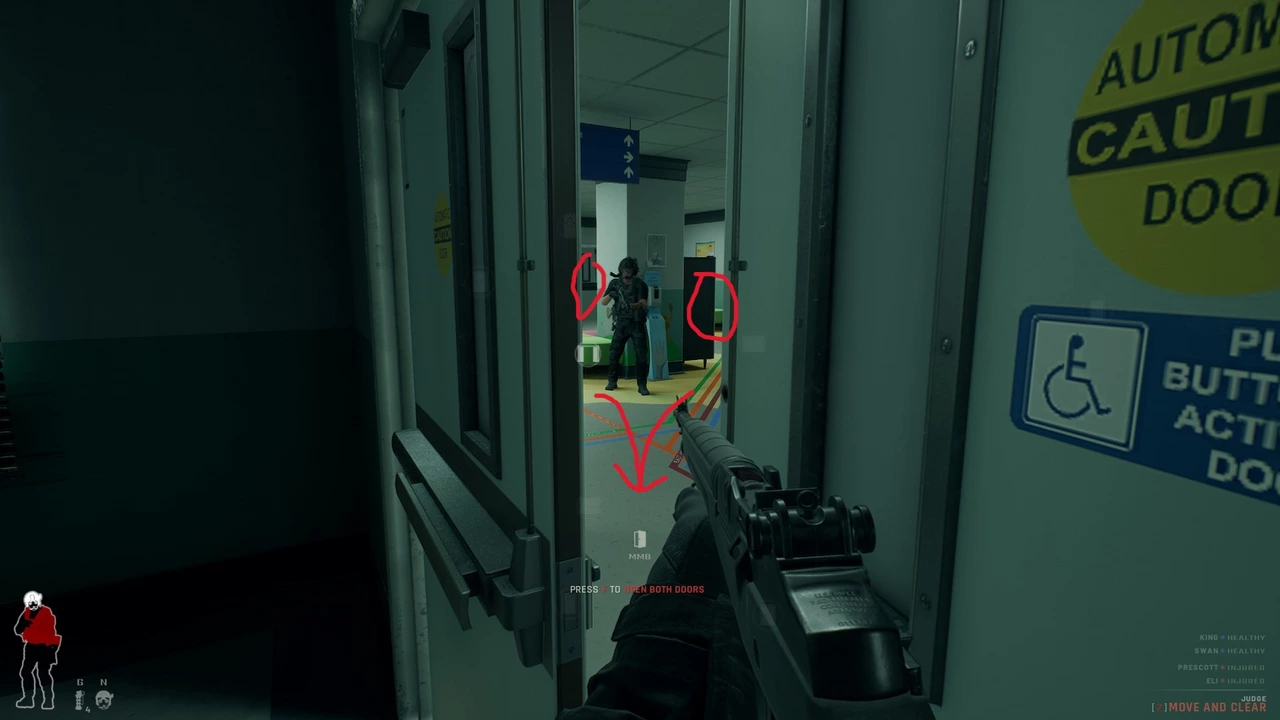
Door peeking. Reduces enemy detection speed, vision, and damage potential by a stupendous amount. All double doors on hospital have amazing degrees of utility for they all extend into vital angles. You can get into the corner behind the counter on the second flood ending the enemy’s ability to blind fire endlessly. You can lure out at least five enemies on the double doors on the main stairwell second floor.
You can run around like John Call of Duty or you can slow walk everywhere like the fat american cop the game portrays you as and you will have about even odds of success. You know those jerk offs in public lobbies that get killed by the first trap on Brisa Cove? Non factors. You know those guys who refuse to use a mirror gun because its not realistic? Walking bullet magnets. Using this one tactic will put you above both groups by orders of magnitudes.
Isn’t fool proof. You still need friends to watch your back. I know you don’t have those. But if you can finnagle the AI to watch a doorway they’ll work 100% of the time 70% of the time.
Is that the only tactic you’ll need? Yeah. My sources? Me. I have never been know to be wrong. Source for that statement? Me.
- Floor 1 east deathtrap room. Not a guaranteed pick but useful for the bullshit pillar.
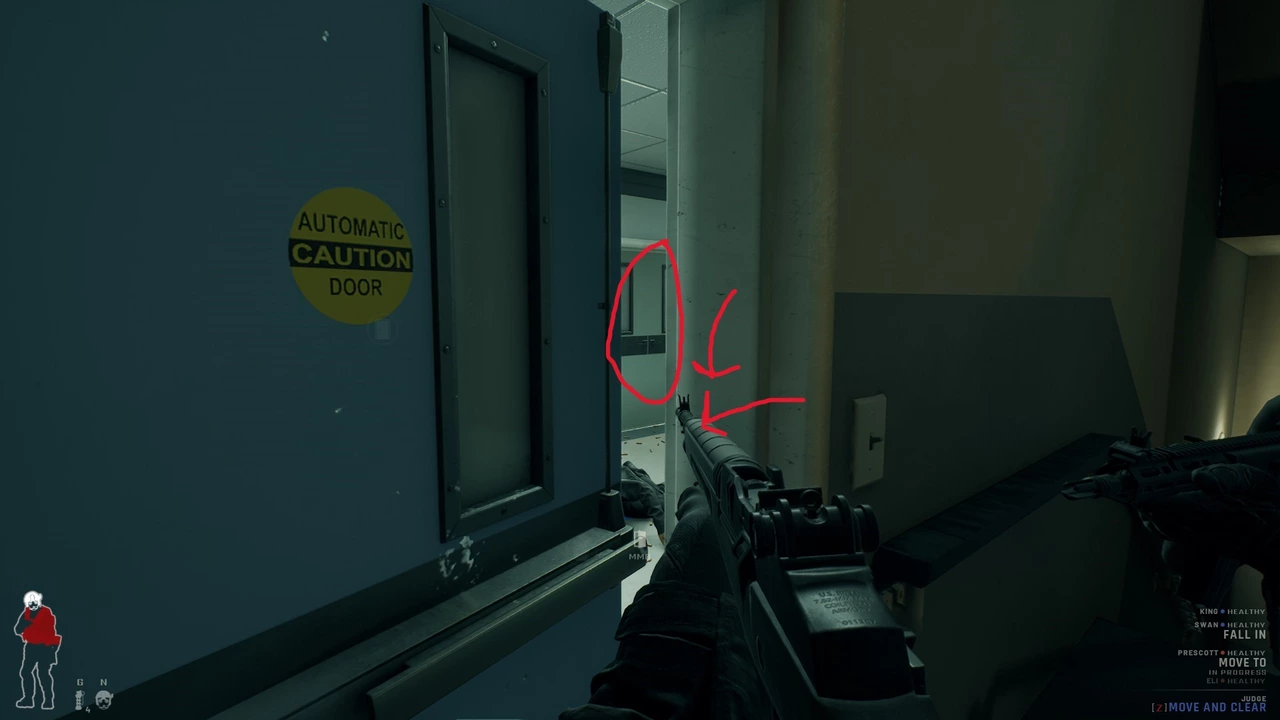
- Hospital floor 2, alternative stairwell. Will guarantee 1-3 picks if lured.
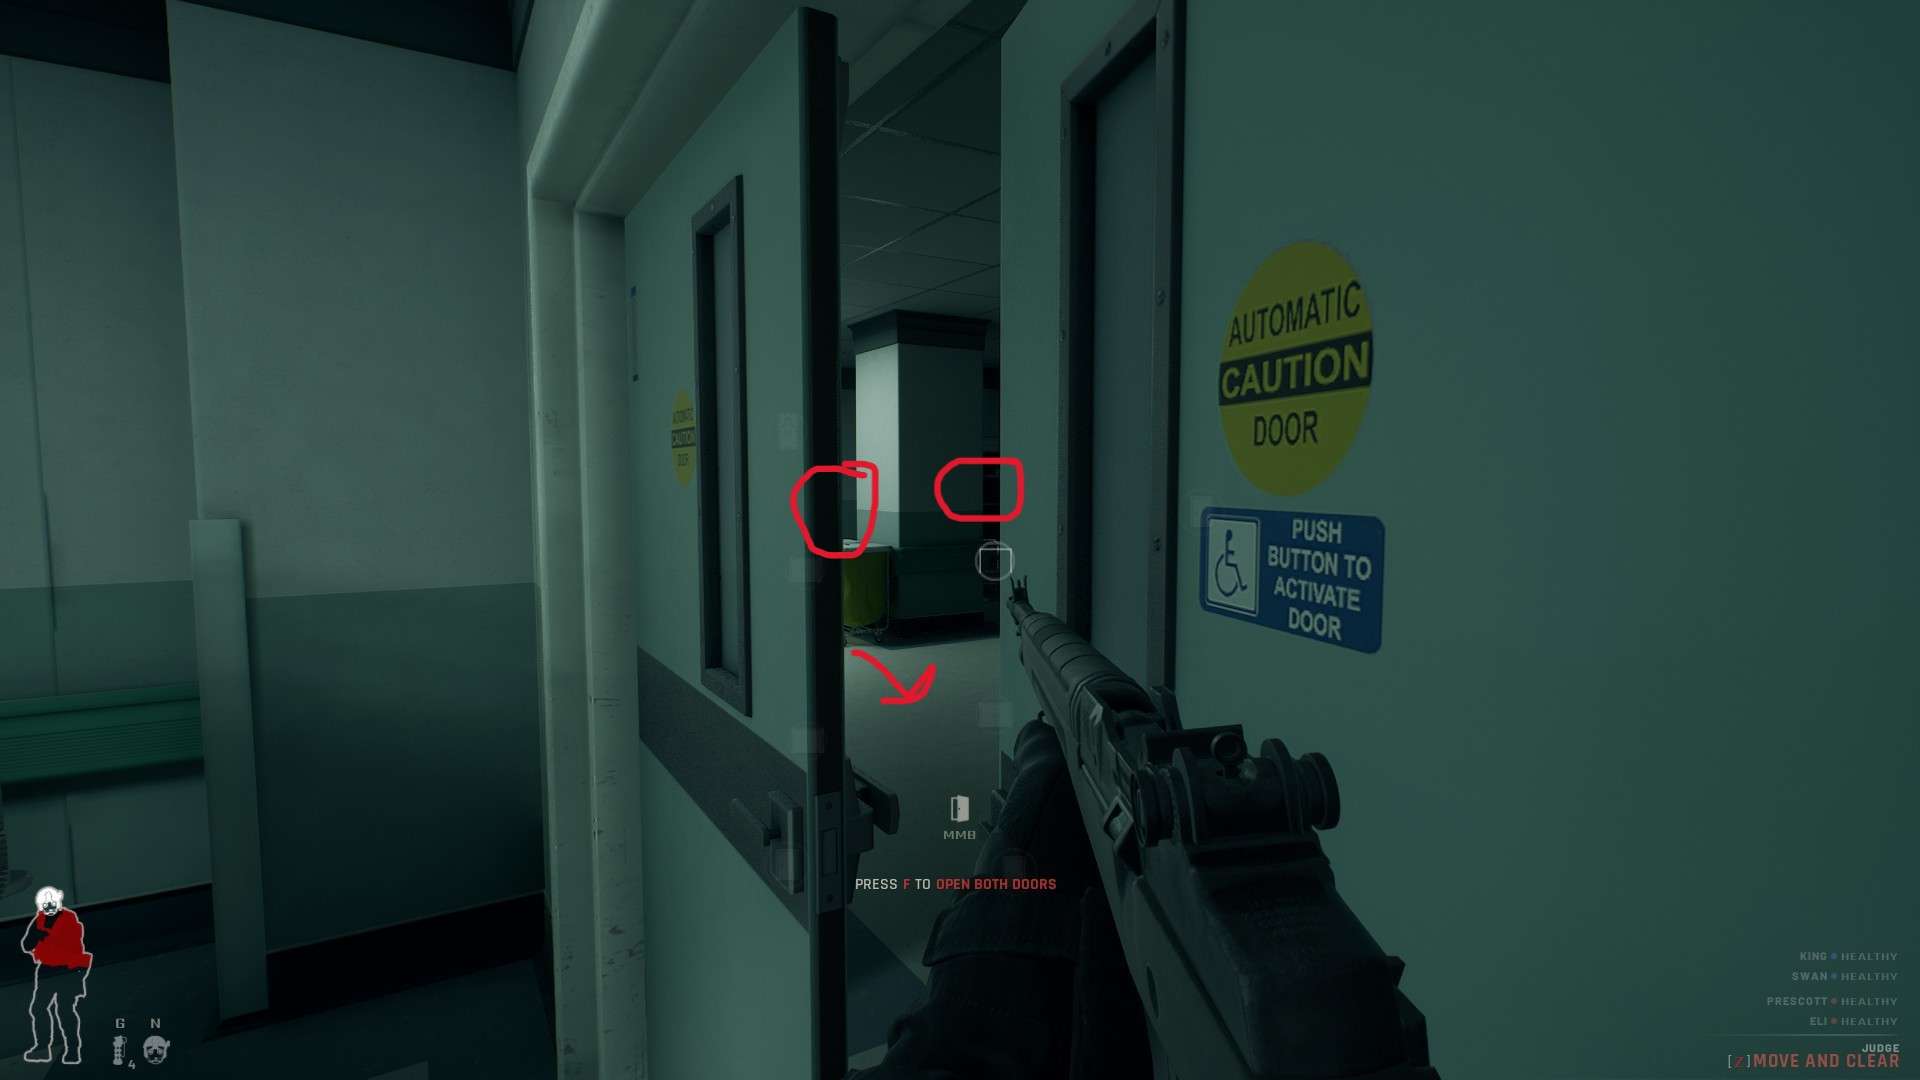
- Hospital floor 2, past main stairwell. Enemies will hide behind this desk and are hard to pick from other angles. This guarantees they can’t hide here.
- Hospital floor 2, past main stairwell. Useful for flanking enemies after you eliminate desk guy from previous image.
- Hospital floor 2, past double doors. Excellent vantage of whole room.


Be the first to comment