Chapter 1 – Shot In The Dark
Note: There are 7 Collectibles in Act 1: Chapter 1
After the opening cinematic, you’ll gain control of JD. Repel down from the helicopter alongside Del, Marcus, and Kait, then touchdown in the water below. Head up the slope to the left, then follow it around to the right, mantle up the ledge, then follow the path until it leads into the ruins.

Continue through the dark ruins and you’ll soon reach a checkpoint, and the corridor will collapse. Drop down onto the ledge on the right and continue to reach a lush area, where you’ll learn how to get Dave to retrieve distant objects (by zooming in on objects, then holding the X button)
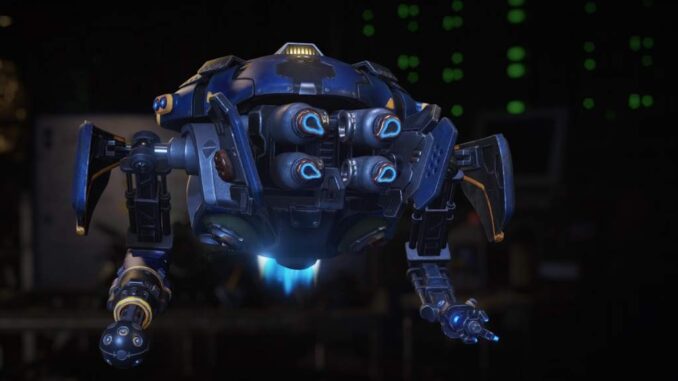
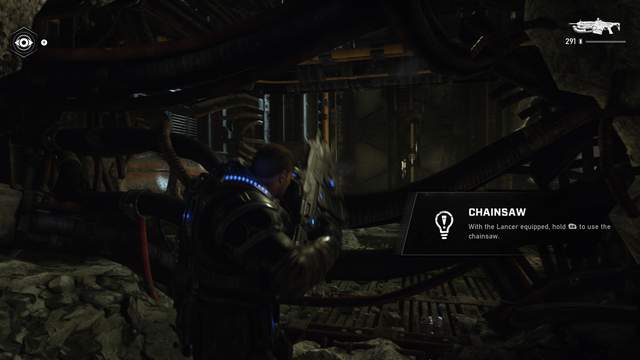
Continue through the structure through the path on the left, then use your Lancer to cut through the cables barring your way. Continue through the ruins, then have Dave ping the area (using the Y button) to reveal the location of nearby Swarm.

Note: In Gears 5, you’ll have plenty of opportunities to sneak up on enemies and take them out, without being discovered. Use these sneak-attacks to gain the upper hand before combat even begins.
Sneak up behind as many as you can, assassinating them from behind (with the B button), then take cover once you are discovered and take the rest out. Tip over one of the shelving units if you need more cover.

After dispatching the Drones, move through the area and help Kait lift up the heavy grate, then drop down into the next area. You’ll soon be ambushed by a pair of Grenadiers, so take cover, take them out, then proceed.
A nest will open up in the next area, so throw a Frag Grenade into it to seal it, destroying nearby Swarm and preventing reinforcements, then clear out the rest of the hostiles. Head left, following the wall, then use your Lancer to cut through the cables and continue.

You’ll soon reach a fork in the road. Kait and Marcus taking the left path to a silo, so head right with Del to explore the next one, lifting the latch at the end of the path to continue.
Drop down into the underground, then continue through the corridor and you’ll soon be attacked by Juveniles.

Use your Lancer to take out the first wave, while advancing slowly. Soon afterwards, a second wave will emerge at close range, so switch to the Gnasher and alternate between it and melee attacks, or use the Lancer while strafing backwards, to clear them out.
Use the same tactics for the third wave, which will emerge from the water towards the end of the corridor. After you’ve cleared them out, ask Dave to open the door on the left side to continue. Walk forward and you’ll start to slide down the chute, so maneuver around obstacles while you slide and you’ll soon reach the bottom.

Duck through the gap and you’ll arrive at another room filled with Swarm, with Kait and Marcus on the other side. Line up targets for Kait (by zooming in on a target and clicking the left analog stick) then take out some with instant-kills, if you can.
Once you are discovered, Kait will open fire and the battle will begin. A nest will soon open on the left side, so save a Frag to close it, then proceed up and to the right and work your way through the ruins.
Note: There is a Boomshot resting against cover on the right side, before the ledge, so take it and save it for clustered enemies to efficiently clear a path.

If you need extra cover shoot down some of the pods hanging from the ceiling as you proceed, and if you run out of ammo, have Dave bring you ammo or new weapons while in cover. As you loop around, Marcus will call out more Swarm and a Carrier will appear.
Carriers are heavily-armored enemies, so if you have any Boomshot ammo remaining, this is the time to use it. The Carrier will open its chest occasionally, dispersing smaller, flying Swarm, so take them out with your Lancer or Hammerburst before resuming focus on the Carrier.
Note: Time your attacks with the Carrier’s opening chest cavity for maximum damage.
If the smaller Swarm reach you, they will deal significant damage and soak the area, so you’ll need to find new cover quickly before you can continue the attack.

Baird will soon ask if you want Tri-Shot Guardians or a Tri-Shot DR-1S for support, so make your decision, then use the extra firepower to finish the Carrier off.
Once the Carrier is dead, head up the slope and you’ll find a locked door. Look through a broken patch of wall just to the right of the door, then send Dave in to unlock it.

After making your way into the compound, take the stairs on the left, then continue to the end of the hallway and head left. Duck under the obstruction and continue to enter an encounter with a Scion.
The Scion will have a disc-launcher, so you’ll need to watch their trajectory to avoid getting caught by a ricochet attack.
Note: If the Scion nears the pillar at the center of the room, shoot the red canister to detonate it and deal heavy damage.
Take out the Scion, then proceed up the ramp on the left and take out any stragglers. The door at the end of the room is locked, so send Dave through the small tunnel on the right to unlock it.

Once the door is unlocked, head through the doorway and into the room on the right. Circle around the desk, then ask Dave to open the safe to obtain the lost data.
Kait and Marcus will then radio they’ve been pinned down in their silo, so head out of the room and across the hall. Open the door with Del’s help to proceed.
Note: There is a Boomshot resting against the wall to the left, so grab it and reload on ammo before you proceed.

Head down the hallway to reunite with Kait and Marcus, help them take out the Scion and clear out the rest of the Swarm, then head down to the control console and ask Dave to initiate the launch and enter a cutscene.
After the cutscene ends, move to cover on the left and take out a few of the drones, then locate a port across the gap and ask Dave to access it and lower a platform, so you can cross. Take out the rest of the enemies on the next platform, then cross and repeat the process.

After the second platform is lowered, rush across to the next platform, turn proceed up the stairs. Take out the Grenadier and continue up the path and climb the ladder to reach the hatch release.
You’ll soon be swarmed with Juvies, so fall back and take them out until the cutscene triggers, marking the end of Chapter 1.
You May Also Like
- Act I / Chapter 2 Walkthrough (Diplomacy).
- Act I / Chapter 3 Walkthrough (This Is War).
- Act I / Chapter 4 Walkthrough (The Tide Turns).
- All Collectibles Guide.
- ALL GUIDES →


Be the first to comment